Exporting still image clips from the timeline, Manually deleting temporary files, Exporting still image clips from the – Grass Valley EDIUS Pro v.6.5 User Manual
Page 319: Timeline, P297

297
Playing Back Timelines
EDIUS - Reference Manual
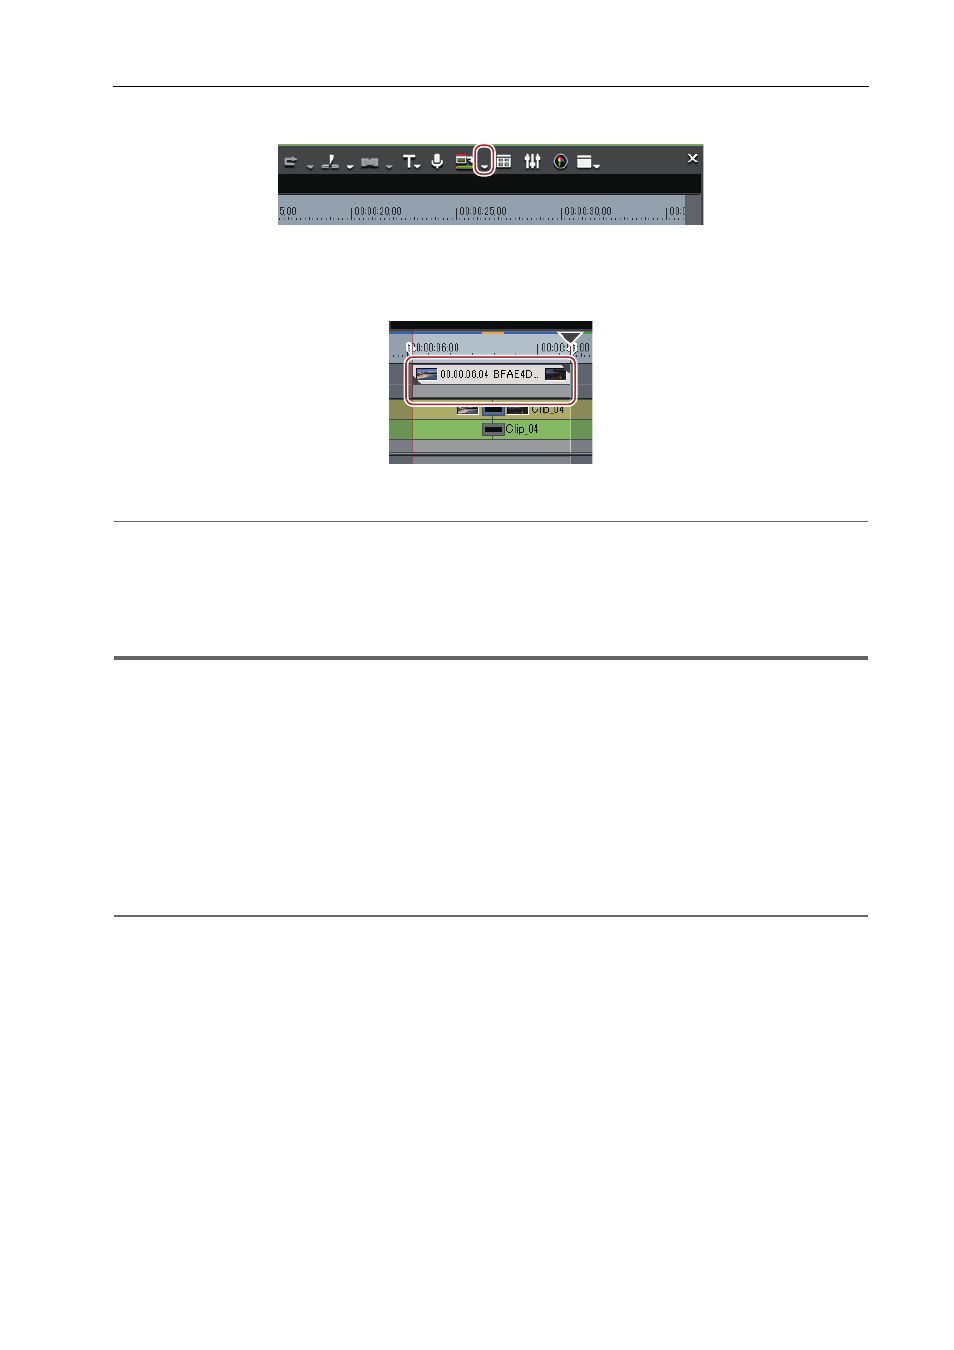
2 Click the [Render In/Out (Render Overload Area)] list button on the timeline.
3 Click [Render and Add to Timeline (Between In/Out)].
To cancel export, click [Cancel] in the [Render] dialog box.
When rendering is completed, the video clip which has been exported to the V/VA track of the timeline is placed.
If there is no space to place a clip on the track, a new V track is added.
2
Alternative
• Click [Render] on the menu bar, and click [Render and Add to Timeline (Between In/Out)].
• Right-click the time scale, and click [Render and Add to Timeline (Between In/Out)].
• Exporting video clips from the timeline:
[Shift] + [Q]
3
•
Exported clips are saved in the “rendered” folder in the project folder.
1
Note
• Track areas set with title track clips and mute are exported as black clips.
• Exported clips are automatically deleted when a project is ended while these clips are not in use in the project. If
exported clips will be required for continued use later, either place them on the timeline or save the project with the
clips registered to the bin.
• To use exported clips in other projects, copy the file to another folder.
Exporting Still Image Clips from the Timeline
1 On the Recorder, display frames to be saved as still images.
2 Click [Clip] on the menu bar, and click [Create a Still Image].
The still images are saved in the same folder as the project, and the still image clips are registered to the bin.
2
Alternative
• Exporting still image clips from the timeline:
[Ctrl] + [T]
3
•
Video images in the selected preview window (Player/Recorder) are exported as still image clips.
• Still images are saved as side-by-side in the stereoscopic edit mode.
• Video from a deck also can be saved as still image clips.
• The aspect ratio of still images sometimes is output different from that of the original image depending on the
frame size. To output correctly, set to correct the aspect ratio. The settings of still images to export can be
changed by [Importer/Exporter] in [System Settings]
→ [Still Image].
Manually Deleting Temporary Files
Manually delete temporary files that are created during rendering.
Temporary files for rendering are saved temporarily in the “rendered” folder created in the project folder. Temporary files
that are not referenced by a project are automatically deleted when the project ends, however, it is recommended to
manually delete them when the “rendered” folder increases in size.
