Preventing playback of clips, Clip enable/disable, Prev – Grass Valley EDIUS Pro v.6.5 User Manual
Page 265
243
Clip Operations
EDIUS - Reference Manual
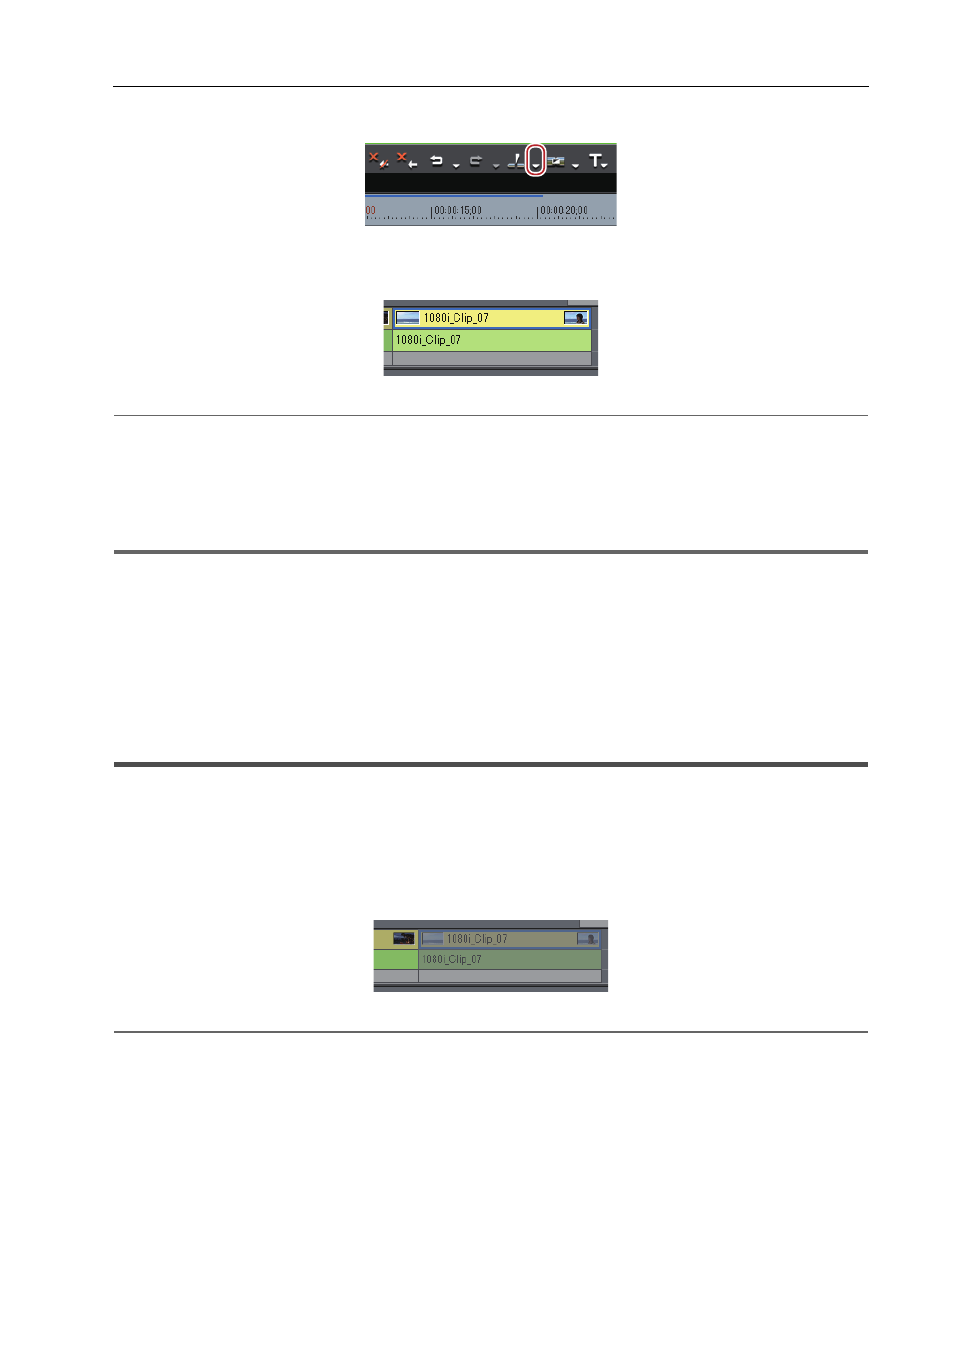
2 Click the [Add Cut Point (Selected Tracks)] list button on the timeline.
3 Click [Remove cut points].
The 2 clips are combined, and can be handled as a single clip.
2
Alternative
• Right-click a clip and click [Remove cut points].
• Click [Edit] on the menu bar, and click [Remove cut points].
• Deleting cut point:
[Ctrl] + [Delete]
3
•
Three or more clips can be combined with the same operation.
1
Note
• [Remove cut points] is available only when neighboring clips are referencing the same source.
• When combining clips, if individual effects (e.g. video filter) or layouts have been applied to the clips before
combining, the effect of clips placed to the leftmost side of the timeline are applied to clips after combining and other
effects are deleted.
• The two clips before combining cannot be combined if their playback speed is different. Also, the settings of clips
from the second clip from the left and onwards are discarded if a time remap has been set.
• When combining clips, the rubber band setting before combining is maintained. Note, however, that priority is given
to the settings of subsequent clips when the rubber band points of the combined section are out-of-position.
Preventing Playback of Clips
Clip Enable/Disable
You can disable clips placed on the timeline. Disabled clips cannot be played back.
1 Right-click the clip to disable, and click [Enable/Disable].
Disabled clips are displayed in gray regardless of their type.
2
Alternative
• Select the clip to disable, click [Clip] on the menu bar, and click [Enable/Disable].
• Enabling/disabling clips:
[0]
3
•
You can enable disabled clips by the same operation.
• Disabled clips can be edited in the same way as enabled clips.