Setting the in and out points to the timeline, Setting the in and out points on the timeline, Setting in and out points to both ends of clips – Grass Valley EDIUS Pro v.6.5 User Manual
Page 249: P227
227
Placing Clips
EDIUS - Reference Manual
Setting the In and Out Points to the Timeline
Setting the In and Out Points on the Timeline
By setting the In and Out points on the timeline, you can limit the range to apply operations to between In and Out
points, or place clips referenced to the In and Out points.
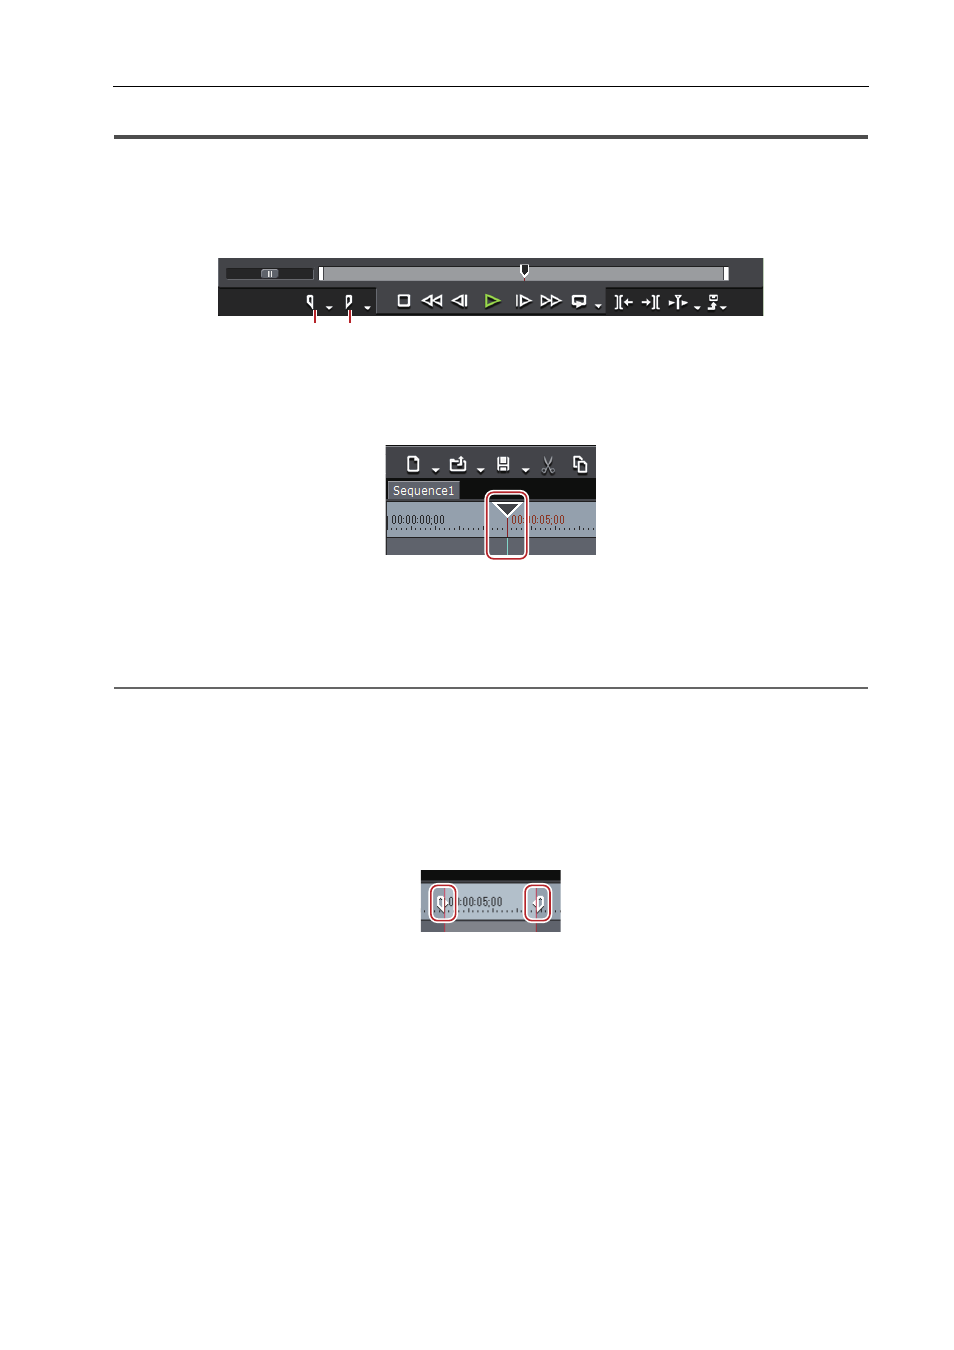
(1) Set the In point
(2) Set the Out point
1 Move the timeline cursor to the position to set the In point.
2 Click [Set In] on the Recorder.
3 Move the timeline cursor to the position to set the Out point.
4 Click [Set Out] on the Recorder.
2
Alternative
• Move the timeline cursor to the position to set the In and Out points, and right-click the time scale. Click [Set In Point]
or [Set Out Point].
• Move the timeline cursor to the position to set the In and Out points, and click [Marker] on the menu bar. Click [Set In
Point] or [Set Out Point].
• Move the slider on the Recorder to the position to set the In and Out points, and right-click the slider. Click [Set In
Point] or [Set Out Point].
• Setting In and Out points on the timeline:
[I]/[O]
3
•
You can drag the In and Out point slider on the time scale to reposition the In and Out points.
• When the Out point has been set before the In point, the time scale between In and Out points changes color to
red and a part of the timecode on the Recorder is displayed in red.
• When duration is entered at [Dur] on the Recorder in the preview window after an In point (or Out point) has
been set, the Out point (or In point) is set according to the duration.
Setting In and Out Points to Both Ends of Clips
Set the In and Out points of the timeline to both ends of a selected clip.
(1) (2)