Apple Logic Pro 8 User Manual
Page 890

890
Chapter 39
Working in the Environment
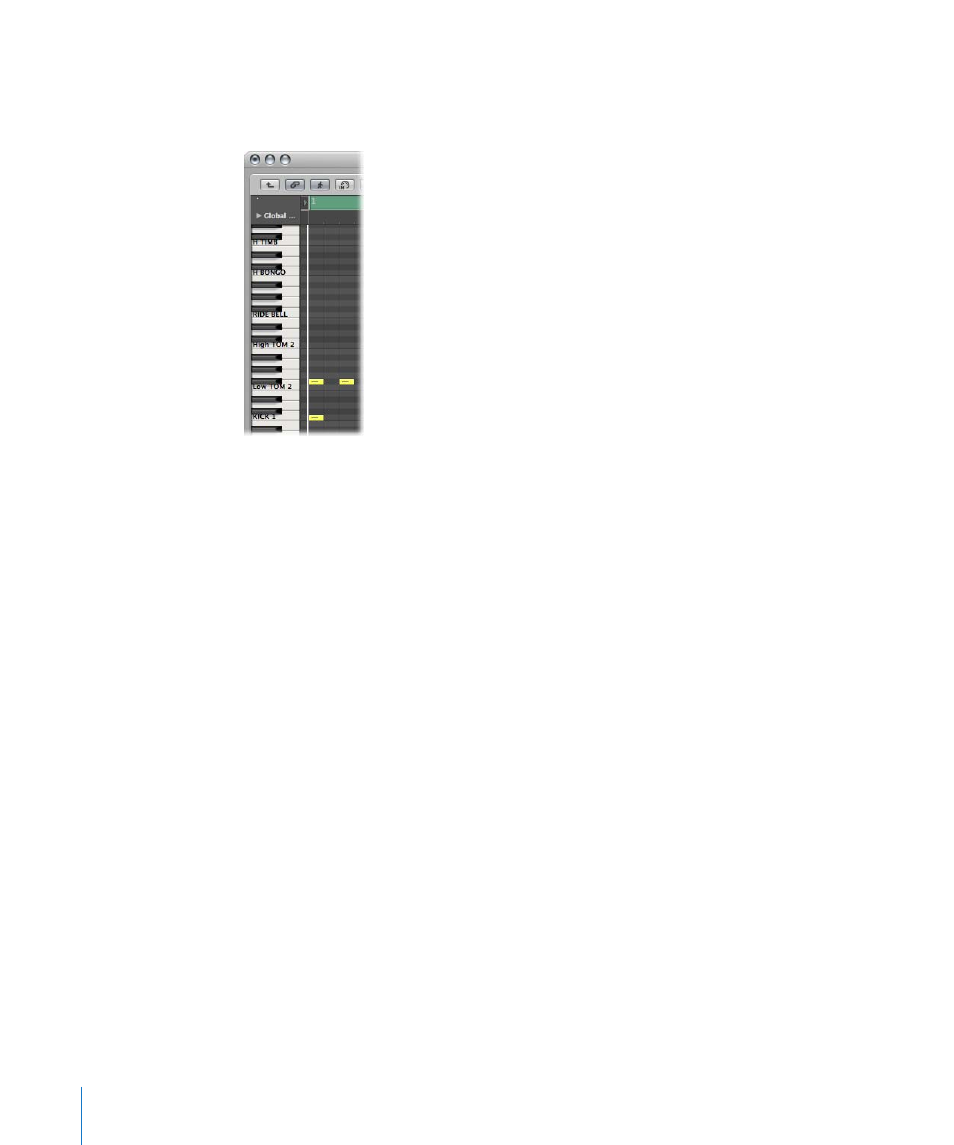
If a MIDI region (on a track routed to a mapped instrument object) is displayed in the
Piano Roll Editor, the names of the notes being played will appear on the vertical
keyboard.
Output Note
This column is used to set the output note. This is done by either:
 Double-clicking on the note description and editing the text
 Dragging the beam to the right of the output note name.
MIDI notes are sent while changing the value, allowing you to hear what you’re doing.
Use the Initialize > Output Notes command to match the output notes of the selected
pitches to the input note pitches.
Velocity
Used to set a velocity offset which is added to, or subtracted from, the velocity of the
incoming note. Click-hold the number and drag the mouse up or down to create a
velocity offset. You can also click the desired point on the beam.
Initialize > Output Velocities resets all velocity offsets to 0 (no offset).
Channel
Sets the MIDI channel of individual notes. This allows you to play individual sounds
from different drum sets in the same sound generator.
You will normally use the Base setting. This means that the notes are sent on the
channel set in the mapped instrument’s Parameter box. If you choose All in the
Parameter box, the channel information of the incoming notes is used. This is useful if
you want to place the mapped instrument after a multi instrument or standard
instrument in the signal path.
To set all selected notes to Base, choose Initialize > Output Channels.
