Apple Logic Pro 8 User Manual
Page 353

Chapter 14
Recording in Logic Pro
353
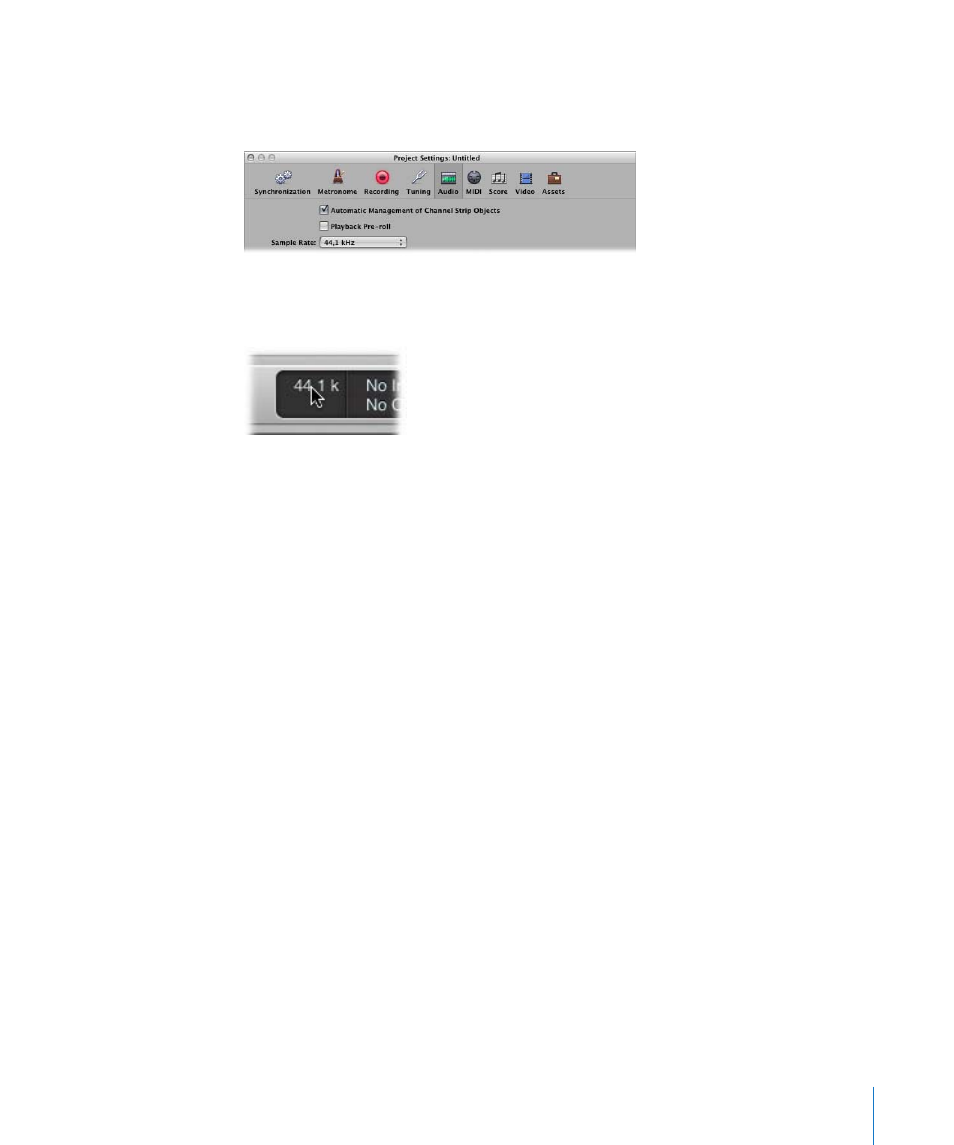
To set a project’s sample rate, do one of the following:
m
Choose File > Project Settings > Audio (or use the Open Audio Project Settings key
command), and choose the desired sample rate in the Sample Rate menu.
m
Click the Sample Rate display in the Transport bar, and choose the desired sample rate
from the pop-up menu.
If you can’t see the Sample Rate display, this is probably because it has been replaced
with the punch locators. Disable the Cycle button on the Transport bar to view the
Sample Rate display. Another possibility is that you have not switched on the Sample
Rate or Punch Locators checkbox in the Customize Transport Bar dialog.
The Importance of the Sample Rate
Digital audio plays at a different speed when played at a non-matching sample rate.
Digital audio needs to play at its original sample rate, or be converted to a different
one, before playback at another sample rate. To explain; when a file which was created
by sampling 96,000 times per second (96 kHz sampling rate), is played back at a rate of
48,000 samples per second, it will play back slowly (half the speed).
In general, any bounces created for use within a project should be at the project’s
original sample rate. You will gain nothing by bouncing at 96 kHz but then importing
and converting to 44.1 kHz.
When finished with your project, bounce it at the desired sample rate. As suggestions
for different situations:
 If the bounced file is destined for an audio CD (assuming you’re not sending it to an
external studio or application for mastering), there’s no need to go any higher than
44.1 kHz, as this is the standard CD sampling rate.
 If you work in the film or television industry, you will probably use the 48 kHz
sampling rate for audio.
 If recording classical or jazz groups (smaller ensembles), or archiving 75 year old
recordings, you may find some benefits to recording at 96 kHz or higher.
