Quantum Data 881 User Manual
Page 162
144
Chapter 4 Networking Generators
5. Change the IP address as follows:
a. Position the blinking cursor on the address digit you want to change. To do this,
press the soft key adjacent to the arrow by the address to move the cursor left or
right until it appears on the digit you want to change.
b. Adjust the value of the digit up or down by pressing the + or - keys. Repeat for each
IP address digit you want to change.
6. If necessary, change the subnet mask as follows:
a. If the SubnetMask configuration option is not visible, press the soft key adjacent to
the arrow symbol by IP Address until SubnetMask appears.
b. Position the blinking cursor on the subnet mask digit you want to change. To do this,
press the soft key adjacent to the arrow by the subnet mask to move the cursor left
or right until it appears on the digit you want to change.
c. Adjust the value of the digit up or down by pressing the + or - keys. Repeat for each
subnet mask digit you want to change.
7. To save the changes, press the
Enter (Options) key. The following choices appear on
the generator’s display:
To save the changes, choose the
Yes item by pressing the adjacent soft key.
To exit without saving the changes, choose the
No item.
To return to the Network Connection screen without saving the changes, choose the
Back item.
8. Power cycle the generator to invoke the new IP address.
To enable DHCP for auto IP address configuration of the generator:
1. Press the
Tools key. The Tools menu appears on the generator’s display as shown
below.
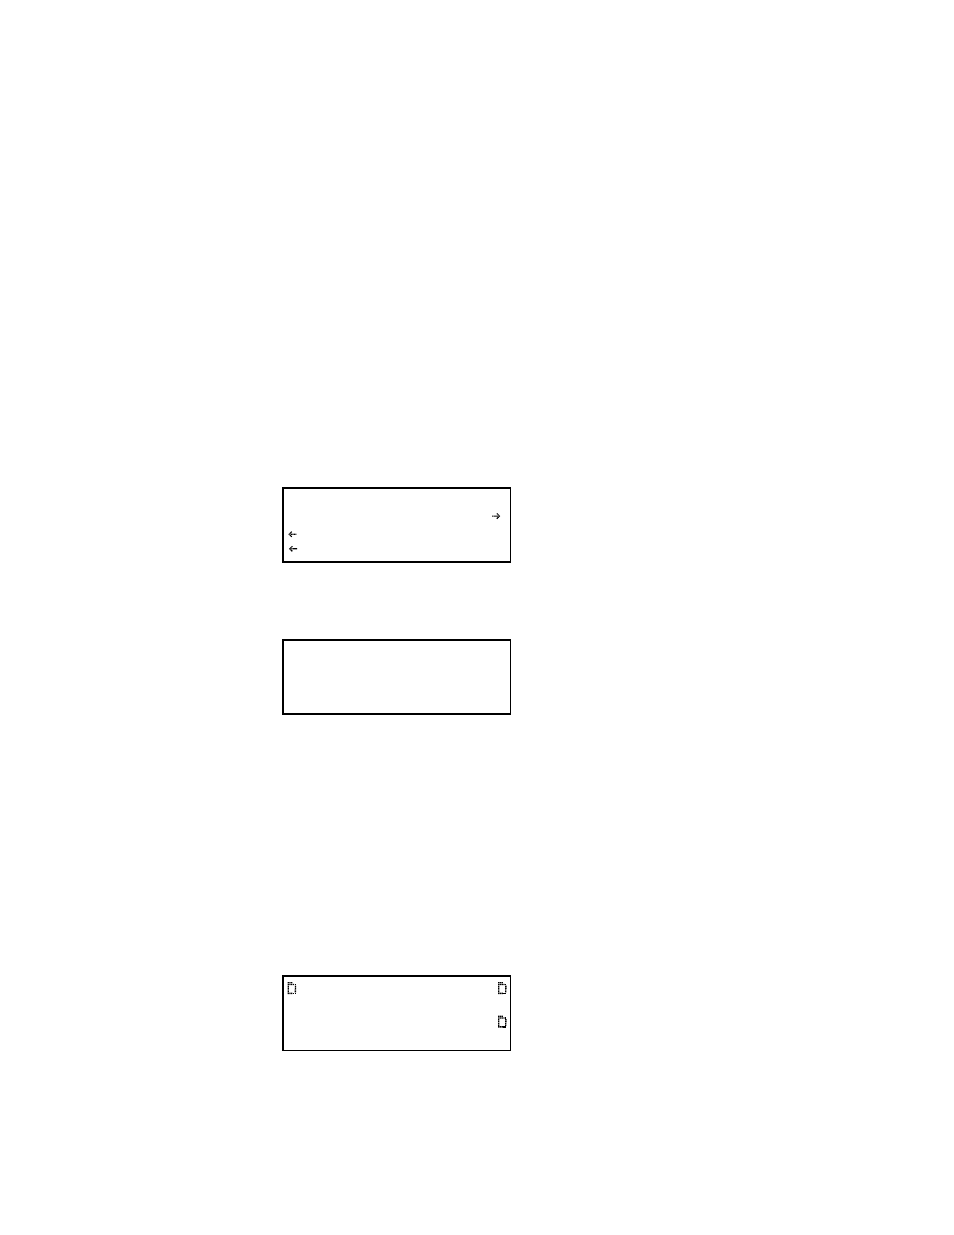
Network Connection
Set TCP/IP
SubnetMask
000.000.000.000
Apply Settings?
Back
Yes No
System
Sequence
Probe
AFC
Analyzer
Reports
ImgShift
CEC