Echelon LonMaker User Manual
Page 40
24
Installing and Activating the LonMaker Tool
The Visio installation may suggest that you exit LonMaker setup. You can safely disregard this
message by clicking Ignore.
To keep an existing Visio installation, install the Visio program on the LonMaker CD into a new
directory.
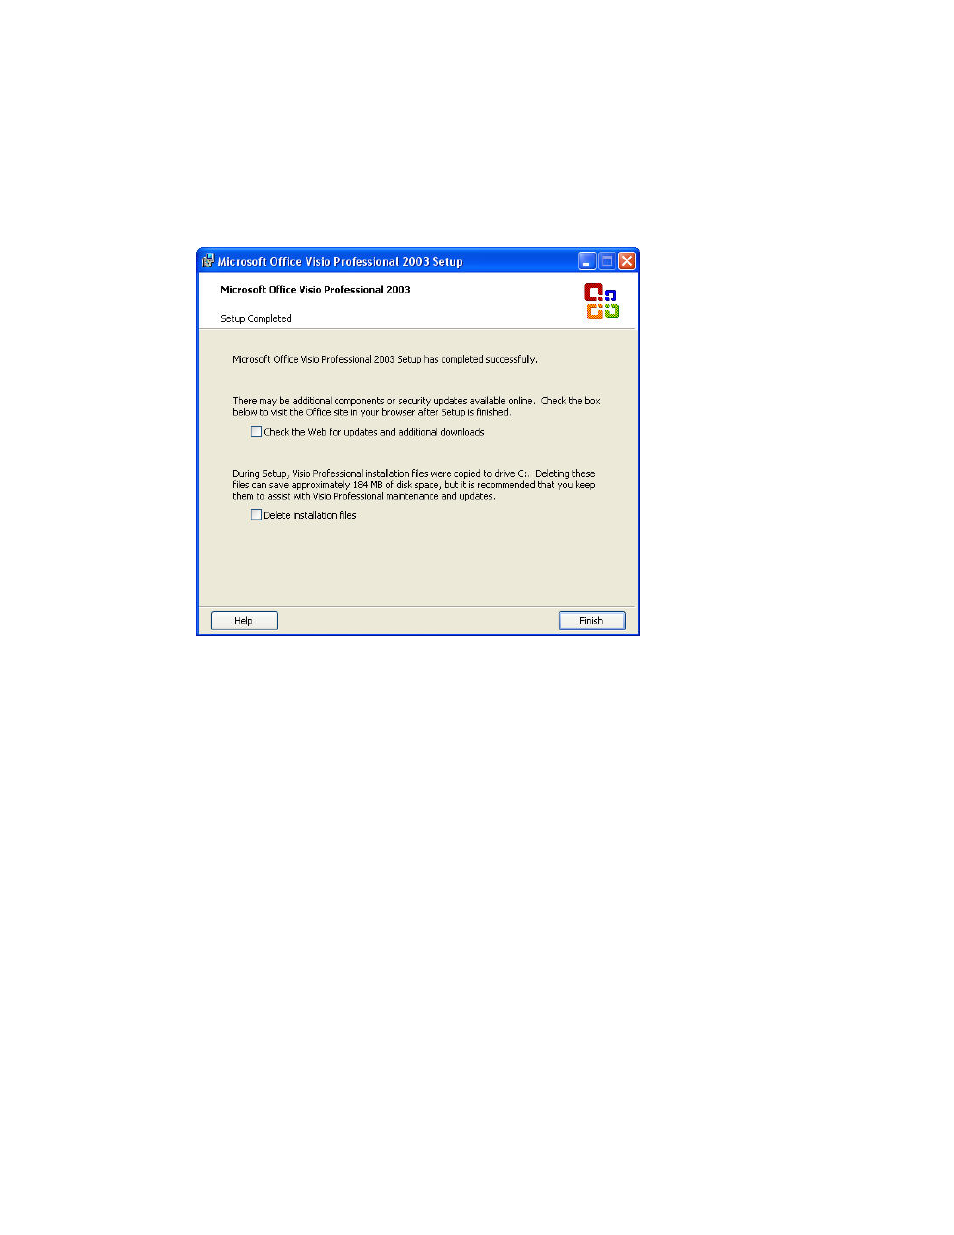
3. When the Visio installation has finished, the following dialog appears, informing you that the
setup has been completed.
4. Click
Finish.
Notes:
• Before you do any further required reboots, you should install the Visio 2003 Service Pack 2 on
the LonMaker CD. To install this service pack, click Start on the taskbar, select Run, click
Browse, double-click the Visio SP2 folder on the LonMaker CD, and then double-click the
Visio2003SP2-KB887622-FullFile-ENU.exe file. Follow the on-screen instructions to complete
the installation. For more information on Visio 2003 Service Pack 2, go to
• If multiple versions of Visio are installed on your computer, the LonMaker tool will use the last
Visio program that you used. Therefore, if you use a version of Visio other than the one supplied
on the LonMaker CD, you must start and exit the copy of Visio included with the LonMaker tool
before you start the LonMaker tool. Alternatively, you can open your network from within the
copy of Visio included with the LonMaker tool by opening the File menu, clicking Open,
selecting a drawing directory, and then selecting the drawing file you want to open.
Once Visio installation is complete, the installation of the LonMaker tool automatically begins as
described in Installing the LonMaker Integration Tool.