Using a macro – Echelon LonMaker User Manual
Page 206
190
Monitoring and Controlling Networks
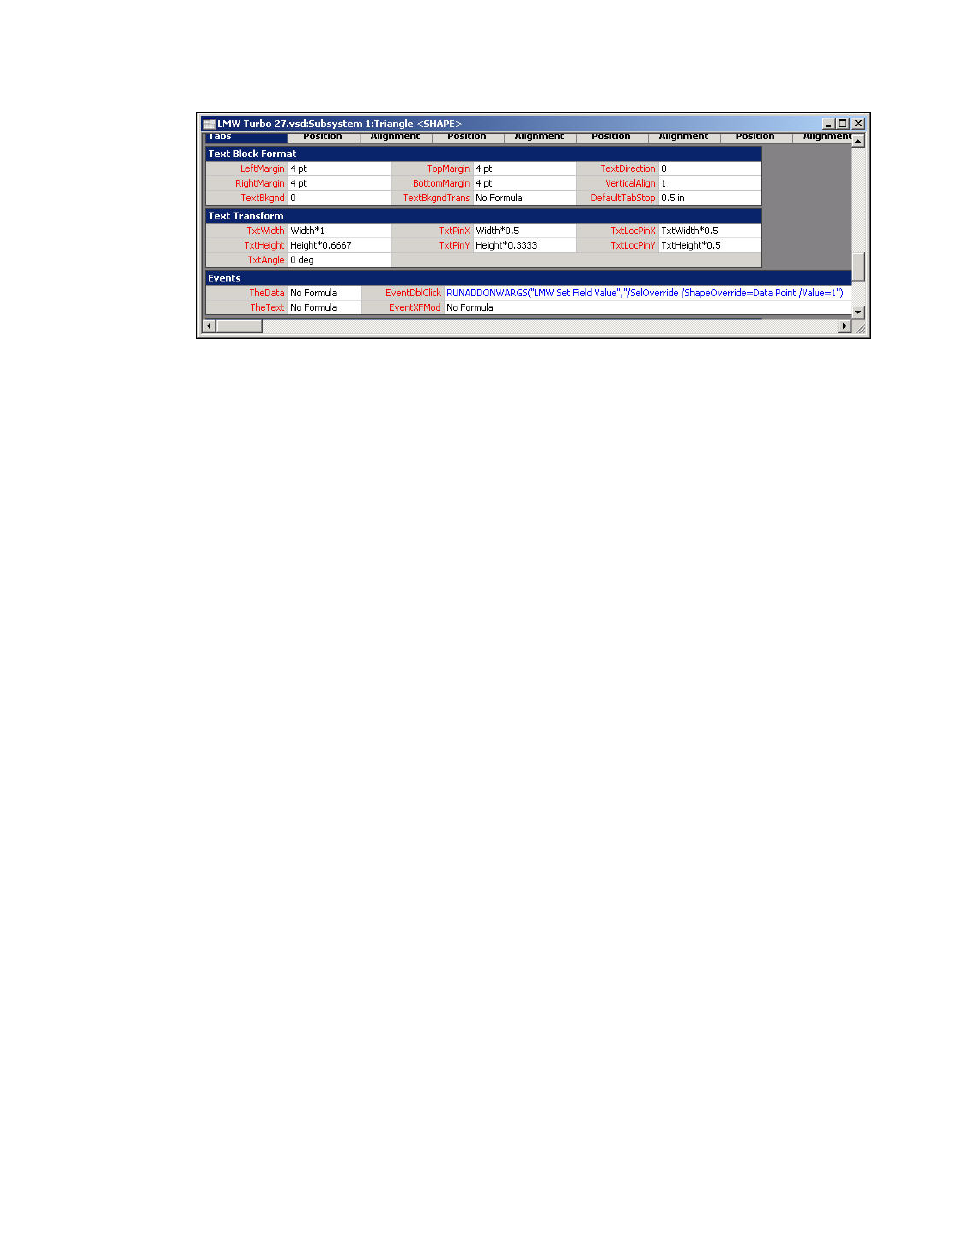
5. To have some logic performed on the data point value instead of specifying a value, replace n with
&Scratch.X. The function is as follows: RUNADDONWARGS(“LMW Set [Field] Value”,
“/SelOverride /ShapeOverride=<Data Point Shape ID> /Value=” &Scratch.X). You can use
this type of formula to incrementally change the value of a data point when you double-click the
Visio shape.
6. Press
ENTER.
7. In
the
X cell of the Scratch section, enter a formula. For example, to create a formula that
brightens a lamp when you double-click the Visio shape, enter the following:
=FORMAT(MODULUS(“<Data Point Shape ID>!User.MonValue”+10,110), “0”).
8. Press
ENTER.
Using a Macro
To write to a value to a Data Point shape using a Macro, follow these steps:
1. Open
the
Tools menu, point to Macros, and then click Macros on the shortcut menu. The Macros
dialog box opens.
2. In
the
Macros Name: dialog box, enter a name for the Macro. Click Create. The Network
Passwords dialog appears if this is the first time you are creating a Macro or entering VBA code
in your LonMaker drawing.
3. Enter
enumerate in the Password box.
4. The Visio VBA editor appears. The left pane of the editor displays the LonMaker drawing; the
right pane displays the VBA code associated with the Macro you are creating.
5. To insert a Macro to write to a scalar data point, enter the following VBA code:
Set myaddon = Application.Addons("LMW Set Value")
myaddon.Run ("/doc=
/ShapeOverride= /Value= n")
• Document ID is the document in which the Visio shape resides.
• Page ID is the page in which the Visio shape resides.
6. To insert a Macro to write to a field in a structured data point, enter the following VBA code:
Set myaddon = Application.Addons("LMW Set Field Value")
myaddon.Run ("/doc=
/ShapeOverride= /Value= n")
7. Enter additional code for any other functions to be performed when you double-click the Visio
shape.
8. In the LonMaker drawing, click the Visio shape.