Configuring the pcc-10 network interface – Echelon LonMaker User Manual
Page 368
352
Appendix B - Installing Network Interfaces
Windows does not load the device driver for the PCC-10 card until it discovers the first PCC-10 card.
Likewise, when you remove the last PCC-10 card, Windows unloads the device driver, thus freeing
any system resources it was using.
Each PCC-10 card requires a single, dedicated interrupt request (IRQ) and four contiguous bytes of I/O
address space starting on a modulo-4-based address.
If you remove a PCC-10 card while an application is using the card, Windows will lose
communication with the device, which cannot be restored by re-inserting the card. Some applications
will display unusual behavior, and will not properly function. Any application using the PCC-10 card
must be restarted if a PCC- 10 card has been removed to ensure proper operation of the device and
software.
The first time you insert a PCC-10 card into a running computer, a window will appear with the words
“Echelon Corp.- PCC-10.” Another window will appear stating that the Windows operating system is
building a new database from the device information installed by the PCC-10 installation diskette.
You can configure the new hardware when the computer has finished writing the device information.
Configuring the PCC-10 Network interface
Once the PCLTA-10 hardware has been installed, you must load the PCC10VNNI firmware image to
the PCLTA-10 device. To accomplish this, follow these steps:
1. Click
Start on the taskbar, point to Settings, and then click Control Panel.
2. Open
L
ON
W
ORKS
Plug ‘n Play.
3. Ensure that the System Image Path matches the one used during software installation.
4. Select
PCC10VNI from the NI Application list and then click Apply.
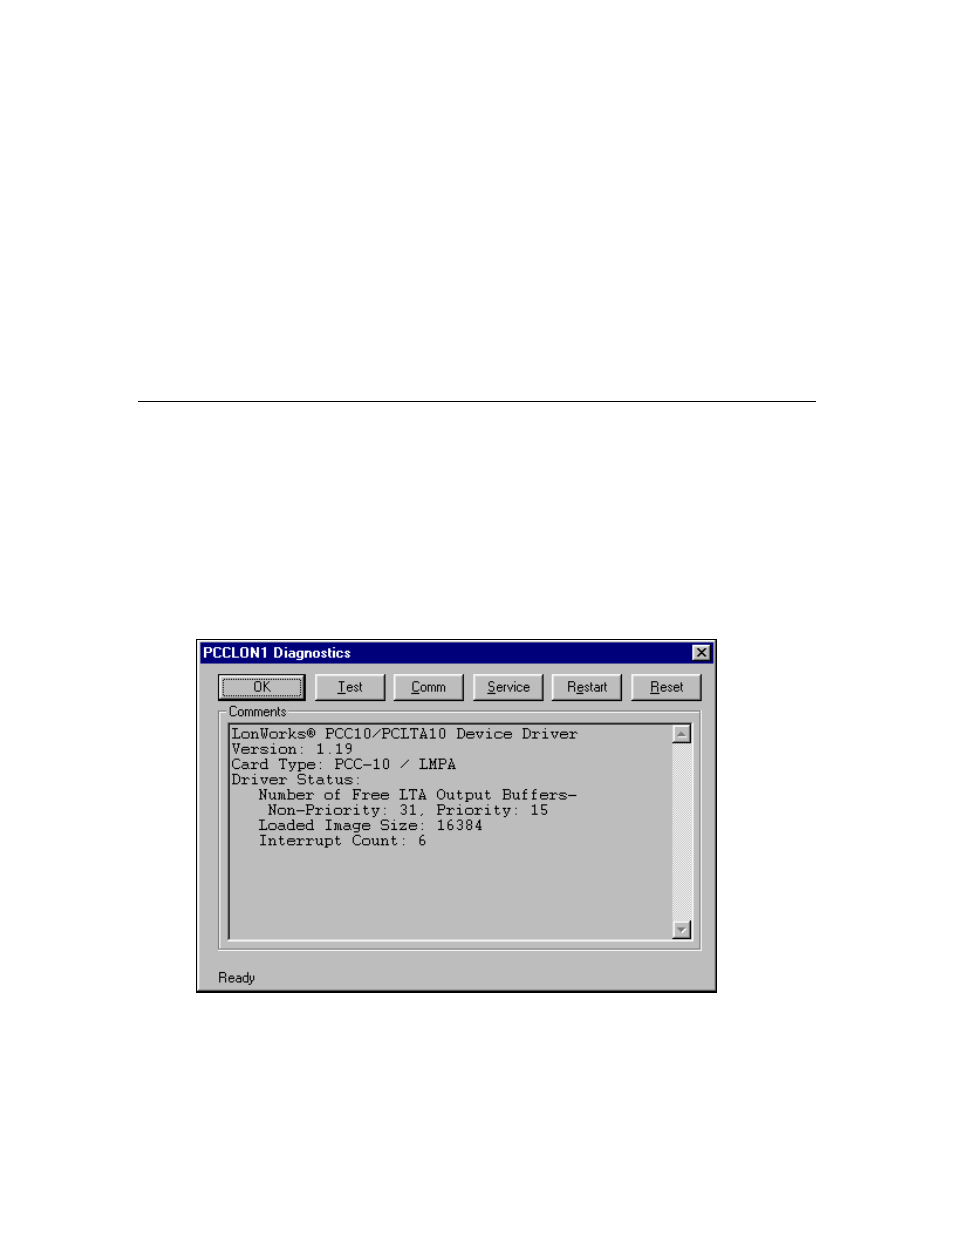
5. Click
Diagnostics. If the PCC-10 software and hardware installation has proceeded correctly, the
following dialog appears (refer to the PCC-10 online help if it does not appear).
6. Click
the
Test button. The following statistics should appear.