Date and time settings and formats, Number format, Date and time settings and formats number format – Fluke Networks CertiFiber Pro Users Manual User Manual
Page 46
Versiv Cabling Certification Product Family
Technical Reference Handbook
24
Date and Time Settings and Formats
Note
If you remove the battery and do not connect the
ac adapter, the clock keeps the current date and
time for a minimum of 24 hours.
1
On the home screen, tap the TOOLS icon, tap Date/Time, then
tap the setting you want to change:
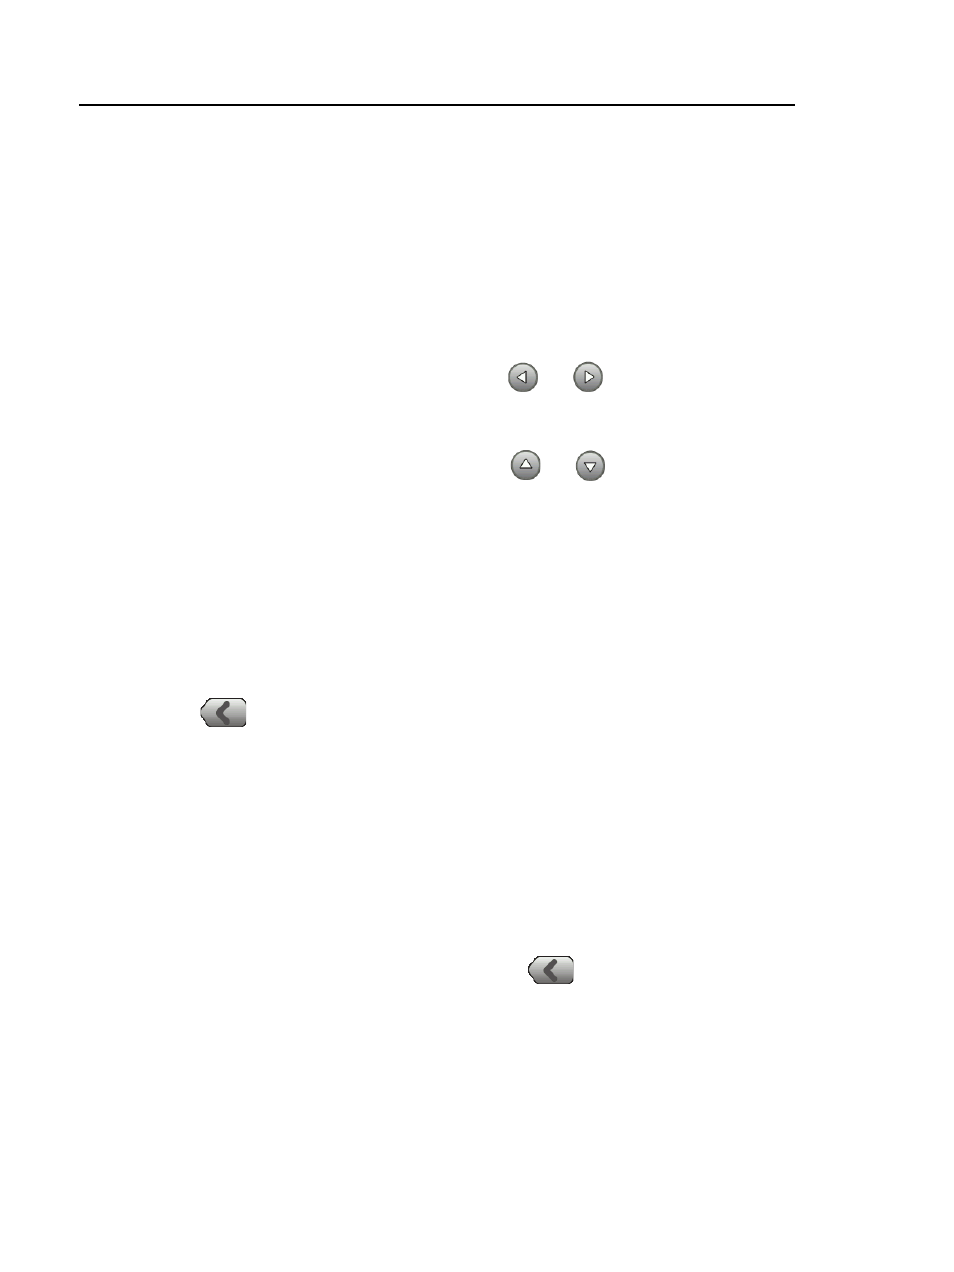
To set the date, tap Date. Tap
or
to select a month
and year for the calendar, then tap the correct date on
the calendar. Tap DONE to save your setting.
To set the time, tap Time. Tap
or
to increase or
decrease the setting for hours, minutes, and seconds. Tap
DONE to save your settings.
To set the date format, tap Date Format, then tap a
format for the day (DD), month (MM), and year (YYYY).
To set the time format to 12-hour clock or a 24-hour clock,
tap the Time Format control to make 12 hr or 24 hr show.
2
To go back to the home screen from the Date/Time screen,
tap
two times or press .
Number Format
The tester can show decimal fractions with a decimal point (0.00)
or a comma (0,00).
1
On the home screen, tap the TOOLS icon.
2
In the Number panel, tap the control to show 0.0 or 0,0.
3
To go back to the home screen, tap
or press .