Ricoh fi-8040 Desktop Scanner User Manual
Page 360

IP address or FQDN of the scanner (*1)
Example
When using an IPv4 address
xxx.xxx.xxx.xxx/ (each "xxx" is a value from 0 to 255)
Example
When using an IPv6 address
[xxxx:xxxx:xxxx:xxxx:xxxx:xxxx:xxxx:xxxx]/ (each "xxxx" is a value from 0 to ffff)
*1:When Dynamic DNS is enabled, you can specify the FQDN of a scanner name registered on the
DNS servers.
HINT
The URL can be checked in the screen that appears via the following procedure:
→
[Network]
→
[How to connect from a browser] on the touch screen
The login window for fi Series Network Settings appears.
4
Enter the administrator password, and click the [Login] button.
For details about the administrator password, refer to
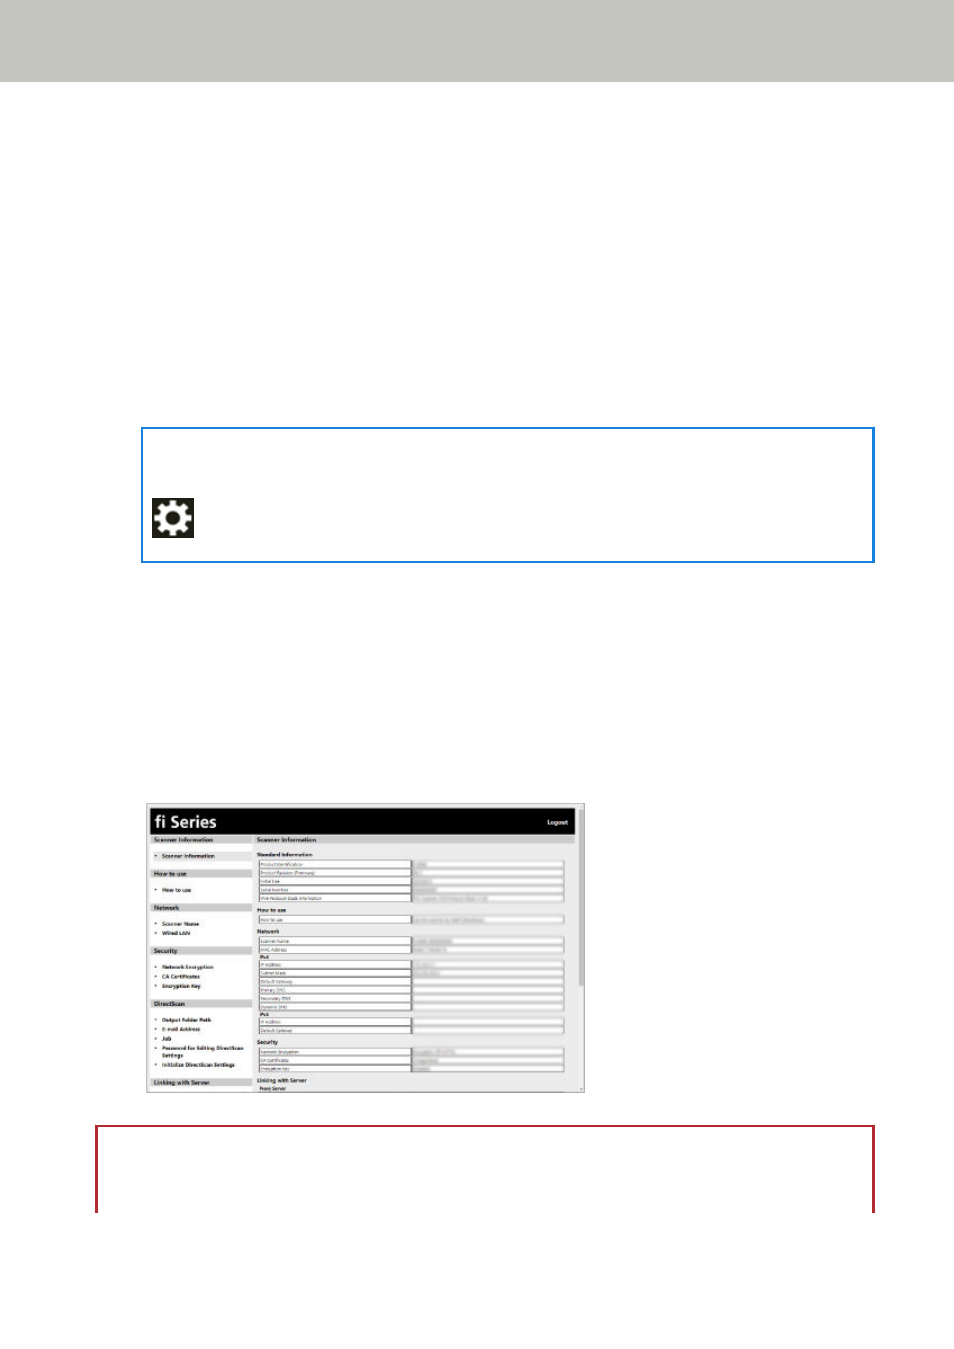
The [Scanner Information] window for fi Series Network Settings appears.
5
Click each menu to configure the settings.
For details about each menu, refer to
Scanner Information (page 365)
ATTENTION
To be able to use the function on the window without any problems, make sure that the following
settings are configured on your browser.
Network Settings (fi Series Network Settings)
360
