Ricoh fi-8040 Desktop Scanner User Manual
Page 117
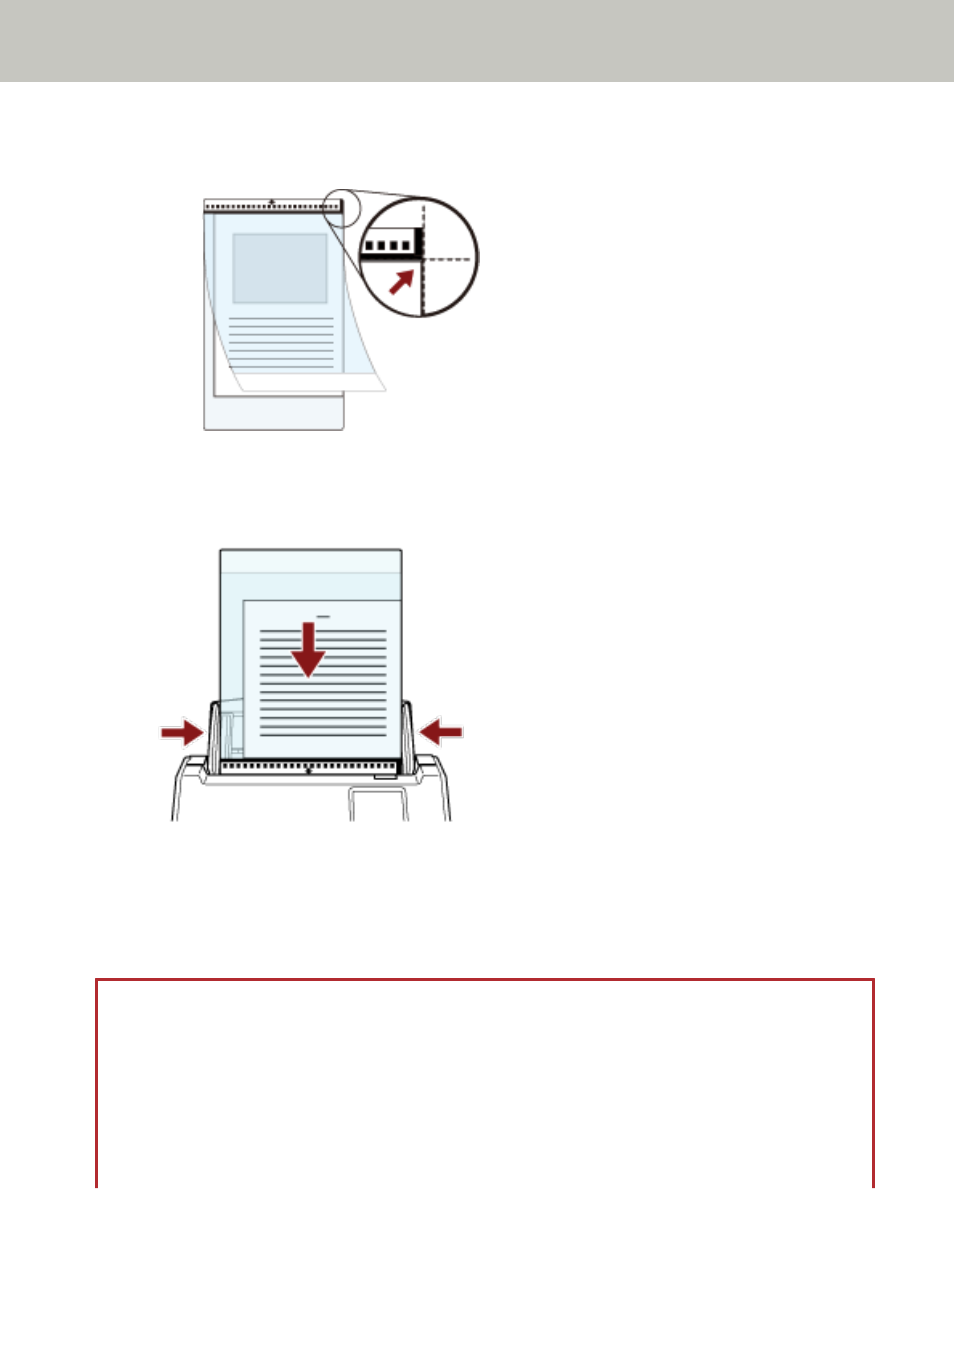
Align the top and the fold line of the document with the Carrier Sheet so that no space is
left in the upper and right sides of the Carrier Sheet.
2
Load the Carrier Sheet with the end with the black and white pattern as the leading edge and
with the scanning side facing the ADF paper chute (feeder) (face-down).
Secure the Carrier Sheet with the side guides to avoid skewing.
3
Configure the scan settings in the scanner driver to use the Carrier Sheet.
For details, refer to the help for the scanner driver.
4
Scan the document with the image scanning application.
For details, refer to the manual/help of the image scanning application.
ATTENTION
●
The image printed on the document is cropped and it is pasted in the center of a blank image. The
size of a blank image is the size specified for [Paper Size] in the scanner driver.
Example
When an A5 size image is printed on an A4 size document and [A4] is specified for [Paper Size]
in the scanner driver.
→
An A5 size image is pasted in the center of an A4 size blank image.
Various Ways to Scan
117