Redirection zones – Brocade Network Advisor SAN User Manual v12.3.0 User Manual
Page 904
852
Brocade Network Advisor SAN User Manual
53-1003154-01
Redirection zones
20
To access the Encryption Targets dialog box, complete the following steps.
1. Select Configure > Encryption from the menu task bar to display the Encryption Center
dialog box. (Refer to
2. Select a group, switch, or engine from the Encryption Center Devices table, then select
Group/Switch/Engine > Targets from the menu task bar.
NOTE
You can also select a group, switch, or engine from the Encryption Center Devices table, then
click the Targets icon.
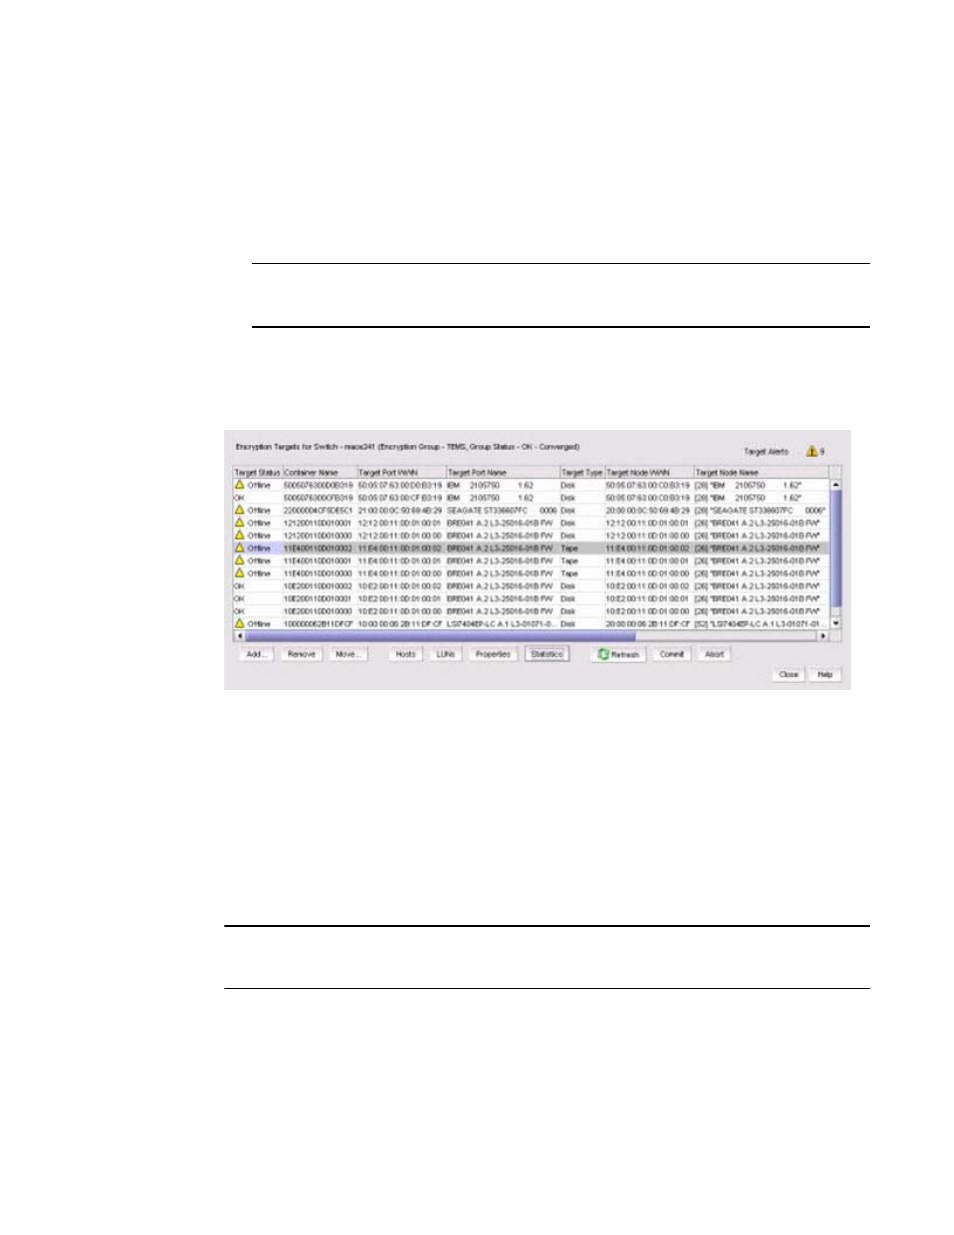
The Encryption Targets dialog box displays. (Refer to
.) The targets currently being
encrypted by the selected group, switch, or encryption engine are listed. If a group is selected,
all configured targets in the group are displayed. If a switch is selected, all configured targets
for the switch are displayed.
FIGURE 401
Encryption Targets dialog box
Redirection zones
It is recommended that you configure the host and target in the same zone before you configure
them for encryption. Doing so creates a redirection zone to redirect the host/target traffic through
the encryption engine; however, a redirection zone can only be created if the host and target are in
the same zone. If the host and target are not already configured in the same zone, you can
configure them for encryption, but you will still need to configure them in the same zone, which will
then enable you to create the redirection zone as a separate step.
NOTE
If the encryption group is busy when you click Commit, you are given the option to either force the
commit, or abort the changes. Click Commit to re-create the redirection zone.