Brocade Network Advisor SAN User Manual v12.3.0 User Manual
Page 1331
Brocade Network Advisor SAN User Manual
1279
53-1003154-01
Syslogs
32
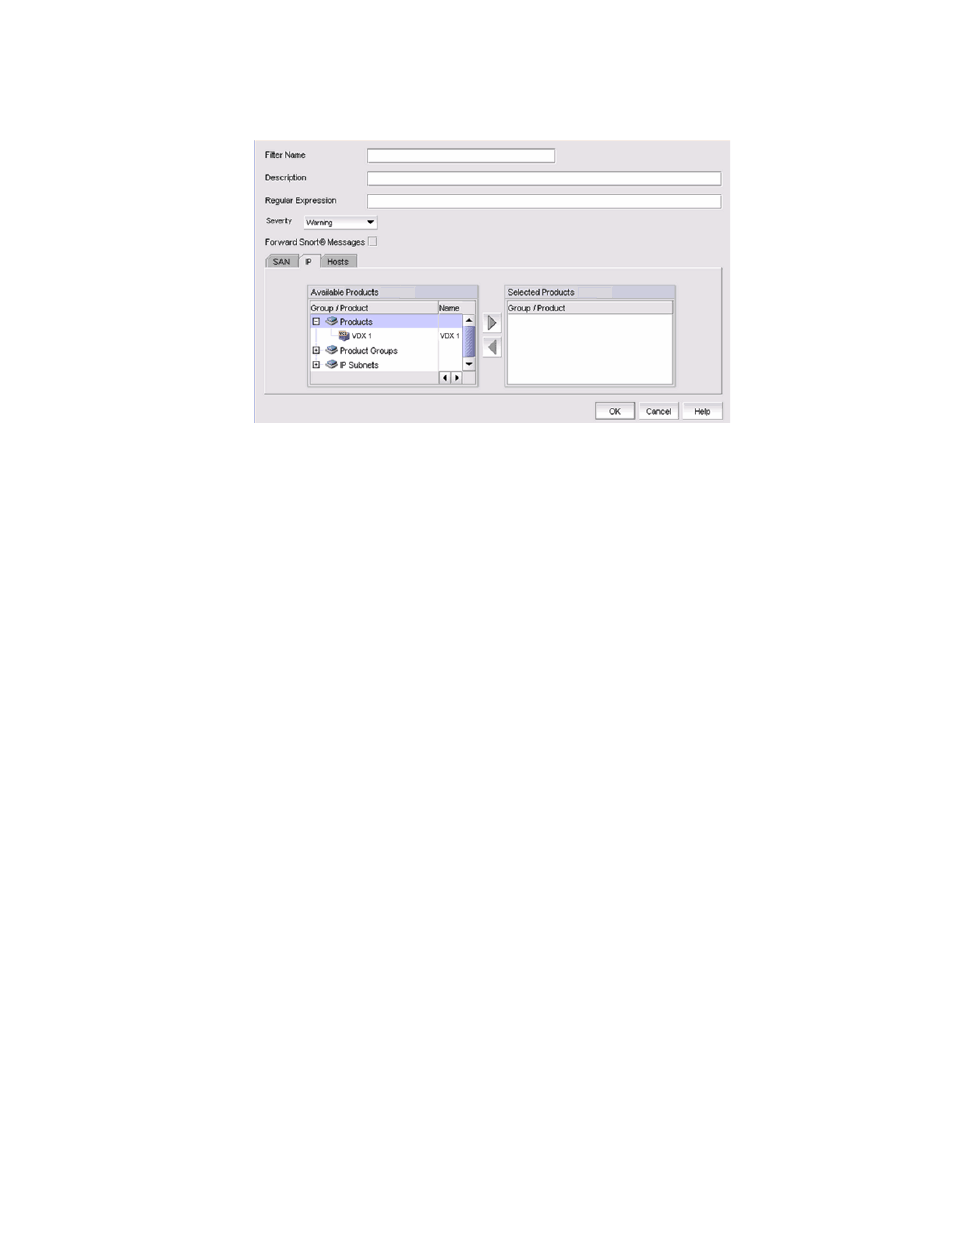
FIGURE 549
Add Syslog Filter dialog box
4. Enter a unique name for the syslog filter in the Filter Name field.
5. Enter a general description of the syslog filter in the Description field.
6. (Optional) For additional filtering, enter a text string using from 1 through 512 characters or
wild card symbols in the Regular Expression field. The regular expression is used to describe a
pattern in text. You can use an asterisk (*) to indicate a wildcard, as in the following examples:
•
*cdef: Matches a message ending with cdef
•
abc*: Matches a message beginning with abc
•
*abc*: Matches a message that contains abc
7. Select a severity level from the Severity pulldown menu. The severity level can be one of the
following, and appear in descending order of severity.
•
Emergency
•
Alert
•
Critical
•
Error
•
Warning (Default)
•
Notice
•
Info
•
Debug
Events with the selected severity and those with higher severity levels are forwarded.
For example, by default, Critical severity is selected. Therefore, events with Critical, Alert, and
Emergency severity levels are forwarded.
To have all traps forwarded, select Debug, the lowest severity level.
8. Select the Forward Snort® Messages check box to turn on Snort message forwarding. Refer to
on page 1280 for more information.
9. Select the SAN, IP, or Hosts tab. Depending on the tab selected, the products available to
which you can add a syslog filter display in the Available Products list.