Filtering report events by date and time – Brocade Network Advisor SAN User Manual v12.3.0 User Manual
Page 1364
1312
Brocade Network Advisor SAN User Manual
53-1003154-01
Event custom reports
32
9. Select the event type you want to include in the report from the Available Event Category list.
Click the right arrow button to move your selection to the Selected Event Category list.
10. Select the event action you want to include in the report from the Available Event Actions list.
Click the right arrow button to move your selection to the Selected Event Actions list.
11. Click OK to save the definition, Run to launch the report, or click the Time Settings tab on the
Add/Edit Report Definition dialog box if you want to filter the events by date and time.
Filtering report events by date and time
The Event Custom Reports dialog box — Time Settings tab allows you to specify the time range of
the events to be reported.
To filter report events by date and time, complete the following steps.
1. Select Reports > Event Custom Reports.
The Event Custom Reports dialog box displays.
2. Click the Add button.
The Add/Edit Report Definition dialog box - Product tab displays.
3. Click the Time Settings tab.
The Add/Edit Report Definition dialog box - Time Settings tab, shown in
, displays.
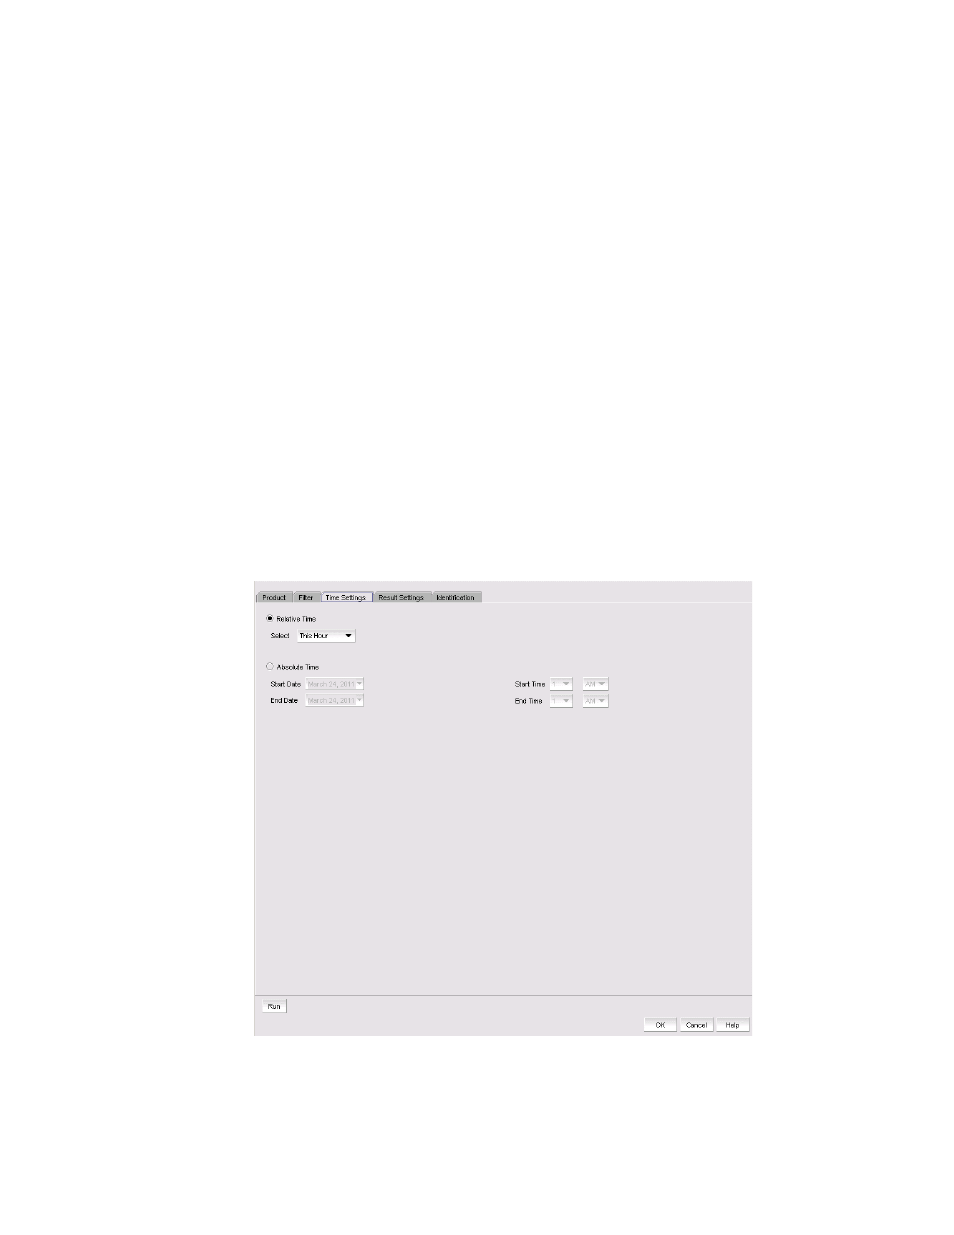
FIGURE 569
Add/Edit Report Definition dialog box - Time Settings tab
4. Choose between relative time (the default) and absolute time.