Reviewing found beacons – Brocade Mobility RFS7000-GR Controller System Reference Guide (Supporting software release 4.1.0.0-040GR and later) User Manual
Page 450
436
Brocade Mobility RFS7000-GR Controller System Reference Guide
53-1001944-01
Configuring enhanced beacons and probes
6
6. The Preferred MUs table lists the MAC Addresses for all preferred MUs.
7. Select a MU from the Preferred MUs table and click the Delete button to remove the MU from
the table.
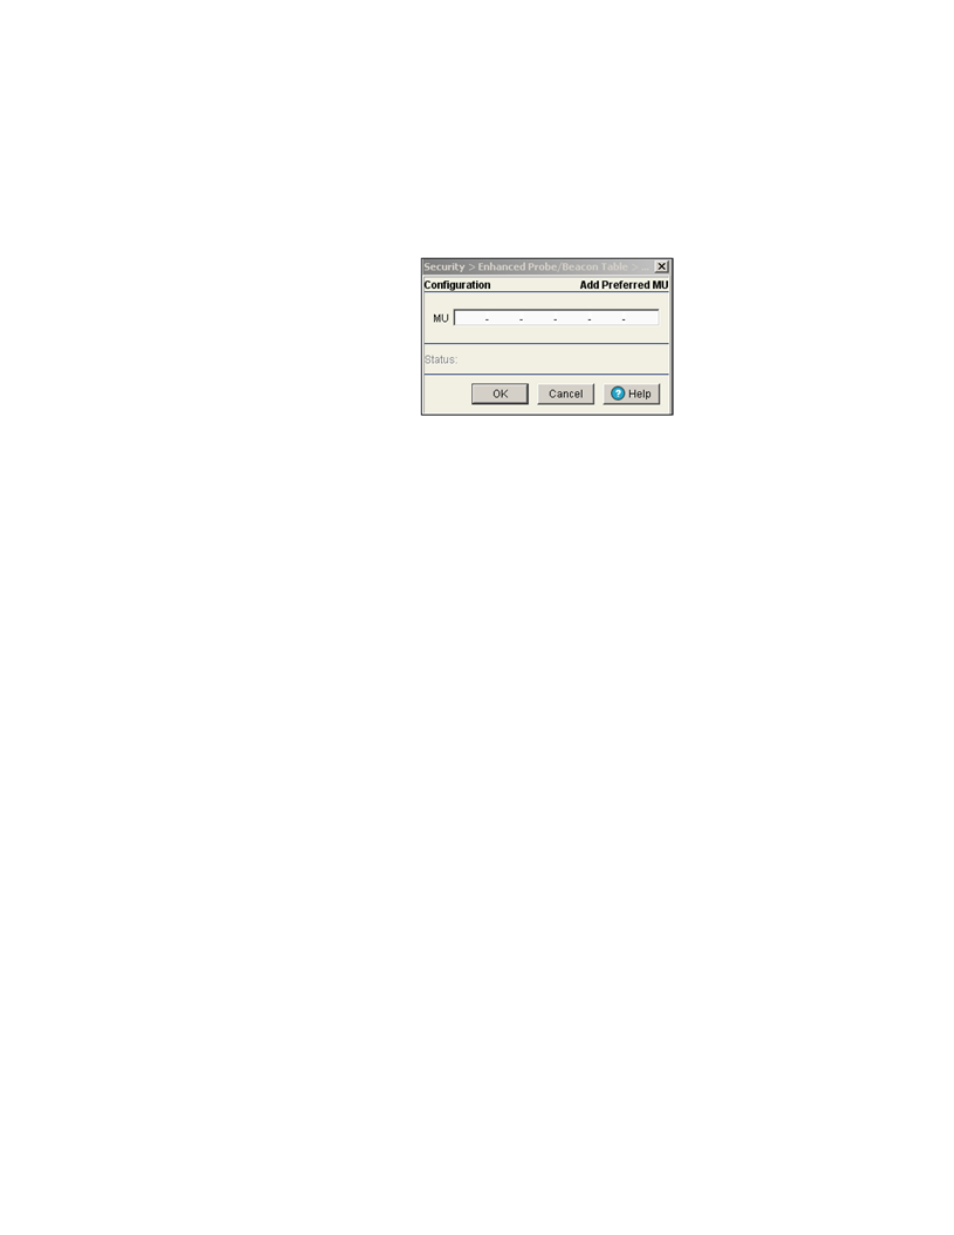
8. Click the Add button to open a dialogue and add the MAC Address of a preferred MU to the
table.
9. 802.11a Radios: Click the Enable All button to allow an AP’s 802.11a radio to receive MU
probe requests and forward them to the switch.
10. 802.11a Radios: Click the Disable button to stop AP’s 802.11a radios from forwarding MU
probe requests to the switch.
11. 802.11bg Radios: Click the Enable button to allow the AP’s 802.11bg radios to receive MU
probe requests and forward them to the switch.
12. 802.11bg Radios: Click the Disable button to stop AP’s 802.11bg radios from forwarding MU
probe requests to the switch.
13. Click Apply to save any changes. Navigating away from the screen without clicking the Apply
button results in all the changes on the screen being discarded.
14. Click the Revert button to undo the changes to the screen and revert to the last saved
configuration.
Reviewing found beacons
Select the Beacons Found tab to view the enhanced beacons report created by the switch. The
table displays beacon information collected during the AP’s channel scan. The table contains at
least 5 entries for each AP radio (channel) scan. The information displayed within the Beacons
Found tab is read-only with no user configurable parameters.
To view the enhanced beacons report: