Configuring dhcp server ddns values – Brocade Mobility RFS7000-GR Controller System Reference Guide (Supporting software release 4.1.0.0-040GR and later) User Manual
Page 257
Brocade Mobility RFS7000-GR Controller System Reference Guide
243
53-1001944-01
DHCP server settings
5
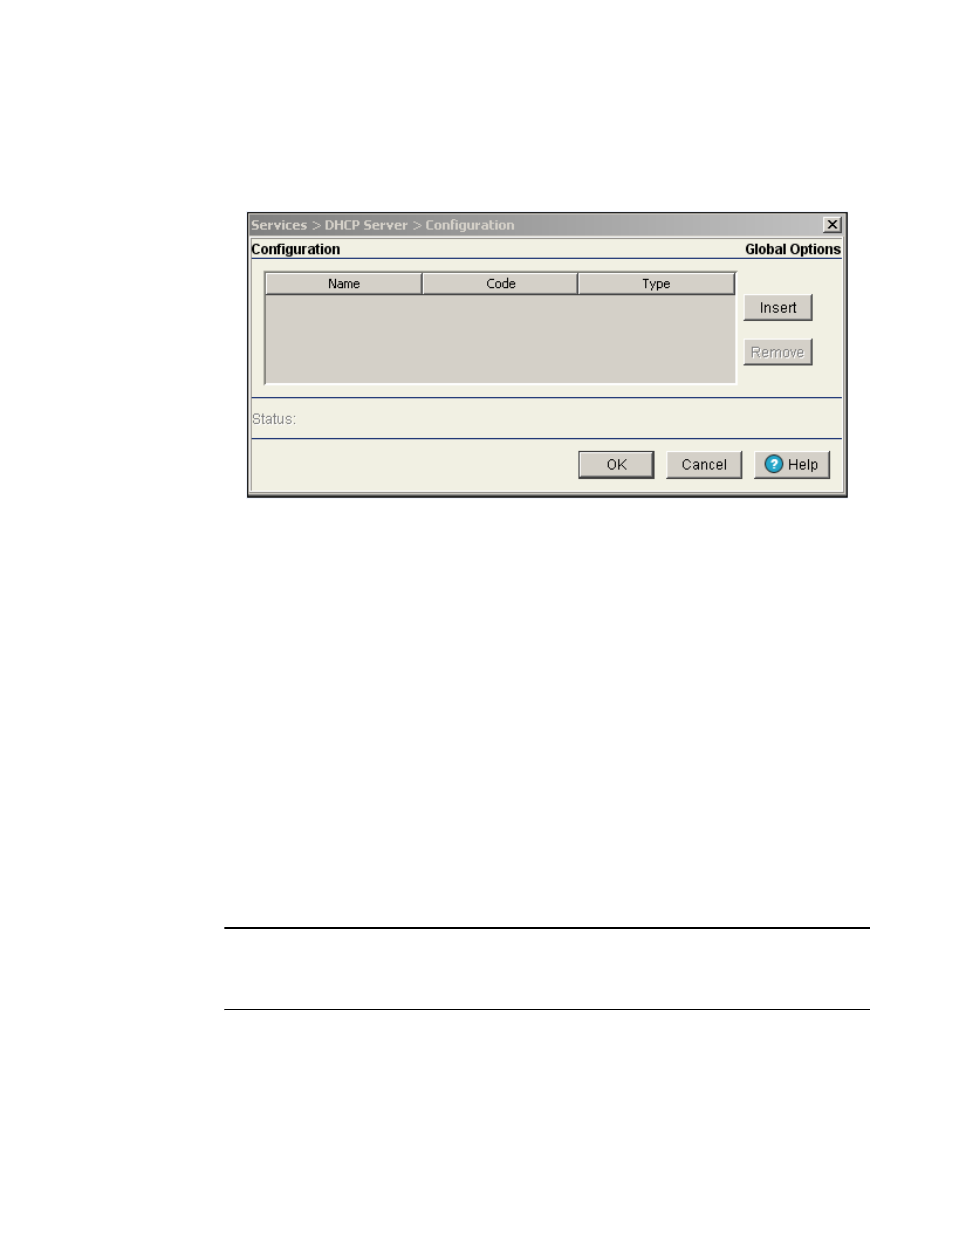
1. Select Services > DHCP Server from the main menu tree.
2. Highlight an existing pool name from within either the Configuration or Host Pool tab and click
the Options Setup button at the bottom of the screen
3. Click the Insert button to display an editable field wherein the name and value of the DHCP
option can be added.
4. Name the option as appropriate, assign a Code (numerical identifier) and use the Type
drop-down options to specify a value of ip or ascii to the DHCP global option.
5. Highlight an entry from within the Global Options screen and click the Remove button to delete
the name and value.
6. Click OK to save and add the changes to the running configuration and forward the updates to
the other peer switches comprising the mobility domain.
7. Refer to the Status field.
The Status is the current state of the requests made from the applet. Requests are any
“SET/GET” operation from the applet. The Status field displays error messages if something
goes wrong in the transaction between the applet and the switch.
8. Click Cancel to close the dialog without committing updates to the running configuration
Configuring DHCP server DDNS values
The DHCP Server screen’s Configuration tab can be used to display an additional DDNS screen.
Use this screen to define a DDNS domain name and address for use with the switch.
NOTE
For an additional (in depth) discussion on the DDNS setup options available on the switch (using
both the switch CLI and Web UI), refer to Chapter 7 of the Migration Guide available for download
from the corporate Website.
To configure a global domain name and DDNS server address: