Defining the layer 3 peer list – Brocade Mobility RFS7000-GR Controller System Reference Guide (Supporting software release 4.1.0.0-040GR and later) User Manual
Page 298
284
Brocade Mobility RFS7000-GR Controller System Reference Guide
53-1001944-01
Layer 3 Mobility
5
Once the settings are applied, MUs within these WLANs can roam amongst different subnets.
6. Select the Enable Mobility checkbox to enable a MU to maintain the same Layer 3 address
while roaming throughout a multi-VLAN network.
7. Select the All WLANs On button to enable mobility for each WLAN listed.
If unsure if you want to enable mobility for each WLAN, manually select just those you want to
enable.
8. Select the All WLANs Off button to disable mobility for each WLAN listed.
9. Click the Apply button to save the changes made within this screen. Clicking Apply overwrites
the previous configuration.
10. Click the Revert button to disregard any changes made within this screen and revert back to
the last saved configuration.
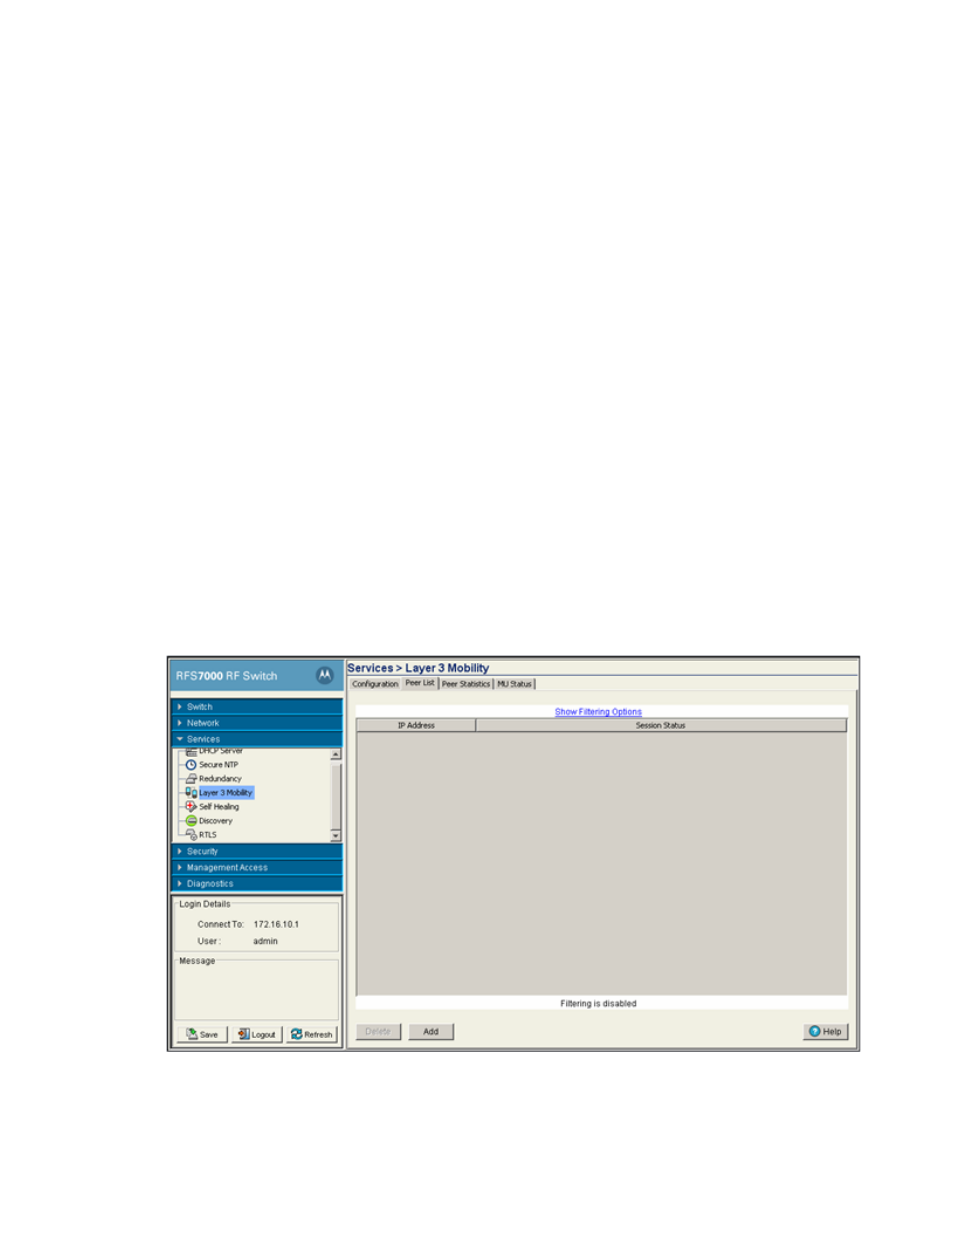
Defining the Layer 3 peer list
The Layer 3 Peer List contains the IP addresses MUs are using to roam amongst various subnets.
This screen is helpful in displaying the IP addresses available to those MUs requiring access to
different subnet resources.
To define the Layer 3 Peer List:
1. Select Services > Layer 3 Mobility from the main menu tree.
The Layer 3 Mobility screen appears with the Configuration tab displayed.
2. Select the Peer List tab.
3. Refer to the contents of the Peer List for existing IP addresses and Layer 3 MU session status.