Reviewing layer 3 peer list statistics – Brocade Mobility RFS7000-GR Controller System Reference Guide (Supporting software release 4.1.0.0-040GR and later) User Manual
Page 299
Brocade Mobility RFS7000-GR Controller System Reference Guide
285
53-1001944-01
Layer 3 Mobility
5
Use this information to determine whether a new IP address needs to be added to the list or an
existing address needs to be removed.
4. Select an IP address from those displayed and click the Delete button to remove the address
from the list available for MU Layer 3 roaming amongst subnets.
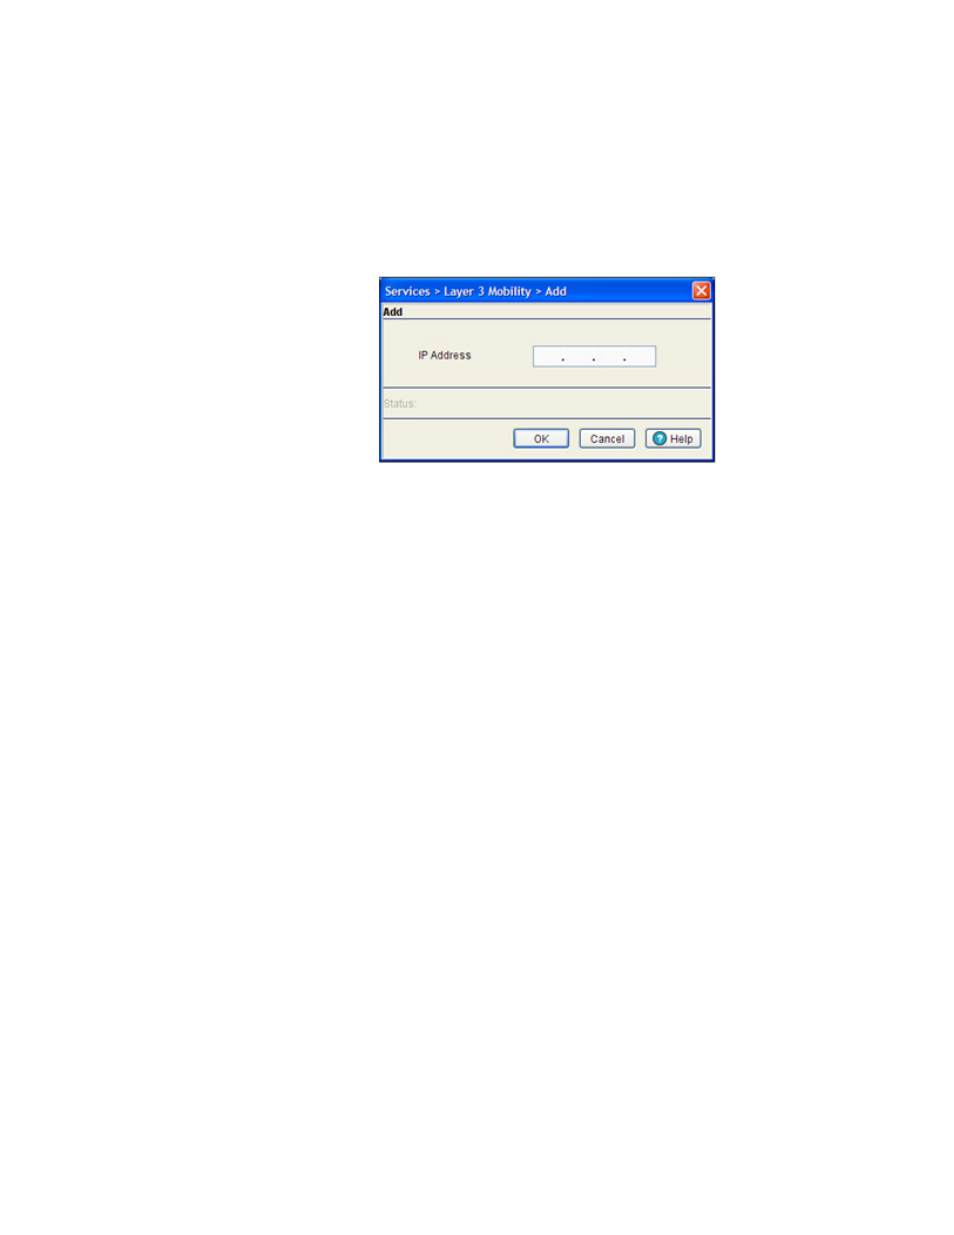
5. Click the Add button to display a screen used for adding the IP address to the list of addresses
available for MU Layer 3 roaming.
Enter the IP addresses in the area provided and click the OK button to add the addresses to
the list displayed within the Peer List screen.
Reviewing Layer 3 peer list statistics
When a MU roams to a current switch on the same layer 3 network, it sends a L2-ROAM message
to the home switch to indicate the MU has roamed within the same VLAN. The old home switch
forwards the information to all its peers. The MU is basically re-synchronized to the new current
switch, but keeps its old IP address. The same procedure is followed, even if the new current switch
is on a different layer 3 subnet, but uses the same VLAN ID (overlapping VLAN scenario).
Tracking these message counts is important to gauge the behavior within the mobility domain.The
Layer 3 Mobility screen contains a tab dedicated to tracking the message sent between the current
switch, home switch and MU.
To view layer 3 peer statistics
1. Select Services > Layer 3 Mobility from the main menu tree.
The Layer 3 Mobility screen appears with the Configuration tab displayed.