Attaching an acl layer 2/layer 3 configuration, Adding or editing a new acl wlan configuration – Brocade Mobility RFS7000-GR Controller System Reference Guide (Supporting software release 4.1.0.0-040GR and later) User Manual
Page 341
Brocade Mobility RFS7000-GR Controller System Reference Guide
327
53-1001944-01
Configuring firewalls and access control lists
6
5. Select a WLAN (by row) and click Edit to modify the WLAN Index, IP ACL and MAC ACL values.
6. Select a row and click the Delete button to delete the ACL from the list available (but not from
the switch).
7. Click the Add button to add an ACL to a WLAN interface. For more information, see
editing a new ACL WLAN configuration”
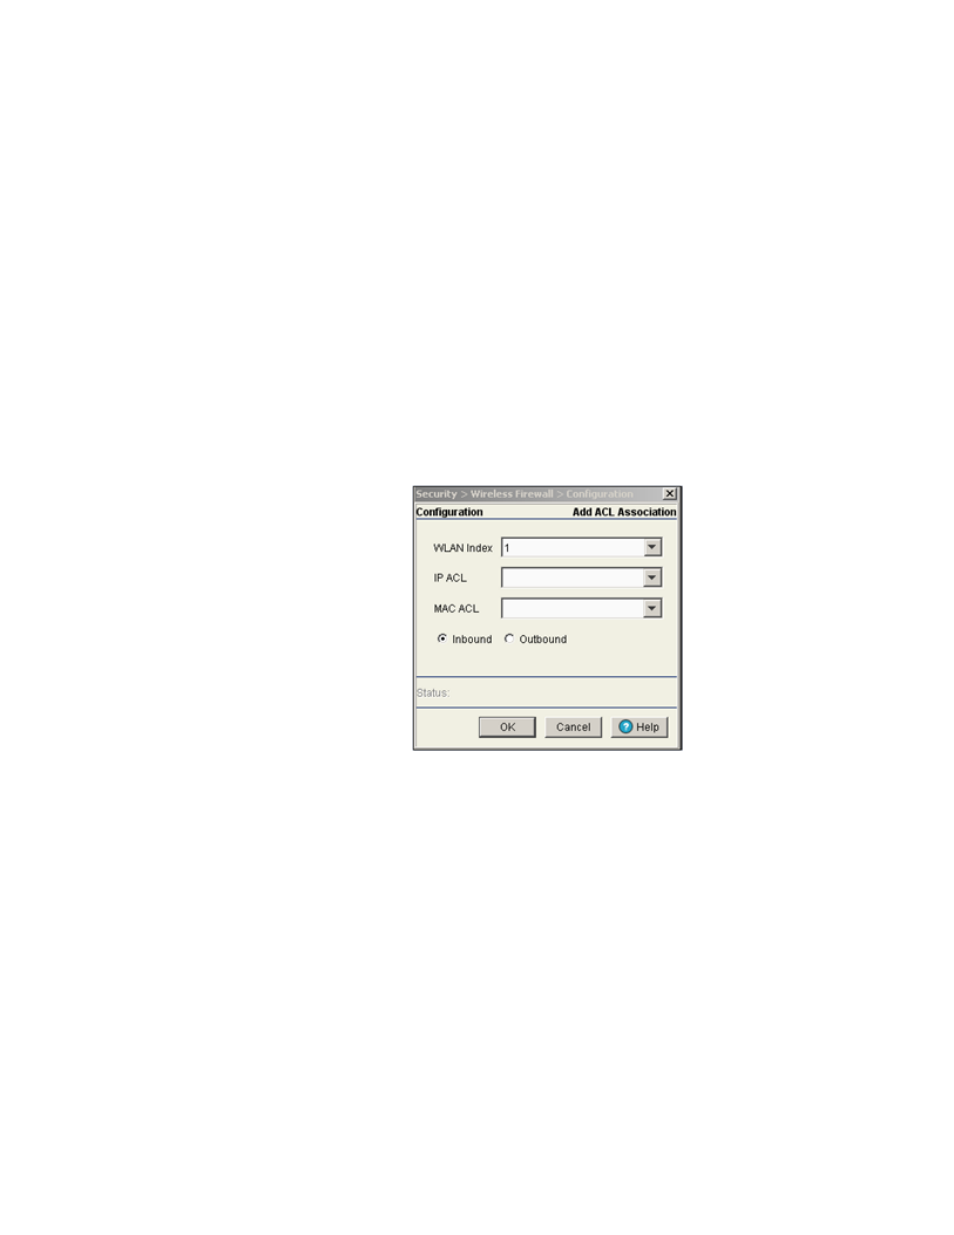
Adding or editing a new ACL WLAN configuration
After creating an ACL, it can be applied to one or more WLANs on the switch. To attach an ACL to a
WLAN:
1. Select Security > Wireless Firewall from the main menu tree.
2. Click the Security Policy tab.
3. Click the Attach-WLAN tab.
4. Click the Add button to create a new ACL WLAN association or highlight an existing association
and click the Edit button.
5. Define a WLAN Index between 1 and 32.
6. Use the IP ACL drop-down menu to select an IP ACL for the WLAN.
7. Use the MAC ACL drop-down menu to select the MAC ACL for the WLAN interface.
8. Select either the Inbound or Outbound radio button to define which direction the ACL applies.
9. Refer to the Status field for the state of the requests made from applet. This field displays error
messages if something goes wrong in the transaction between the applet and the switch.
10. Click OK to use the changes to the running configuration and close the dialog.
11. Click Cancel to close the dialog without committing updates to the running configuration.
Attaching an ACL Layer 2/Layer 3 configuration
Use the Attach-L2/L3 screen to view and assign the ACL to a physical interface or VLAN.
To attach an interface: