Grass Valley Maestro Master Control Installation v.2.4.0 User Manual
Page 412

412
MAESTRO — Installation and Service Manual
Section 16 — EAS Messaging Configuration
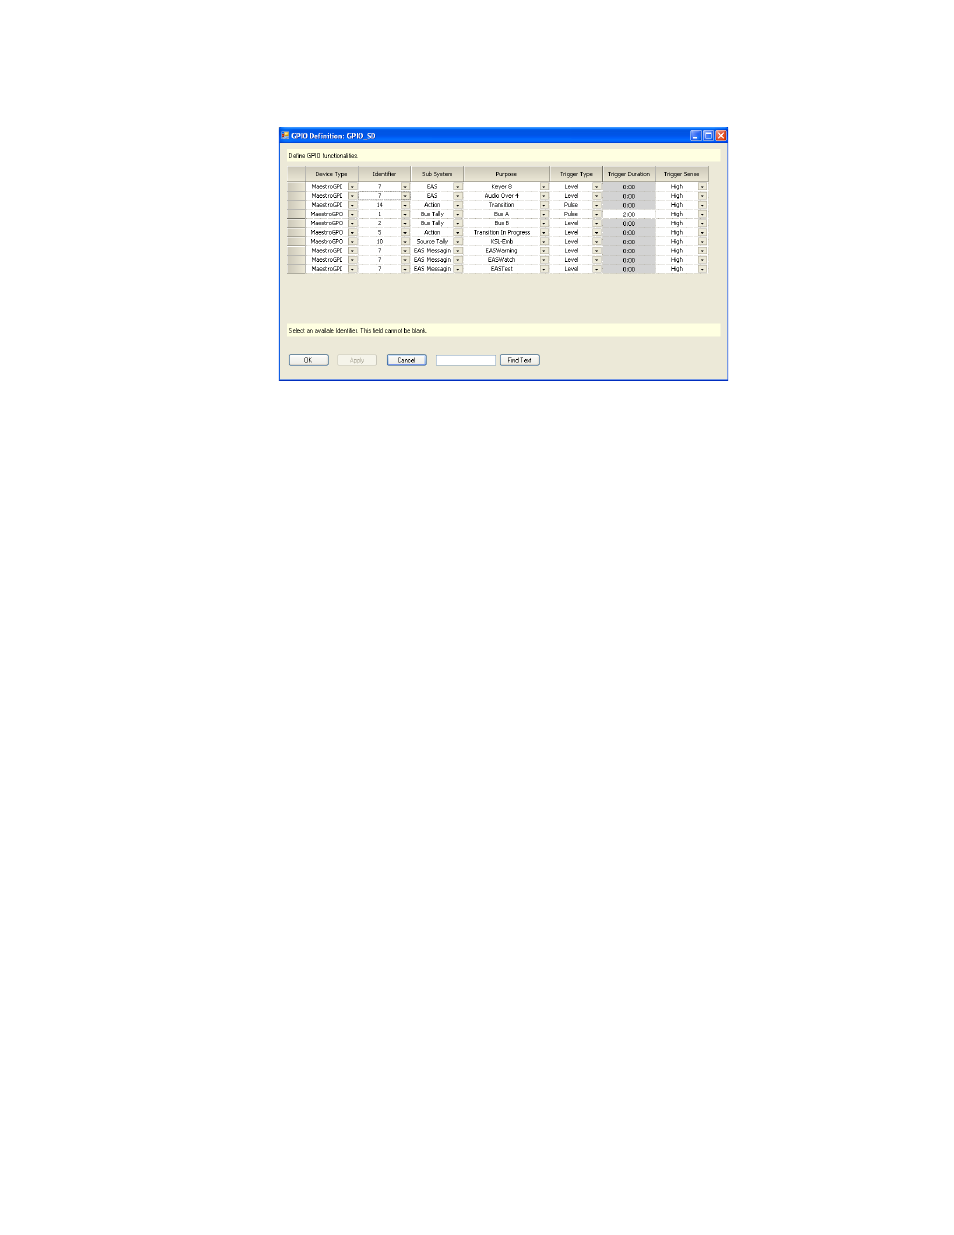
Figure 303. The GPIO Definition Table
Follow these steps to assign the video Keyer-8 and Audio Mixer-4 buttons
to the EAS Fixed assignments option (if they are not already selected):
1.
Enter or modify the row with a Purpose of Keyer 8.
The Device Type must be Maestro GPI and the selected Identifier must
be the same Identifier as the one that was selected for EAS Messaging
Warning, EAS Messaging Watch, EAS Messaging Test, and EAS Mes-
saging User Sub Systems.
2.
Enter or modify the row with a Purpose of Audio Over 4. The Device
Type must be Maestro GPI and the Identifier can be the Same Identifier
as Keyer 8.
3.
Enter three new rows and then select the EAS Messaging Warning, EAS
Messaging Watch, and EAS Messaging Test options from the Sub
System column.
All three of these rows are required, although you could select the same
Purpose (that is Text Crawl source) as desired. The Identifier must be
the same as is entered for Keyer 8.
4.
For each of the three rows entered in
, select the Text Crawl source
(the Internal input that is defined in the Content Definition as having a
Source Type of “Text Crawl”) from the drop-down menu in the Purpose
column
5.
Enter EAS Messaging User types.
Up to 12 User types can be defined (EAS Messaging User1 thru EAS
Messaging User12). The Identifier must be the same as is entered for
Keyer 8. This step is optional.
6.
Select the Text Crawl source for any of the EAS Messaging User types
that were selected in
.
7.
Click the
OK
button and then the
Apply
button.
- Concerto Routing Matrix v.1.7.6.1 Concerto Routing Matrix v.1.8.1 Concerto Routing Matrix v.1.7.5 Kayenne Installation v.4.0 Kayenne Installation v.3.0 Kayenne K-Frame Installation v.6.0 Kayenne K-Frame Installation v.7.0 Kayenne K-Frame Installation v.8.0 Karrera K-Frame S-Series Installation v.8.0 Karrera Video Production Center Installation v.6.0 Karrera Video Production Center Installation v.7.0 Karrera Video Production Center Installation v.4.1 Karrera Video Production Center Installation v.4.0 7600REF v5.0 7600REF v3.0.0.8 7600REF v5.0 Installation 7600REF v3.0.0.8 Installation 7620PX-5 Installation 2012 7620PX Installation 2012 KayenneKayenne v.2.0 v.2.0 Maestro Master Control Installation v.2.3.0 Maestro Master Control Installation v.2.0.0 Maestro Master Control v.2.3.0 7620PX 2012 7620PX-5 2012 7620PX 2008 MVMC 3G VMCR 3G 8900F GeckoFlex Frames Concerto Compact Routing System GPIO-4848 Jupiter Maestro Master Control v.2.2.0 Maestro Master Control v.2.0.0 Maestro Master Control v.2.4.0 Maestro Master Control Installation v.2.2.0 Maestro Master Control Installation v.1.5.1 Maestro Master Control Installation v.1.7
