Grass Valley Maestro Master Control Installation v.2.4.0 User Manual
Page 339
MAESTRO — Installation and Service Manual
339
Channel Branding Hard Drives Installation
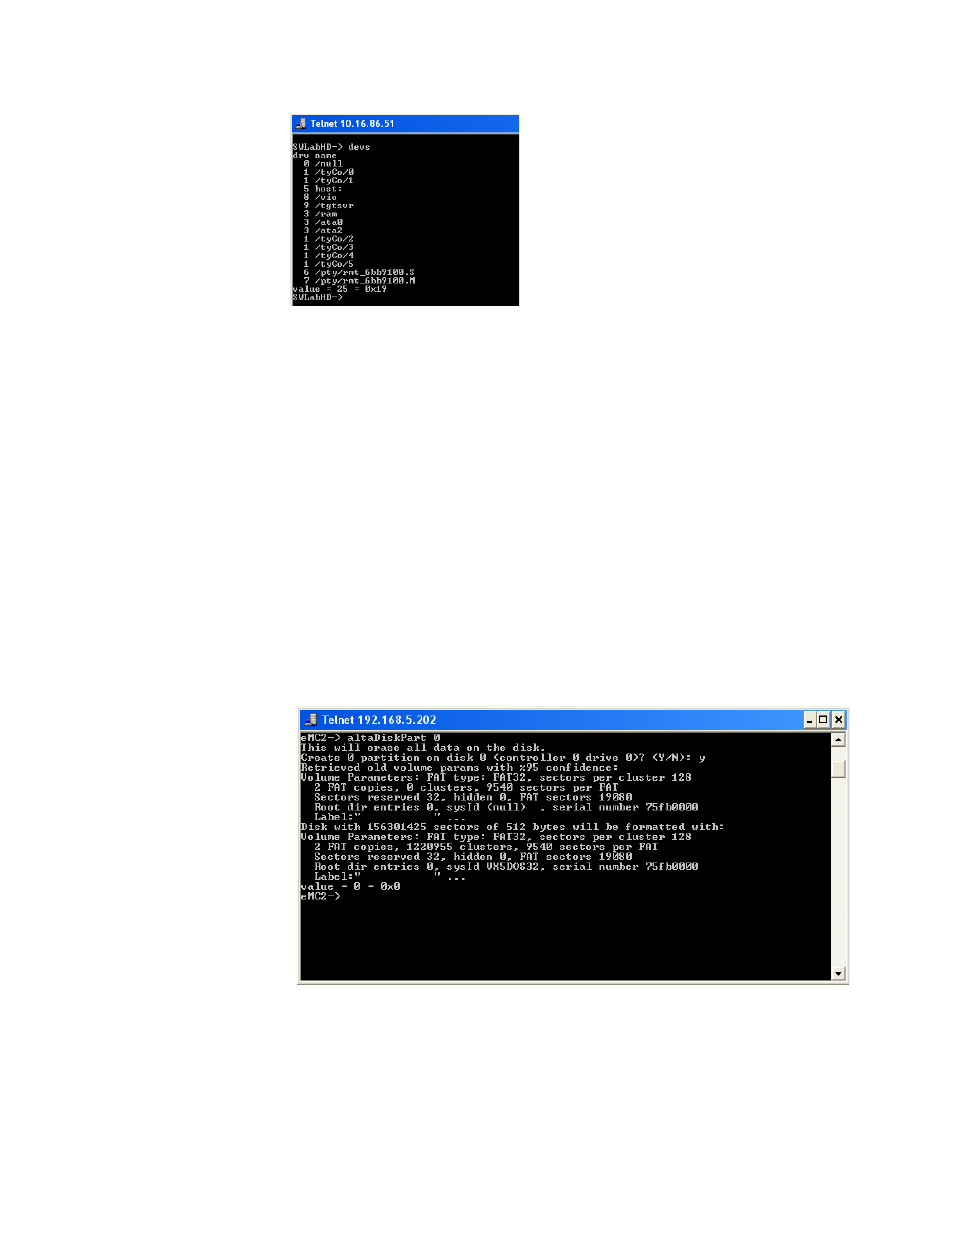
Figure 237. The Telnet Session
3.
Type devs at the prompt to display all devices. All mounted drives will
then appear in the list as illustrated in
.
4.
Enter the command: altaDiskPart X at the prompt, where X is the
ata disk number. The command is case sensitive and must be entered as
shown in the step above, with the correct disk number instead of the
“X.” (See
for more information about hard disk
information.)
A confirmation prompt will then appear. If this prompt does not appear, re-
enter the command.
5.
Enter “y” at the confirmation prompt to proceed with partitioning and
formatting.
When partitioning and formatting is complete, the status information is
then displayed. See
Figure 238. Disk Partitioning Command and Status
6.
Type dosFsVolFormat X to format the drive.
The CHKDSK Command (optional)
- Concerto Routing Matrix v.1.7.6.1 Concerto Routing Matrix v.1.8.1 Concerto Routing Matrix v.1.7.5 Kayenne Installation v.4.0 Kayenne Installation v.3.0 Kayenne K-Frame Installation v.6.0 Kayenne K-Frame Installation v.7.0 Kayenne K-Frame Installation v.8.0 Karrera K-Frame S-Series Installation v.8.0 Karrera Video Production Center Installation v.6.0 Karrera Video Production Center Installation v.7.0 Karrera Video Production Center Installation v.4.1 Karrera Video Production Center Installation v.4.0 7600REF v5.0 7600REF v3.0.0.8 7600REF v5.0 Installation 7600REF v3.0.0.8 Installation 7620PX-5 Installation 2012 7620PX Installation 2012 KayenneKayenne v.2.0 v.2.0 Maestro Master Control Installation v.2.3.0 Maestro Master Control Installation v.2.0.0 Maestro Master Control v.2.3.0 7620PX 2012 7620PX-5 2012 7620PX 2008 MVMC 3G VMCR 3G 8900F GeckoFlex Frames Concerto Compact Routing System GPIO-4848 Jupiter Maestro Master Control v.2.2.0 Maestro Master Control v.2.0.0 Maestro Master Control v.2.4.0 Maestro Master Control Installation v.2.2.0 Maestro Master Control Installation v.1.5.1 Maestro Master Control Installation v.1.7