Grass Valley Maestro Master Control Installation v.2.4.0 User Manual
Page 340
340
MAESTRO — Installation and Service Manual
Section 9 — Channel Branding Hardware Installation
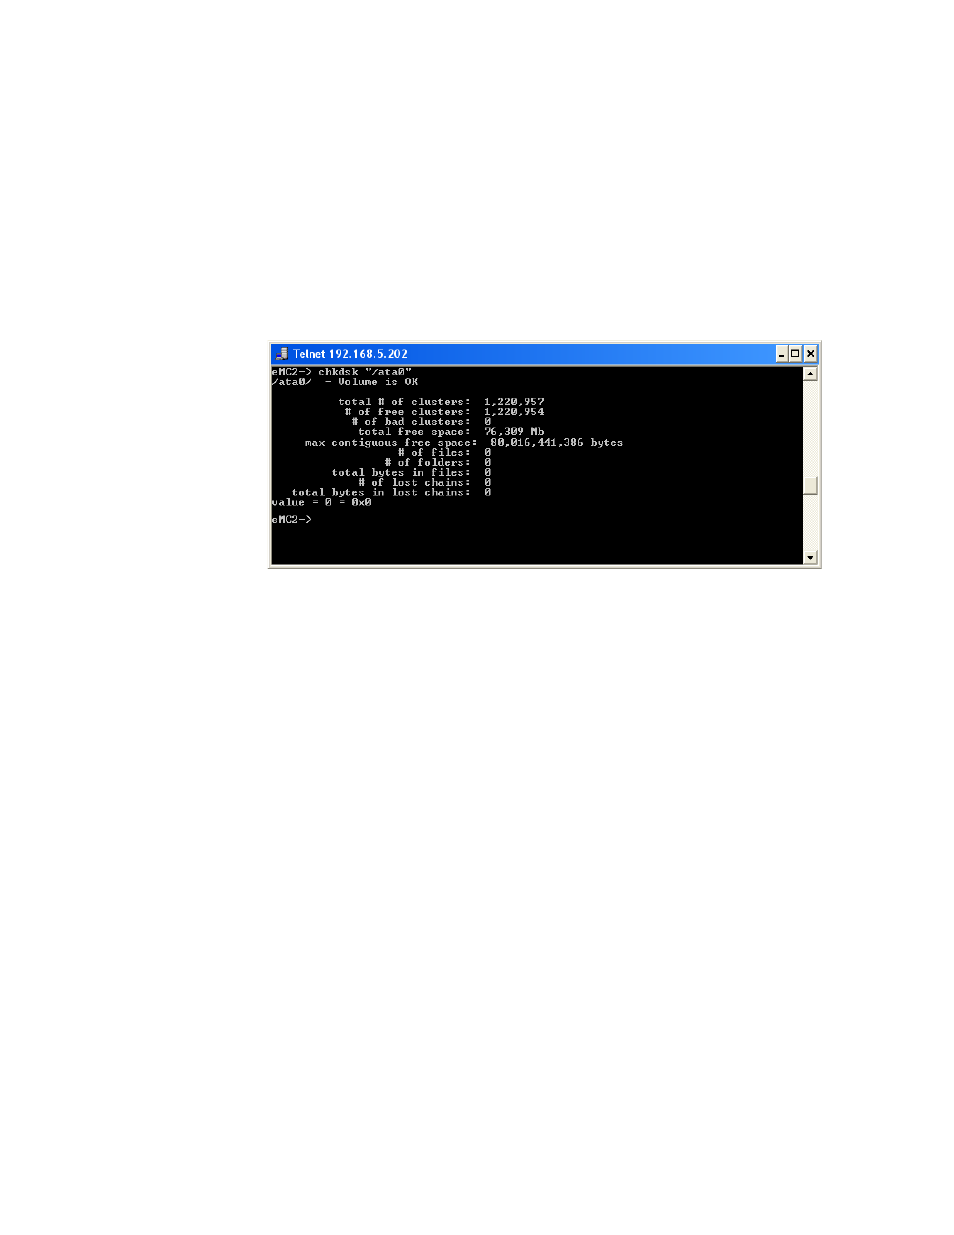
7.
Verify the partition and format by entering the following at the
command prompt (This step is optional):
chkdsk “/ataX”
where X is the ata disk number (0-3) of the disk.
Note
The quotation marks around the ata disk designator are required.
Verifying the partition may take a while to complete. After verification,
information, which is similar to that shown in
, will be dis-
played.
Figure 239. Partition Verification Information
Note
Disk verification may cause the Maestro Processor to temporarily lose com-
munications with the Deployment Center. However, channel service is not
interrupted during the loss of communications.
Repeat these steps for each drive as needed.
Un-Mounting and Mounting a Hard Disk
After formatting a hard disk drive, you will need to un-mount and then
mount the hard disk to complete the formatting process. The hard disk will
not work as expected if this step is ignored. See
Follow these steps to un-mount and then mount a hard disk:
1.
Press the
Mount
button on the Maestro Main board. The amber Drive
Mounted LED will flash and then off.
The hard disk is now un-mounted.
2.
Press the
Mount
Button again to mount the hard disk.
•
The Drive Activity LED will quickly flash green and then the Drive
Mounted LED will then turn amber.
- Concerto Routing Matrix v.1.7.6.1 Concerto Routing Matrix v.1.8.1 Concerto Routing Matrix v.1.7.5 Kayenne Installation v.4.0 Kayenne Installation v.3.0 Kayenne K-Frame Installation v.6.0 Kayenne K-Frame Installation v.7.0 Kayenne K-Frame Installation v.8.0 Karrera K-Frame S-Series Installation v.8.0 Karrera Video Production Center Installation v.6.0 Karrera Video Production Center Installation v.7.0 Karrera Video Production Center Installation v.4.1 Karrera Video Production Center Installation v.4.0 7600REF v5.0 7600REF v3.0.0.8 7600REF v5.0 Installation 7600REF v3.0.0.8 Installation 7620PX-5 Installation 2012 7620PX Installation 2012 KayenneKayenne v.2.0 v.2.0 Maestro Master Control Installation v.2.3.0 Maestro Master Control Installation v.2.0.0 Maestro Master Control v.2.3.0 7620PX 2012 7620PX-5 2012 7620PX 2008 MVMC 3G VMCR 3G 8900F GeckoFlex Frames Concerto Compact Routing System GPIO-4848 Jupiter Maestro Master Control v.2.2.0 Maestro Master Control v.2.0.0 Maestro Master Control v.2.4.0 Maestro Master Control Installation v.2.2.0 Maestro Master Control Installation v.1.5.1 Maestro Master Control Installation v.1.7