Installing the maestro software package – Grass Valley Maestro Master Control Installation v.2.4.0 User Manual
Page 301
MAESTRO — Installation and Service Manual
301
Software Upgrade Procedure
7.
Add the current version to the name. For example, add v2.4.0.
8.
Close all Maestro applications.
Installing the Maestro Software Package
The following instructions show the steps that are needed to install Mae-
stro. The installation process will check if a previous version is installed on
the Maestro Deployment computer. You must remove the previous version
of Maestro to install the latest version. These steps are explained below.
Follow these steps to start the Maestro application installation process:
1.
Insert the supplied software CDROM into the computer’s CD Drive.
2.
Follow the prompts on the screen.
The CD should automatically start the installation process. If not,
browse to the CD, using Window Explorer, and then click the setup.exe
icon.
Note
If this is an Initial installation, you may see a message asking if you want to
install Microsoft .NET Framework. If so, select the Yes button. (The 3.5 SP1
version of .NET is located on the CD.)
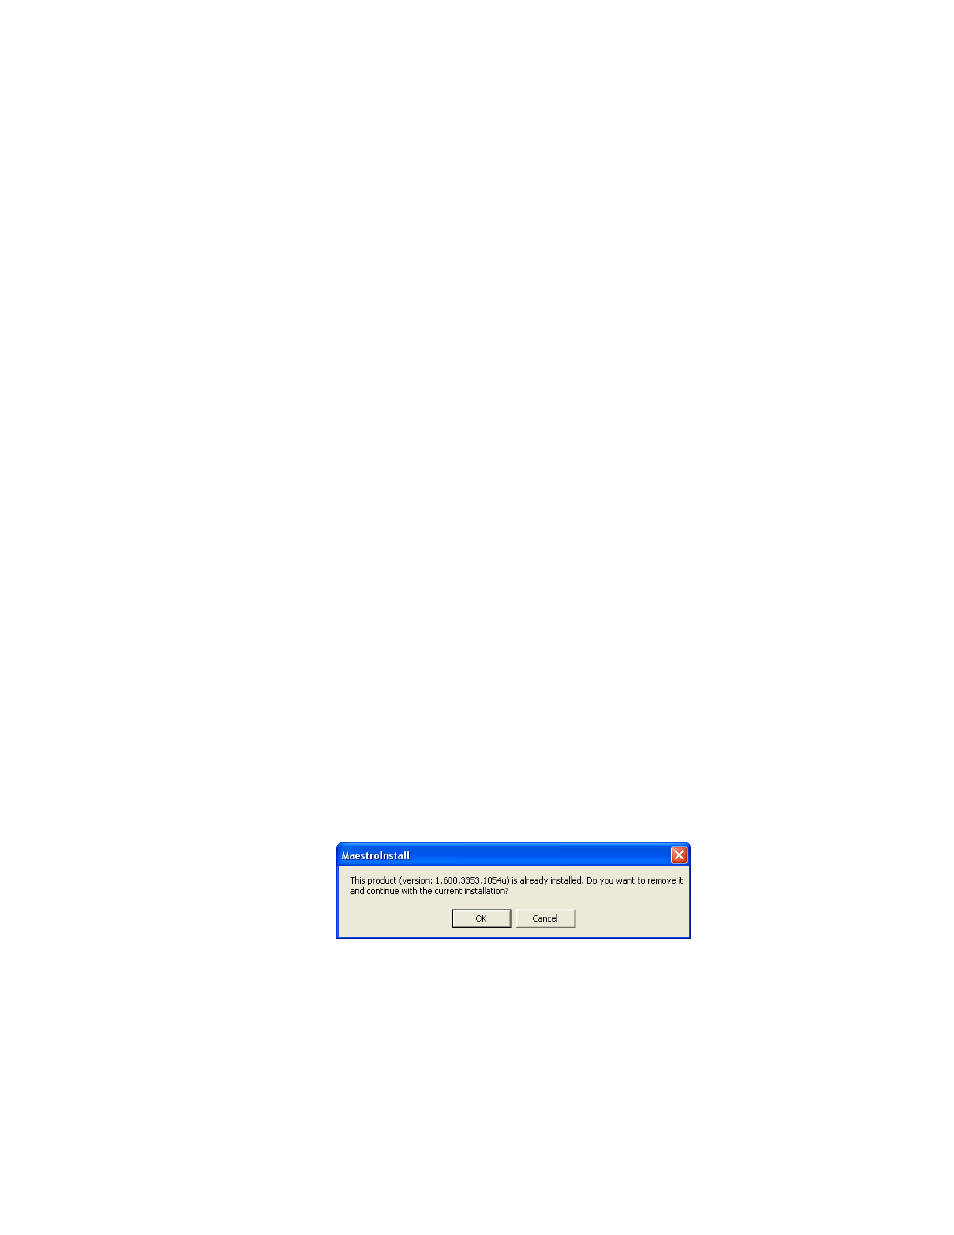
Automatically Removing the Previous Version of Maestro
When the installation auto runs from the CD, or is started manually by
running the MaestroInstall.exe file, the previously installed Maestro
software is automatically detected as shown in
. You will
then be prompted to remove the older version of the software before
proceeding with the installation of the new software.
Note
Removing the previously installed Maestro software will NOT remove or
delete the existing configuration or graphic data.
Figure 191. Automatic Detection of Prior Software Version
1.
Click the
OK
button to proceed with removal of the previous software
version. A new popup will then appear that will show the progress of
the removal status (
- Concerto Routing Matrix v.1.7.6.1 Concerto Routing Matrix v.1.8.1 Concerto Routing Matrix v.1.7.5 Kayenne Installation v.4.0 Kayenne Installation v.3.0 Kayenne K-Frame Installation v.6.0 Kayenne K-Frame Installation v.7.0 Kayenne K-Frame Installation v.8.0 Karrera K-Frame S-Series Installation v.8.0 Karrera Video Production Center Installation v.6.0 Karrera Video Production Center Installation v.7.0 Karrera Video Production Center Installation v.4.1 Karrera Video Production Center Installation v.4.0 7600REF v5.0 7600REF v3.0.0.8 7600REF v5.0 Installation 7600REF v3.0.0.8 Installation 7620PX-5 Installation 2012 7620PX Installation 2012 KayenneKayenne v.2.0 v.2.0 Maestro Master Control Installation v.2.3.0 Maestro Master Control Installation v.2.0.0 Maestro Master Control v.2.3.0 7620PX 2012 7620PX-5 2012 7620PX 2008 MVMC 3G VMCR 3G 8900F GeckoFlex Frames Concerto Compact Routing System GPIO-4848 Jupiter Maestro Master Control v.2.2.0 Maestro Master Control v.2.0.0 Maestro Master Control v.2.4.0 Maestro Master Control Installation v.2.2.0 Maestro Master Control Installation v.1.5.1 Maestro Master Control Installation v.1.7