Grass Valley Maestro Master Control Installation v.2.4.0 User Manual
Page 286
286
MAESTRO Installation and Service Manual
Section 7 — Prelude Control System Interface
3.
Select the
Prelude
radio button.
4.
Select the
Use Multicast
radio button from the System Broadcast Select
list.
5.
Select a System Identifier. In this example, “2” was selected.
Note
The Use Multicast radio button must be selected before selecting the system
identifier.
6.
Select the
Do reset
check box.
7.
Click the
Save New Settings
button. The panel indicator, in the IP View,
will then be reset. The device will change color to red and then back to
green.
8.
Select the other Prelude panel, if applicable, and repeat the above steps.
Note
The settings MUST be identical for all panels that control the same matrices.
Updating the Panels to the Latest Version of Prelude
With the Panels configured, you must now update them to the latest
version of software.
Follow these steps to update the Panels to the latest version of Prelude:
1.
Click the
Load SW
button at the top of the NetConfig application or select
Configure > Load Software. A window showing the hierarchy of the
software available will then appear.
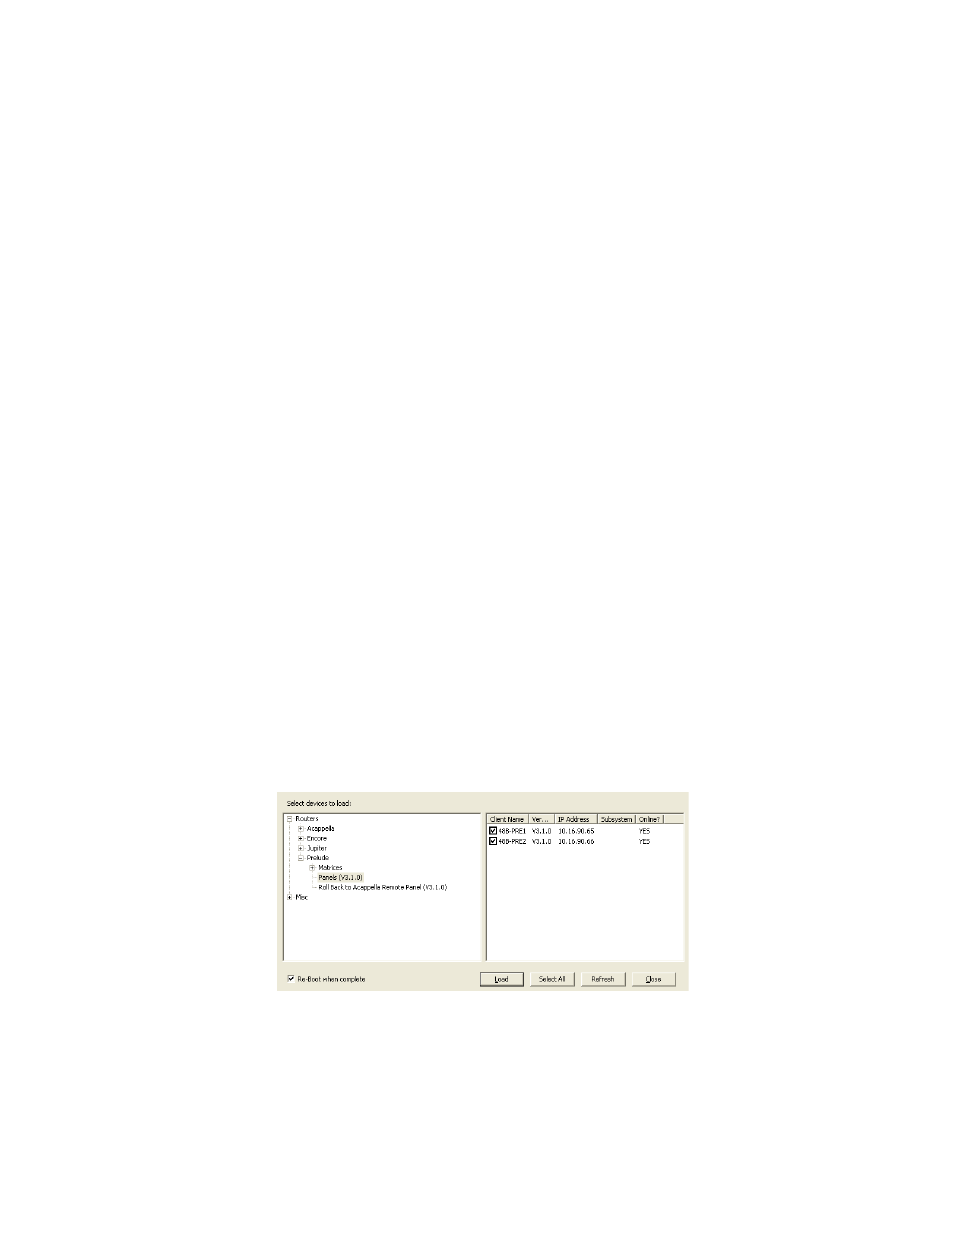
2.
Click Routers > Prelude> Panels (version #) in the left side window.
This will display the software versions available for loading in the right
side of the window.
Figure 175. NetConfig’s Load Software Window
3.
Select the panels with the latest software to be loaded by checking the
associated check boxes (
).
4.
Select the
Re-Boot when complete
check box.
- Concerto Routing Matrix v.1.7.6.1 Concerto Routing Matrix v.1.8.1 Concerto Routing Matrix v.1.7.5 Kayenne Installation v.4.0 Kayenne Installation v.3.0 Kayenne K-Frame Installation v.6.0 Kayenne K-Frame Installation v.7.0 Kayenne K-Frame Installation v.8.0 Karrera K-Frame S-Series Installation v.8.0 Karrera Video Production Center Installation v.6.0 Karrera Video Production Center Installation v.7.0 Karrera Video Production Center Installation v.4.1 Karrera Video Production Center Installation v.4.0 7600REF v5.0 7600REF v3.0.0.8 7600REF v5.0 Installation 7600REF v3.0.0.8 Installation 7620PX-5 Installation 2012 7620PX Installation 2012 KayenneKayenne v.2.0 v.2.0 Maestro Master Control Installation v.2.3.0 Maestro Master Control Installation v.2.0.0 Maestro Master Control v.2.3.0 7620PX 2012 7620PX-5 2012 7620PX 2008 MVMC 3G VMCR 3G 8900F GeckoFlex Frames Concerto Compact Routing System GPIO-4848 Jupiter Maestro Master Control v.2.2.0 Maestro Master Control v.2.0.0 Maestro Master Control v.2.4.0 Maestro Master Control Installation v.2.2.0 Maestro Master Control Installation v.1.5.1 Maestro Master Control Installation v.1.7