Figure 240, For led location – Grass Valley Maestro Master Control Installation v.2.4.0 User Manual
Page 341
MAESTRO — Installation and Service Manual
341
Channel Branding Hard Drives Installation
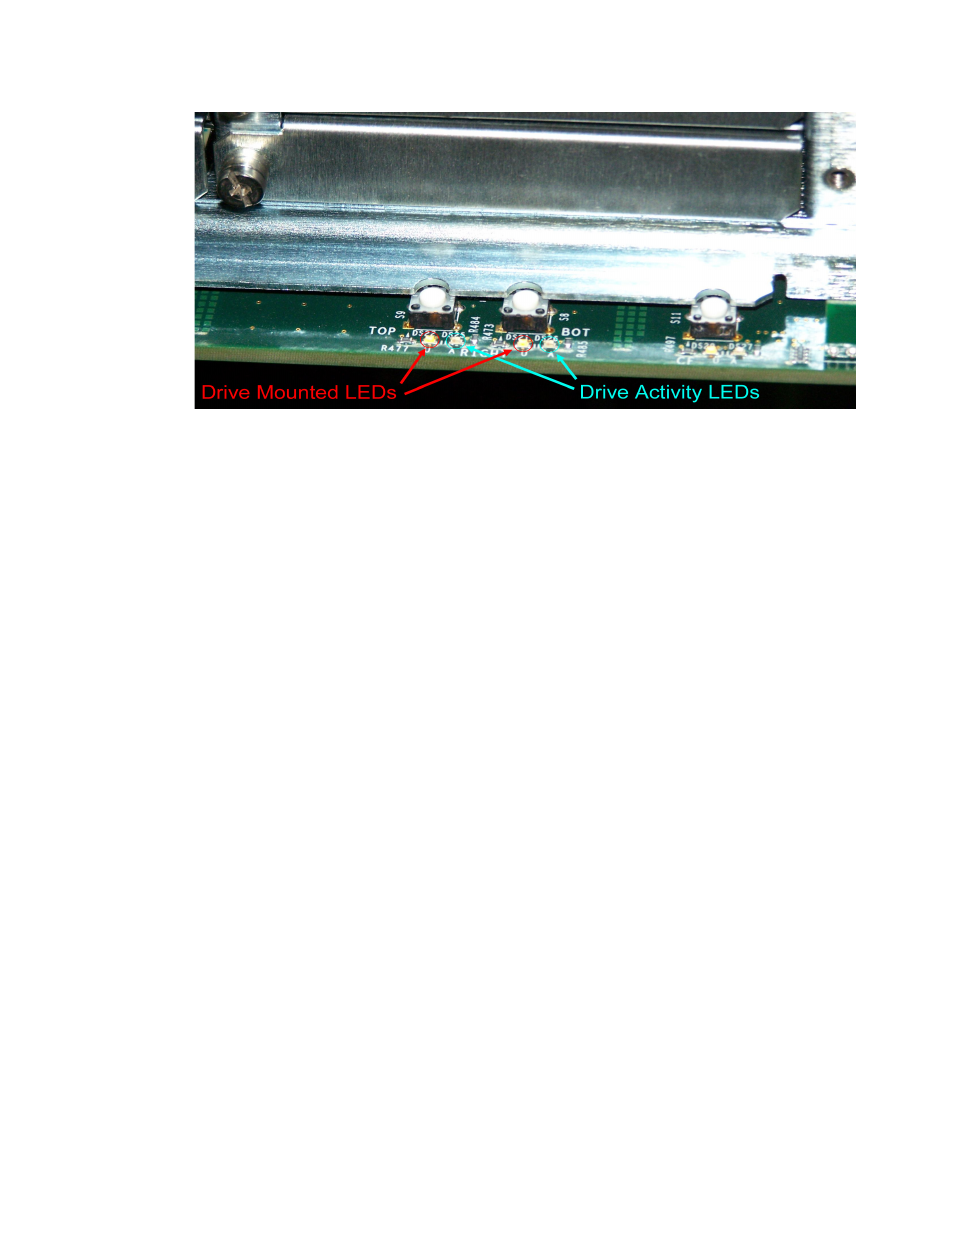
Figure 240. Drive Mount and Activity LEDs
The drive is now mounted and will work as expected. You must re-deploy
the TAR file.
Re-deploying the Application’s TAR files to the Frame Processor
Now that the disks are formatted and contain nothing, the Application TAR
file should be redeployed using the
Update Only
button in the Software
Application section of the Maestro Deployment Center application.
Follow the steps listed in the
Deploying the Application’s TAR Files to the
to re-deploy the application’s TAR files to the
Frame processor.
Reactivating the Preferred Configuration File
The reactivation of the preferred Configuration file must be completed
using the
Update and Apply
button in the Configuration section of the Maestro
Deployment Center application.
Follow these steps to reactivate the preferred Configuration file:
1.
Start the Maestro Deployment Control Center application if is not
already started.
2.
Verify that the Folder field has the correct path entered. (The default
location is: C:\Thomson)
3.
Select the preferred configuration file from the File drop-down list.
- Concerto Routing Matrix v.1.7.6.1 Concerto Routing Matrix v.1.8.1 Concerto Routing Matrix v.1.7.5 Kayenne Installation v.4.0 Kayenne Installation v.3.0 Kayenne K-Frame Installation v.6.0 Kayenne K-Frame Installation v.7.0 Kayenne K-Frame Installation v.8.0 Karrera K-Frame S-Series Installation v.8.0 Karrera Video Production Center Installation v.6.0 Karrera Video Production Center Installation v.7.0 Karrera Video Production Center Installation v.4.1 Karrera Video Production Center Installation v.4.0 7600REF v5.0 7600REF v3.0.0.8 7600REF v5.0 Installation 7600REF v3.0.0.8 Installation 7620PX-5 Installation 2012 7620PX Installation 2012 KayenneKayenne v.2.0 v.2.0 Maestro Master Control Installation v.2.3.0 Maestro Master Control Installation v.2.0.0 Maestro Master Control v.2.3.0 7620PX 2012 7620PX-5 2012 7620PX 2008 MVMC 3G VMCR 3G 8900F GeckoFlex Frames Concerto Compact Routing System GPIO-4848 Jupiter Maestro Master Control v.2.2.0 Maestro Master Control v.2.0.0 Maestro Master Control v.2.4.0 Maestro Master Control Installation v.2.2.0 Maestro Master Control Installation v.1.5.1 Maestro Master Control Installation v.1.7