Creating a shared folder, Llustrated in, Figure 245 – Grass Valley Maestro Master Control Installation v.2.4.0 User Manual
Page 347
MAESTRO — Installation and Service Manual
347
Installing the Content Gateway
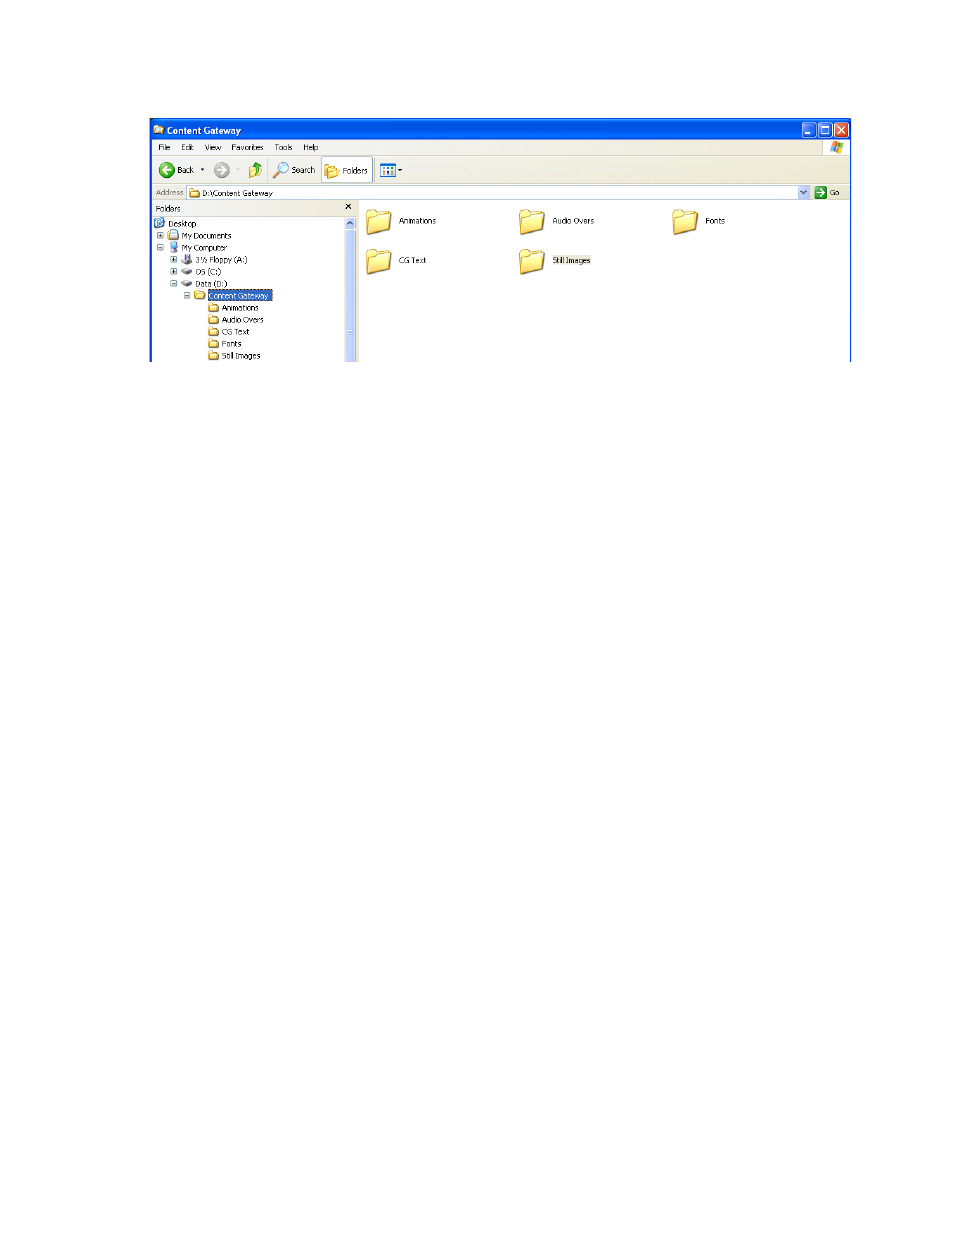
Figure 245. Content Gateway Folder Structure Example
2.
Share the Content Gateway directories on the Deployment/Content
Gateway PC(s) so they are accessible on the network. See the
section for instructions for sharing a folder.
3.
Map a drive to the shared drive/directory on the Deployment/Content
Gateway PC from the Branding Element Production computer(s) on the
local Branding Element Production LAN. See the
section for instructions for mapping a folder.
4.
Copy all the branding element files, which you wish to make available
to Maestro channels, to the appropriate folders on the mapped Content
Gateway drive (drive X: in
Branding elements stored in the Content Gateway folders are configured
for use by Maestro channels in the next section. Proceed to
Section 10-Channel Branding Configuration.
Creating a Shared Folder
Follow these steps to create a share in Windows XP:
1.
Select the top level Content Gateway folder in the Windows Explorer
folder view.
2.
Right-click on the folder name and select “Sharing and Security” from
the menu. The sharing properties dialog illustrated in
then appear.
- Concerto Routing Matrix v.1.7.6.1 Concerto Routing Matrix v.1.8.1 Concerto Routing Matrix v.1.7.5 Kayenne Installation v.4.0 Kayenne Installation v.3.0 Kayenne K-Frame Installation v.6.0 Kayenne K-Frame Installation v.7.0 Kayenne K-Frame Installation v.8.0 Karrera K-Frame S-Series Installation v.8.0 Karrera Video Production Center Installation v.6.0 Karrera Video Production Center Installation v.7.0 Karrera Video Production Center Installation v.4.1 Karrera Video Production Center Installation v.4.0 7600REF v5.0 7600REF v3.0.0.8 7600REF v5.0 Installation 7600REF v3.0.0.8 Installation 7620PX-5 Installation 2012 7620PX Installation 2012 KayenneKayenne v.2.0 v.2.0 Maestro Master Control Installation v.2.3.0 Maestro Master Control Installation v.2.0.0 Maestro Master Control v.2.3.0 7620PX 2012 7620PX-5 2012 7620PX 2008 MVMC 3G VMCR 3G 8900F GeckoFlex Frames Concerto Compact Routing System GPIO-4848 Jupiter Maestro Master Control v.2.2.0 Maestro Master Control v.2.0.0 Maestro Master Control v.2.4.0 Maestro Master Control Installation v.2.2.0 Maestro Master Control Installation v.1.5.1 Maestro Master Control Installation v.1.7