Figure 247 – Grass Valley Maestro Master Control Installation v.2.4.0 User Manual
Page 349

MAESTRO — Installation and Service Manual
349
Installing the Content Gateway
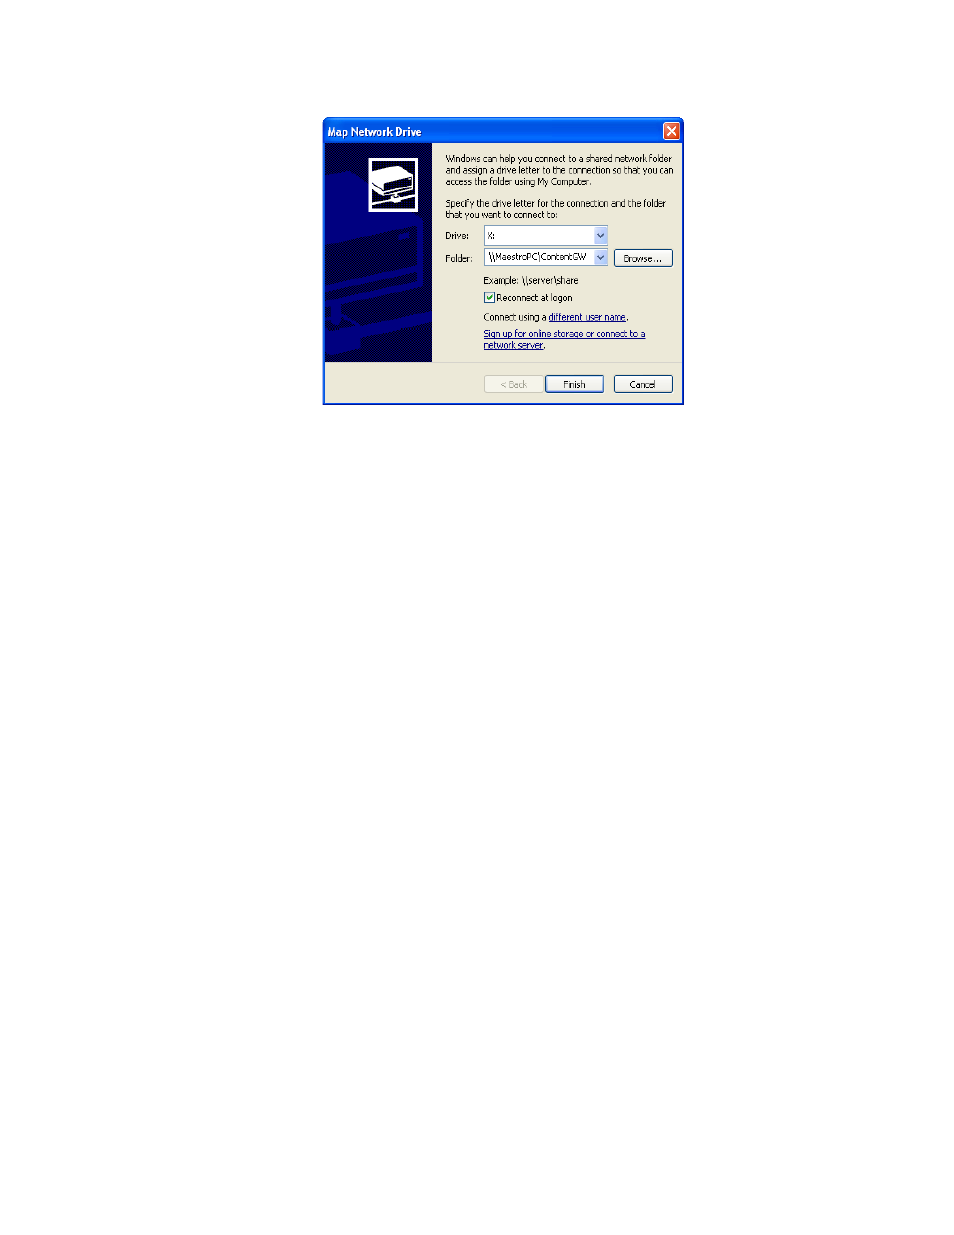
Figure 247. Map Network Drive Dialog
2.
Select the drive letter you want to map to the Content Gateway shared
folder from the Drive: drop-down list.
3.
Enter the name of the computer that contains the Content Gateway
folders, and the share name that was entered when you created the
shared folder (
), in the Folder: field. The
Browse...
button may also
be used to locate the desired computer and shared folder.
Note
The format is \\{computer name}\{share name} for example \\MaestroPC\Con-
tentGW.
4.
Check the “Reconnect at Logon” box if you wish to re-establish this
drive mapping each time you logon to the branding element
production computer.
5.
Click the
Finish
button to map the drive to the shared Content Gateway
directory.
- Concerto Routing Matrix v.1.7.6.1 Concerto Routing Matrix v.1.8.1 Concerto Routing Matrix v.1.7.5 Kayenne Installation v.4.0 Kayenne Installation v.3.0 Kayenne K-Frame Installation v.6.0 Kayenne K-Frame Installation v.7.0 Kayenne K-Frame Installation v.8.0 Karrera K-Frame S-Series Installation v.8.0 Karrera Video Production Center Installation v.6.0 Karrera Video Production Center Installation v.7.0 Karrera Video Production Center Installation v.4.1 Karrera Video Production Center Installation v.4.0 7600REF v5.0 7600REF v3.0.0.8 7600REF v5.0 Installation 7600REF v3.0.0.8 Installation 7620PX-5 Installation 2012 7620PX Installation 2012 KayenneKayenne v.2.0 v.2.0 Maestro Master Control Installation v.2.3.0 Maestro Master Control Installation v.2.0.0 Maestro Master Control v.2.3.0 7620PX 2012 7620PX-5 2012 7620PX 2008 MVMC 3G VMCR 3G 8900F GeckoFlex Frames Concerto Compact Routing System GPIO-4848 Jupiter Maestro Master Control v.2.2.0 Maestro Master Control v.2.0.0 Maestro Master Control v.2.4.0 Maestro Master Control Installation v.2.2.0 Maestro Master Control Installation v.1.5.1 Maestro Master Control Installation v.1.7
