Partitioning and formatting a drive, Optional), Figure 234 – Grass Valley Maestro Master Control Installation v.2.4.0 User Manual
Page 336

336
MAESTRO — Installation and Service Manual
Section 9 — Channel Branding Hardware Installation
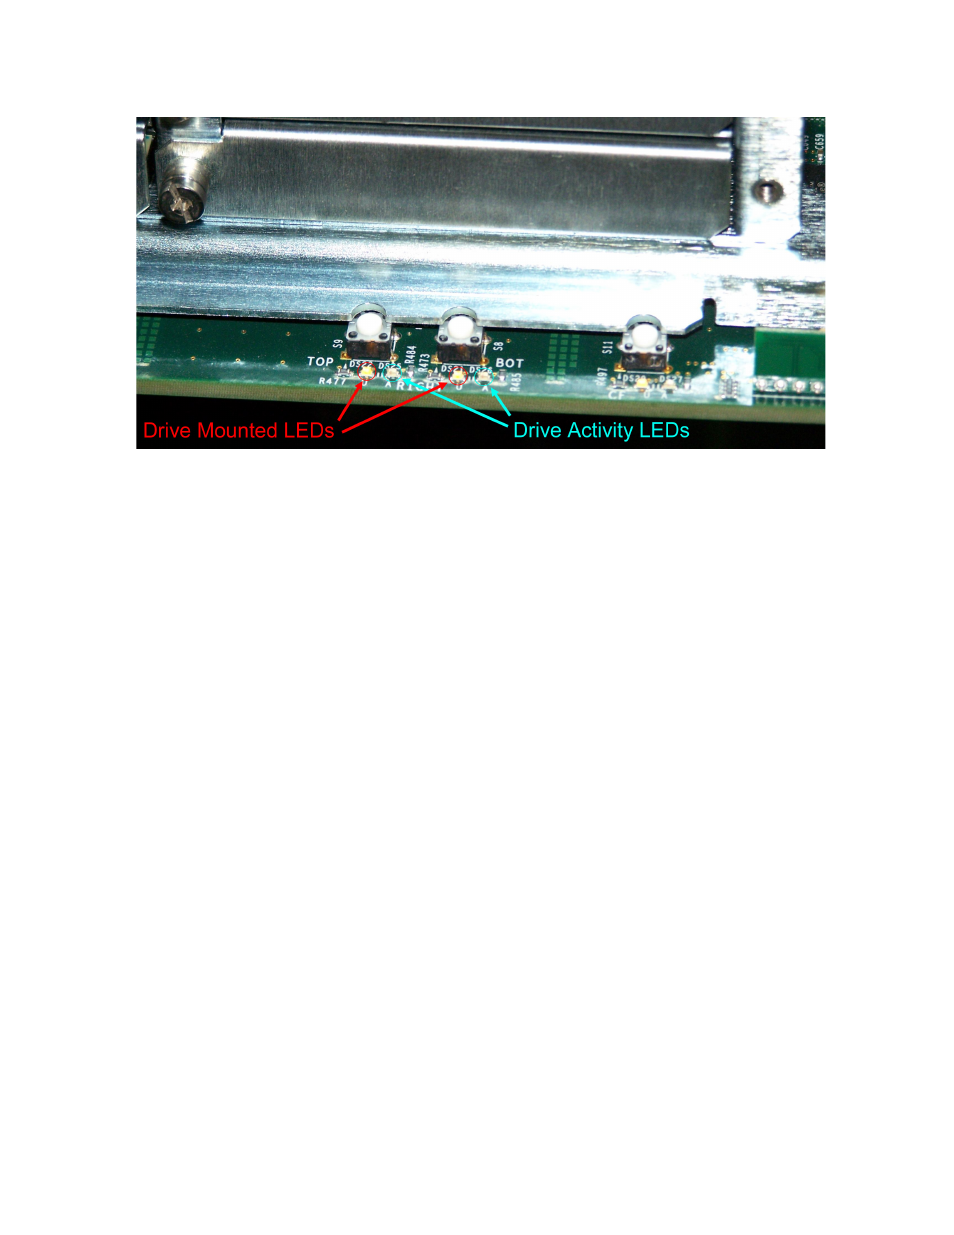
Figure 234. Drive Mount and Activity LEDs
If the mounted drive was received from Grass Valley, proceed to Installing
the Content Gateway
. Partitioning and formatting the drive is
only necessary if replacing a Grass Valley supplied drive.
Partitioning and Formatting a Drive
Note
Partitioning and formatting a drive is necessary only if replacing a drive pro-
vided by Grass Valley. Drives received from Grass Valley have been parti-
tioned, formatted and tested prior to shipment.
There are six steps that you must follow to use the 48-bit LBA system:
1.
Install the 2.2 version (or later) of the software on to the Deployment
PC.
2.
Deploy the application’s TAR files to the Frame processor.
3.
Format and partition the hard disks.
4.
Un-mount and then mount the formatted hard disk
5.
Re-deploy the application’s TAR files to the Frame processor.
6.
Reactivate the preferred Configuration file.
Each of these steps is described in detail below.
CAUTION Grass Valley recommends that you have a back up of the data on the Deploy-
ment PC before you format your hard disks on the Maestro frame. You will
also need to allow sufficient time to re-cache the media from the Deployment
PC.
- Concerto Routing Matrix v.1.7.6.1 Concerto Routing Matrix v.1.8.1 Concerto Routing Matrix v.1.7.5 Kayenne Installation v.4.0 Kayenne Installation v.3.0 Kayenne K-Frame Installation v.6.0 Kayenne K-Frame Installation v.7.0 Kayenne K-Frame Installation v.8.0 Karrera K-Frame S-Series Installation v.8.0 Karrera Video Production Center Installation v.6.0 Karrera Video Production Center Installation v.7.0 Karrera Video Production Center Installation v.4.1 Karrera Video Production Center Installation v.4.0 7600REF v5.0 7600REF v3.0.0.8 7600REF v5.0 Installation 7600REF v3.0.0.8 Installation 7620PX-5 Installation 2012 7620PX Installation 2012 KayenneKayenne v.2.0 v.2.0 Maestro Master Control Installation v.2.3.0 Maestro Master Control Installation v.2.0.0 Maestro Master Control v.2.3.0 7620PX 2012 7620PX-5 2012 7620PX 2008 MVMC 3G VMCR 3G 8900F GeckoFlex Frames Concerto Compact Routing System GPIO-4848 Jupiter Maestro Master Control v.2.2.0 Maestro Master Control v.2.0.0 Maestro Master Control v.2.4.0 Maestro Master Control Installation v.2.2.0 Maestro Master Control Installation v.1.5.1 Maestro Master Control Installation v.1.7
