Step 4 – Grass Valley Maestro Master Control Installation v.2.4.0 User Manual
Page 332
332
MAESTRO — Installation and Service Manual
Section 9 — Channel Branding Hardware Installation
Note
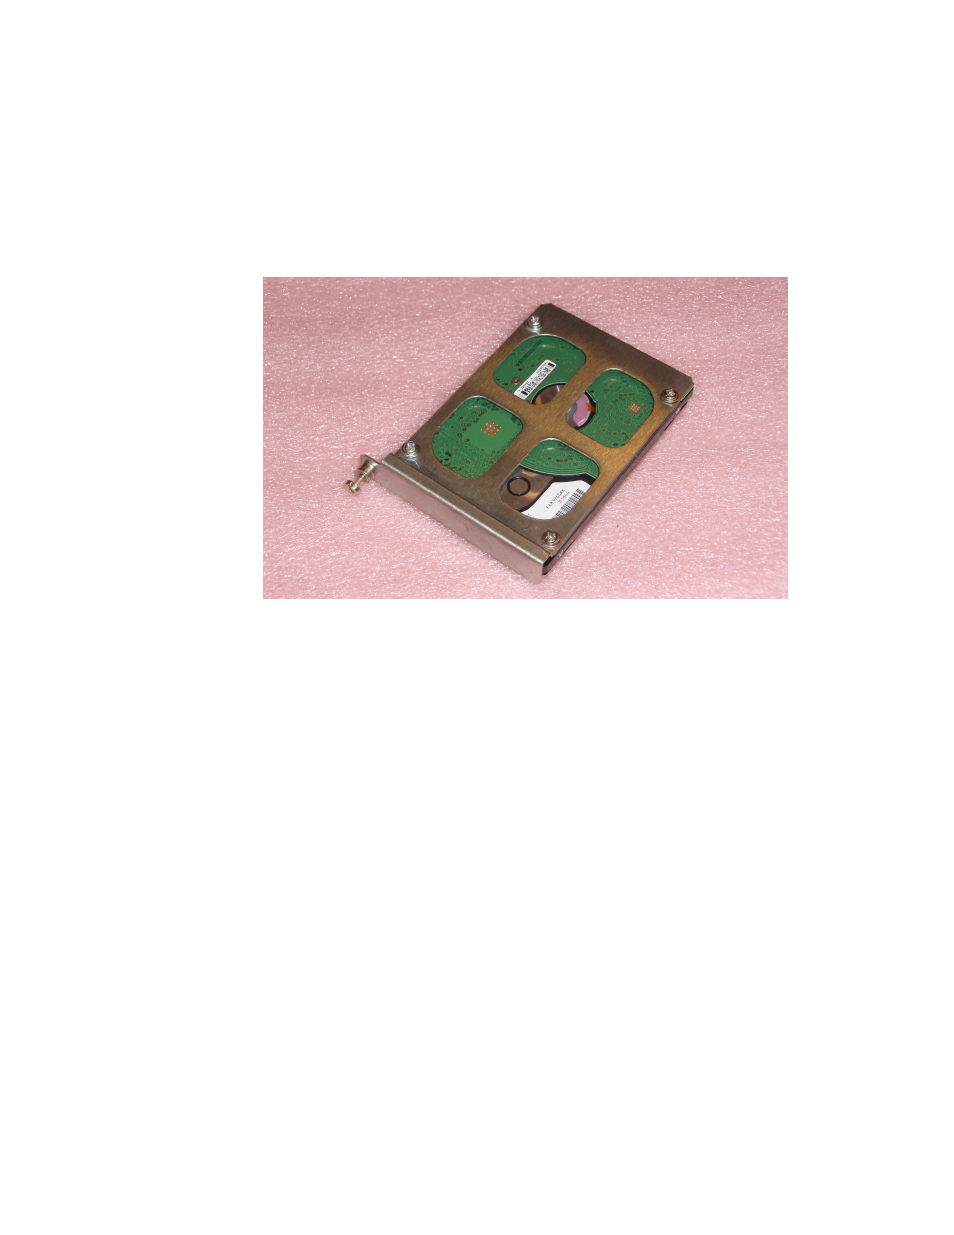
The drive sled face plate is positioned at the closed end of the drive. Make
sure the drive connectors at the back of the drive are not covered.
3.
Attach the drive sled to the disk drive with the included screws.
The drive mounting sled properly attached to a disk drive is illustrated in
Figure 230. Mounting Sled Attached to Disk Drive
4.
Insert the mounting sled and drive assembly into the desired slot in the
disk drive cage on the Maestro Processor board. Push gently to make
sure the drive connector and interface board connectors at the rear of
the drive cage are well connected.
Note
If installing only one drive, it should be installed in the lower left slot (ata0).
5.
Tighten the mounting screw on the sled to securely hold the disk drive
in the drive cage.
shows the drive assembly installed in the drive cage on the
Maestro Processor board. To see how all four hard drives look in the drive
cage see
- Concerto Routing Matrix v.1.7.6.1 Concerto Routing Matrix v.1.8.1 Concerto Routing Matrix v.1.7.5 Kayenne Installation v.4.0 Kayenne Installation v.3.0 Kayenne K-Frame Installation v.6.0 Kayenne K-Frame Installation v.7.0 Kayenne K-Frame Installation v.8.0 Karrera K-Frame S-Series Installation v.8.0 Karrera Video Production Center Installation v.6.0 Karrera Video Production Center Installation v.7.0 Karrera Video Production Center Installation v.4.1 Karrera Video Production Center Installation v.4.0 7600REF v5.0 7600REF v3.0.0.8 7600REF v5.0 Installation 7600REF v3.0.0.8 Installation 7620PX-5 Installation 2012 7620PX Installation 2012 KayenneKayenne v.2.0 v.2.0 Maestro Master Control Installation v.2.3.0 Maestro Master Control Installation v.2.0.0 Maestro Master Control v.2.3.0 7620PX 2012 7620PX-5 2012 7620PX 2008 MVMC 3G VMCR 3G 8900F GeckoFlex Frames Concerto Compact Routing System GPIO-4848 Jupiter Maestro Master Control v.2.2.0 Maestro Master Control v.2.0.0 Maestro Master Control v.2.4.0 Maestro Master Control Installation v.2.2.0 Maestro Master Control Installation v.1.5.1 Maestro Master Control Installation v.1.7