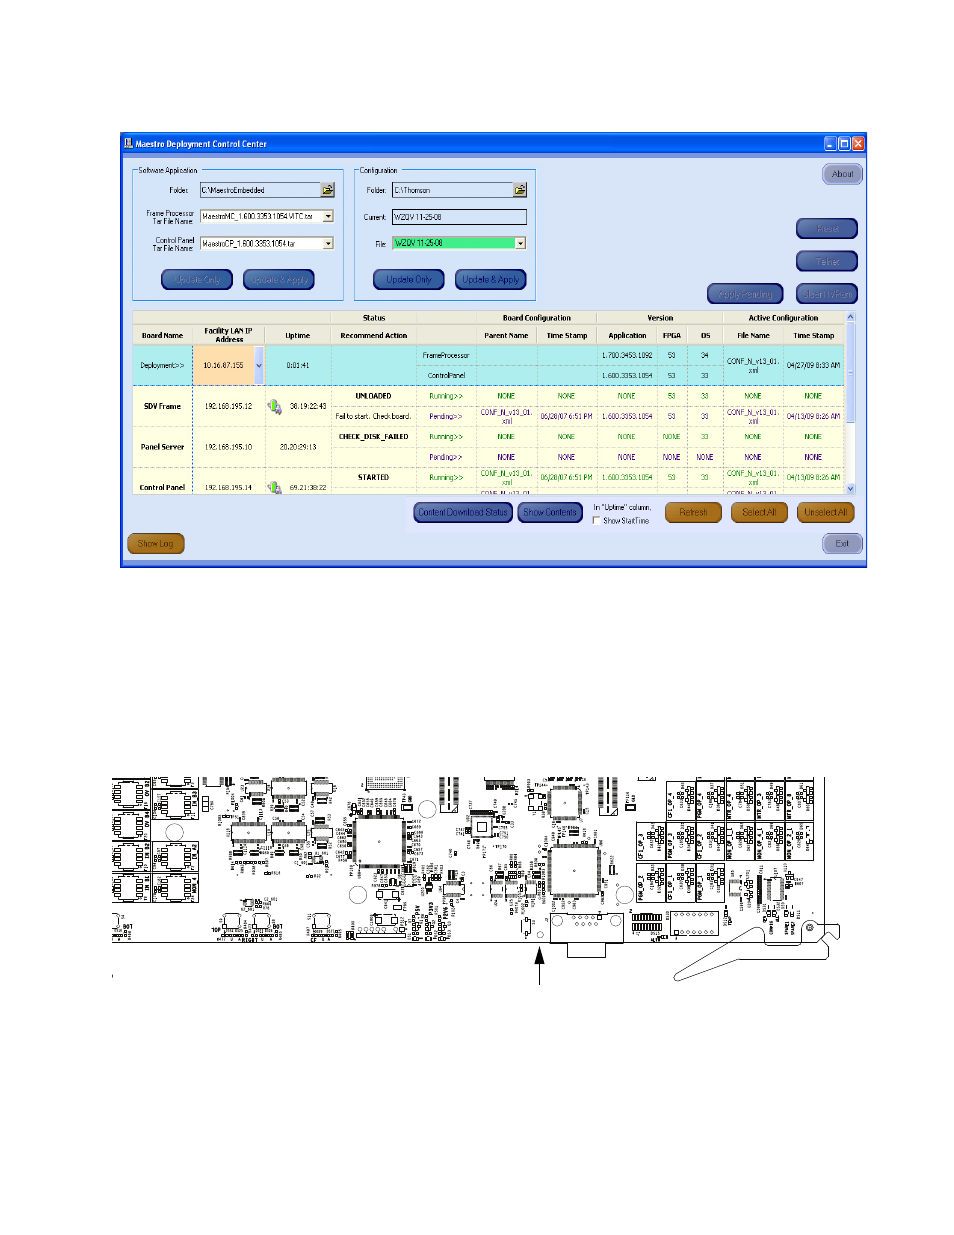
Figure 211 – Grass Valley Maestro Master Control Installation v.2.4.0 User Manual
Page 313

MAESTRO — Installation and Service Manual
313
Software Upgrade Procedure
Figure 211. Maestro Deployment Control Center (Example)
Other buttons may appear below the table if content has not been defined.
For example, the phrase Unmanaged Boards will appear if a board has not
been defined in the Configuration file.
2.
Press the
Reset
button on the left side of the Serial port on the Main
board (
) if the board hangs or does not come up in a few
minutes.
Figure 212. Maestro Main Board - Reset Button
3.
Click the
Show Log
button in the lower left-hand corner of the
application, to provide detailed monitoring of the update process. This
is an optional step.
Reset Button
This manual is related to the following products:
- Concerto Routing Matrix v.1.7.6.1 Concerto Routing Matrix v.1.8.1 Concerto Routing Matrix v.1.7.5 Kayenne Installation v.4.0 Kayenne Installation v.3.0 Kayenne K-Frame Installation v.6.0 Kayenne K-Frame Installation v.7.0 Kayenne K-Frame Installation v.8.0 Karrera K-Frame S-Series Installation v.8.0 Karrera Video Production Center Installation v.6.0 Karrera Video Production Center Installation v.7.0 Karrera Video Production Center Installation v.4.1 Karrera Video Production Center Installation v.4.0 7600REF v5.0 7600REF v3.0.0.8 7600REF v5.0 Installation 7600REF v3.0.0.8 Installation 7620PX-5 Installation 2012 7620PX Installation 2012 KayenneKayenne v.2.0 v.2.0 Maestro Master Control Installation v.2.3.0 Maestro Master Control Installation v.2.0.0 Maestro Master Control v.2.3.0 7620PX 2012 7620PX-5 2012 7620PX 2008 MVMC 3G VMCR 3G 8900F GeckoFlex Frames Concerto Compact Routing System GPIO-4848 Jupiter Maestro Master Control v.2.2.0 Maestro Master Control v.2.0.0 Maestro Master Control v.2.4.0 Maestro Master Control Installation v.2.2.0 Maestro Master Control Installation v.1.5.1 Maestro Master Control Installation v.1.7
