Grass Valley Maestro Master Control Installation v.2.4.0 User Manual
Page 307
MAESTRO — Installation and Service Manual
307
Software Upgrade Procedure
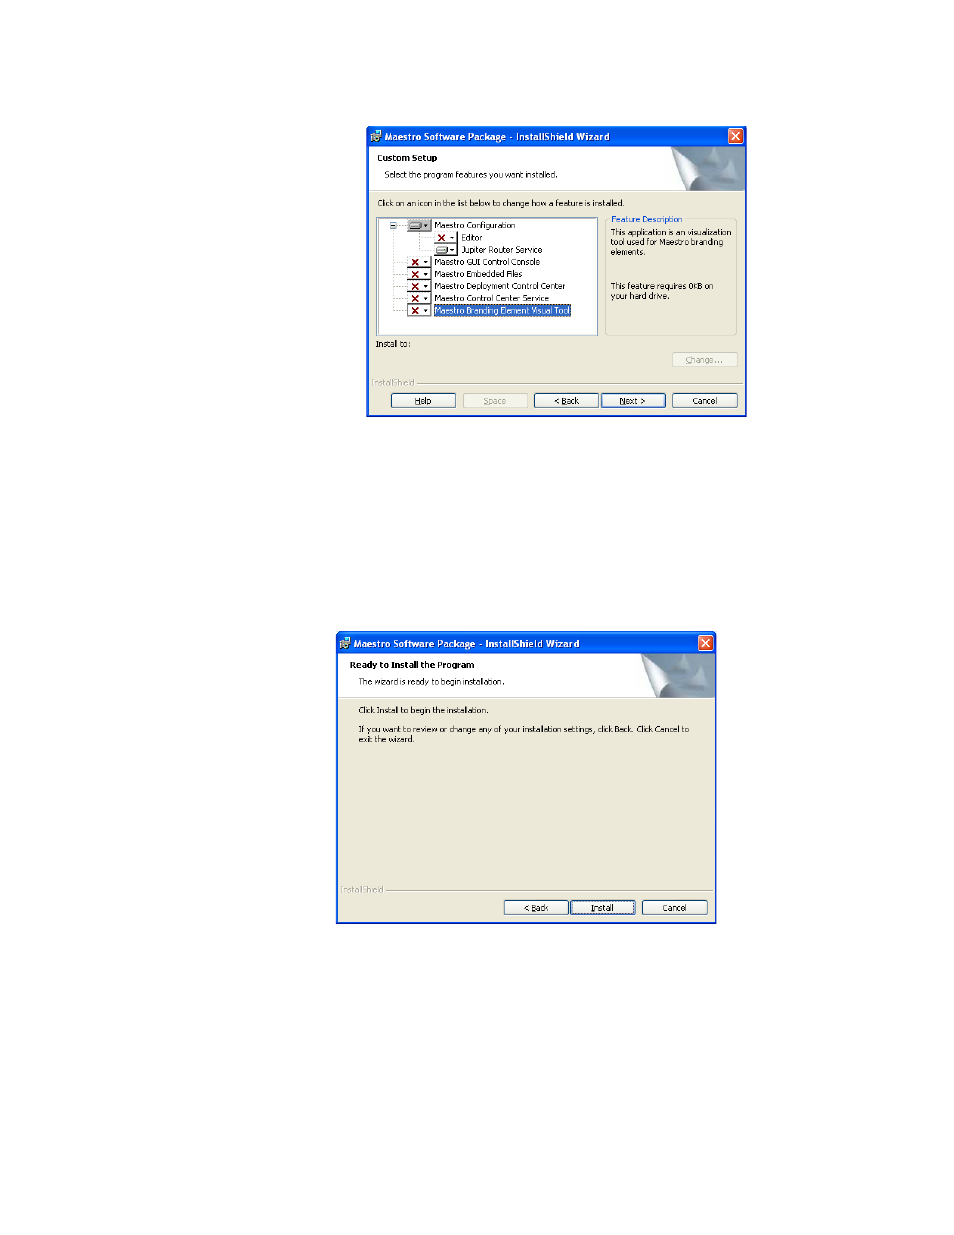
Figure 201. Maestro Installer Custom Setup Screen
5.
Click the drop-down arrow and then select the
This feature will not be
available
option for all of the features but the Jupiter Router Service. A
red “x” will appear by the features (
) that will not be
installed.
6.
Click the
Next>
button. The Ready to Install the Program screen will then
appear (
).
Figure 202. Maestro Installer Ready to Install the Program Screen
7.
Click the
Install
button. The installation process will then begin. The
InstallShield Wizard Completed screen will appear when the
installation process is finished (
).
This manual is related to the following products:
- Concerto Routing Matrix v.1.7.6.1 Concerto Routing Matrix v.1.8.1 Concerto Routing Matrix v.1.7.5 Kayenne Installation v.4.0 Kayenne Installation v.3.0 Kayenne K-Frame Installation v.6.0 Kayenne K-Frame Installation v.7.0 Kayenne K-Frame Installation v.8.0 Karrera K-Frame S-Series Installation v.8.0 Karrera Video Production Center Installation v.6.0 Karrera Video Production Center Installation v.7.0 Karrera Video Production Center Installation v.4.1 Karrera Video Production Center Installation v.4.0 7600REF v5.0 7600REF v3.0.0.8 7600REF v5.0 Installation 7600REF v3.0.0.8 Installation 7620PX-5 Installation 2012 7620PX Installation 2012 KayenneKayenne v.2.0 v.2.0 Maestro Master Control Installation v.2.3.0 Maestro Master Control Installation v.2.0.0 Maestro Master Control v.2.3.0 7620PX 2012 7620PX-5 2012 7620PX 2008 MVMC 3G VMCR 3G 8900F GeckoFlex Frames Concerto Compact Routing System GPIO-4848 Jupiter Maestro Master Control v.2.2.0 Maestro Master Control v.2.0.0 Maestro Master Control v.2.4.0 Maestro Master Control Installation v.2.2.0 Maestro Master Control Installation v.1.5.1 Maestro Master Control Installation v.1.7