Removing the old dve board – Grass Valley Maestro Master Control Installation v.2.4.0 User Manual
Page 370
370
MAESTRO — Installation and Service Manual
Section 12 — Dual-Channel DVE Hardware Installation
5.
Remove the Maestro processor board from its frame and place it on the
anti-static bag as shown in
Figure 264. Maestro Processor Board on Anti-Static Bag
Removing the Old DVE Board
You must remove the old DVE board if this is an upgrade. When the board
has been removed place it in an anti-static bag and send it to Grass Valley.
Contact Grass Valley Support for the complete instructions (see
).
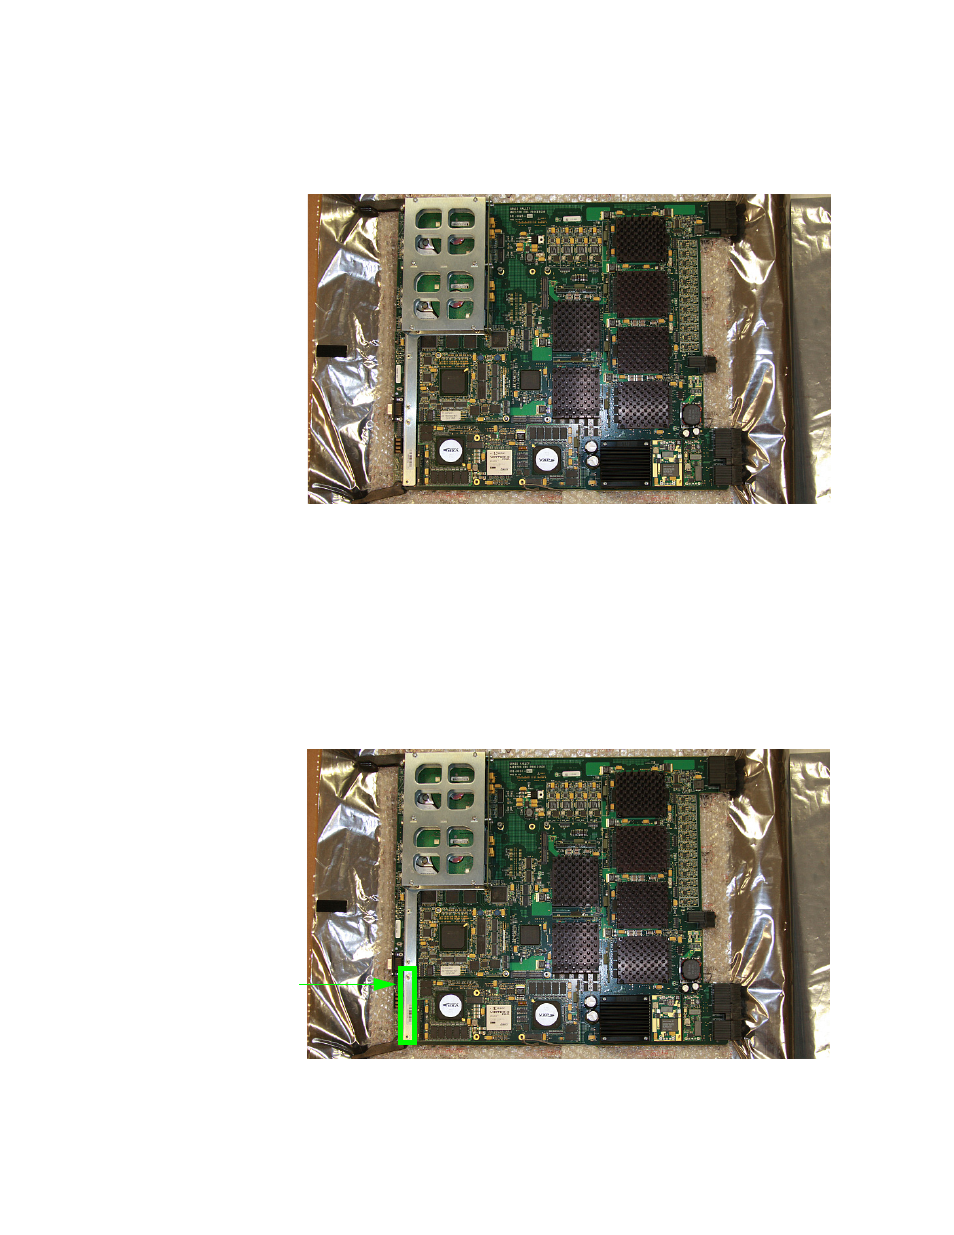
1.
Remove the Maestro processor board from its frame and place it on the
anti-static bag as shown in
Figure 265. Maestro Processor Board on Anti-Static Bag
Remove Screws
This manual is related to the following products:
- Concerto Routing Matrix v.1.7.6.1 Concerto Routing Matrix v.1.8.1 Concerto Routing Matrix v.1.7.5 Kayenne Installation v.4.0 Kayenne Installation v.3.0 Kayenne K-Frame Installation v.6.0 Kayenne K-Frame Installation v.7.0 Kayenne K-Frame Installation v.8.0 Karrera K-Frame S-Series Installation v.8.0 Karrera Video Production Center Installation v.6.0 Karrera Video Production Center Installation v.7.0 Karrera Video Production Center Installation v.4.1 Karrera Video Production Center Installation v.4.0 7600REF v5.0 7600REF v3.0.0.8 7600REF v5.0 Installation 7600REF v3.0.0.8 Installation 7620PX-5 Installation 2012 7620PX Installation 2012 KayenneKayenne v.2.0 v.2.0 Maestro Master Control Installation v.2.3.0 Maestro Master Control Installation v.2.0.0 Maestro Master Control v.2.3.0 7620PX 2012 7620PX-5 2012 7620PX 2008 MVMC 3G VMCR 3G 8900F GeckoFlex Frames Concerto Compact Routing System GPIO-4848 Jupiter Maestro Master Control v.2.2.0 Maestro Master Control v.2.0.0 Maestro Master Control v.2.4.0 Maestro Master Control Installation v.2.2.0 Maestro Master Control Installation v.1.5.1 Maestro Master Control Installation v.1.7