Return the horizontal insert bar to a panel group – Adobe Dreamweaver CC 2015 User Manual
Page 50
43
Workspace and workflow
Last updated 6/3/2015
• To add a separator below an object, select an object in the Favorite Objects pane on the right, and then click the
Add Separator button below the pane.
4
If you’re not in the Favorites category of the Insert panel, select that category to see your changes.
Insert objects using buttons in the Favorites category
❖
Select the Favorites category from the Category pop-up menu of the Insert panel, and then click the button for any
Favorites object that you added.
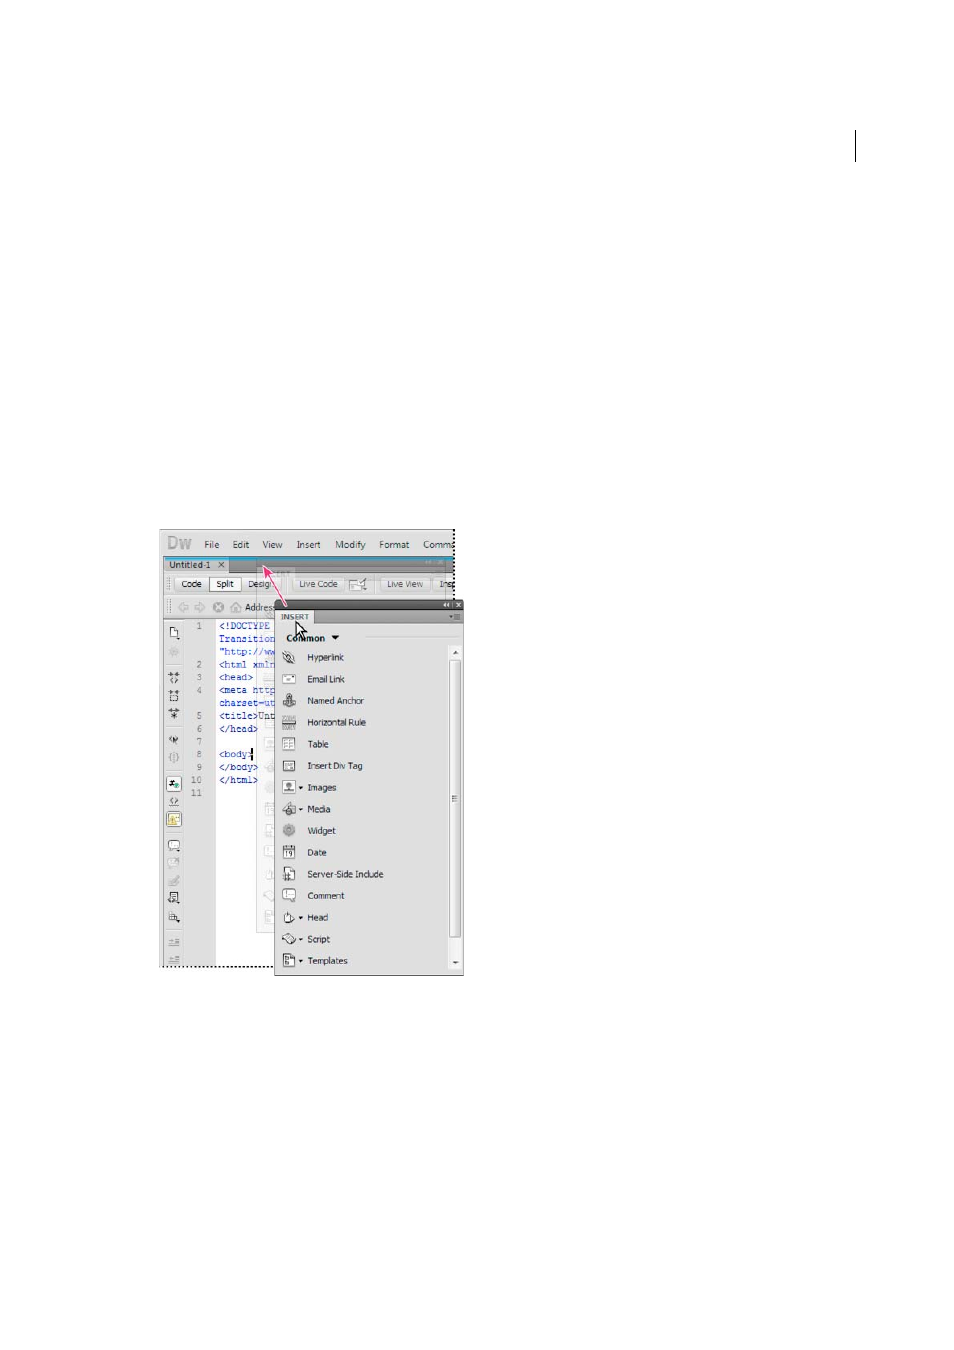
Display the Insert panel as a horizontal Insert bar
Unlike other panels in Dreamweaver, you can drag the Insert panel out of its default dock position and drop it into a
horizontal position at the top of the Document window. When you do so, it changes from a panel to a toolbar (though
you cannot hide and display it in the same way as other toolbars).
1
Click the Insert panel’s tab and drag it to the top of the Document window.
2
When you see a horizontal blue line across the top of the Document window, drop the Insert panel into position.
Note: The horizontal Insert bar is also a default part of the Classic workspace. To switch to the Classic workspace, select
Classic from the workspace switcher in the Application bar.
Return the horizontal Insert bar to a panel group
1
Click the horizontal Insert bar’s gripper (on the left side of the Insert bar) and drag the bar to the place where your
panels are docked.