Upload psd files to creative cloud, Open psd files in extract panel, Set extract preferences – Adobe Dreamweaver CC 2015 User Manual
Page 461
454
Cross-product
Last updated 6/3/2015
To relaunch the tutorial, click the pop-up menu on the upper right corner of the panel and select Launch Tutorial.
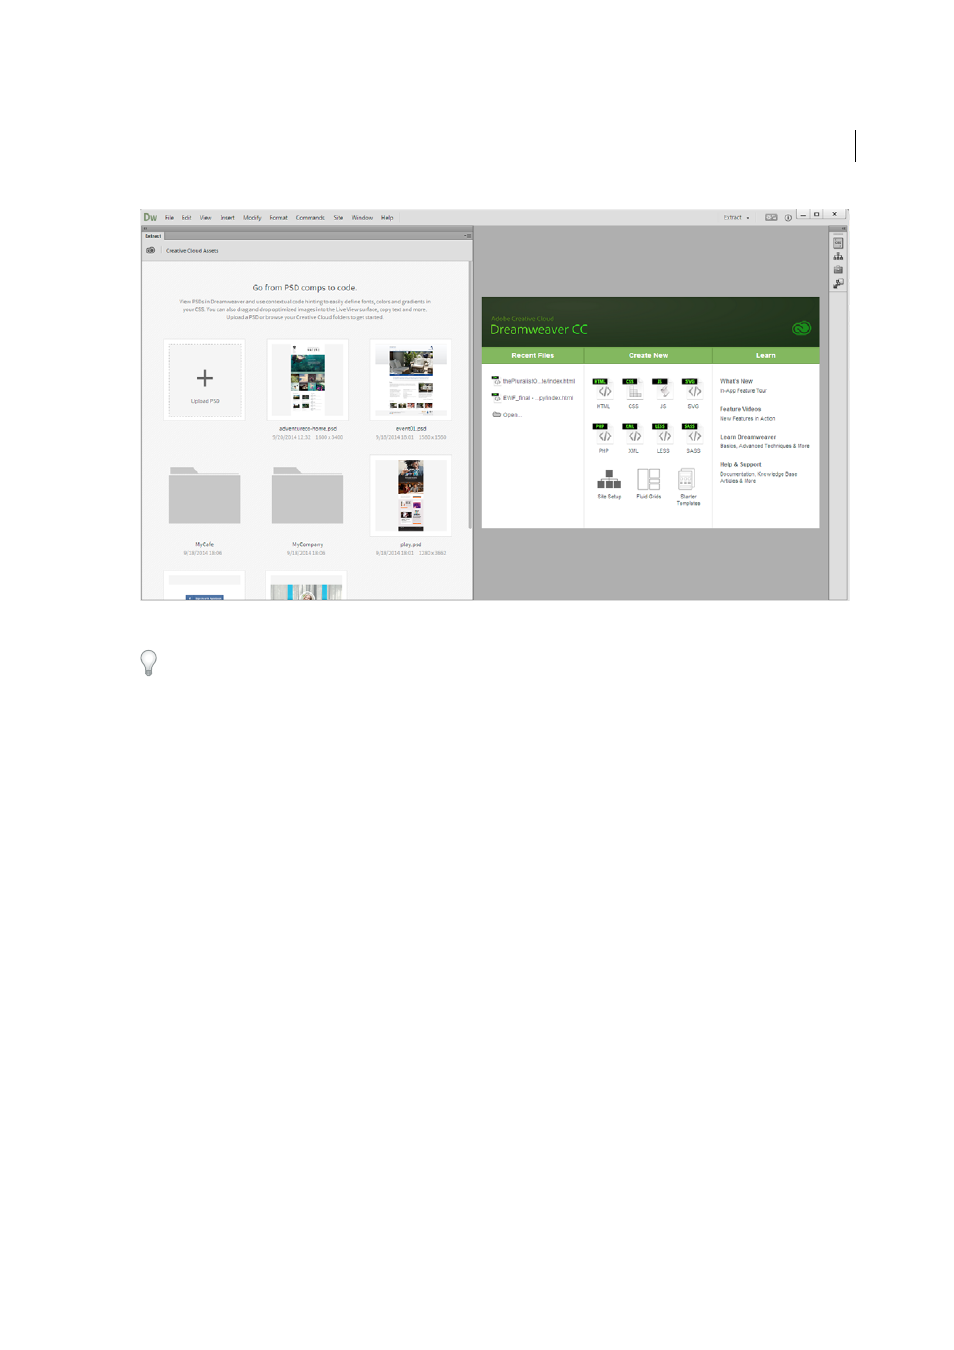
Upload PSD files to Creative Cloud
You can upload a PSD file to your Creative Cloud by clicking the Upload PSD icon in the Extract panel. If the PSD
comps are developed by another person or team, you can have them shared on Creative Cloud. You can then download
the files, and upload them to your account either directly by logging in to Creative Cloud or through the Extract panel
in Dreamweaver.
Open PSD files in Extract panel
Click the thumbnail image of the required PSD file in the Extract panel. If an updated version of the PSD file becomes
available on Creative Cloud after you open it, reload the PSD file in the Extract panel. To do so, click the name of the
PSD file or click Reload PSD in pop-up menu on upper right. To go back to the thumbnail view and select a different
file, click the Creative Cloud icon on the upper left of the panel.
To magnify the view and take a closer look at the design, change the zoom level at the top of the Extract panel or use
Alt +/-. Use the Layers tab or the Layer Comp drop-down list to show or hide elements in the PSD file.
You are now all set to translate the PSD comp to a website.
Set Extract preferences
Using Extract preferences, you can specify the default file format in which the images must be extracted and also, the
default unit for fonts that is to be displayed in the Extract panel.
1
Select Edit > Preferences (Win) or Dreamweaver > Preferences (Mac).
2
Select Extract in the Category list.
3
(Optional) Change the default format in which the images must be extracted.