Set image properties – Adobe Dreamweaver CC 2015 User Manual
Page 295
288
Page content and assets
Last updated 6/3/2015
Dreamweaver also allows you to insert images dynamically. Dynamic images are those images that change often. For
example, advertising banner rotation systems need to randomly select a single banner from a list of potential banners,
and then dynamically display the selected banner’s image when a page is requested.
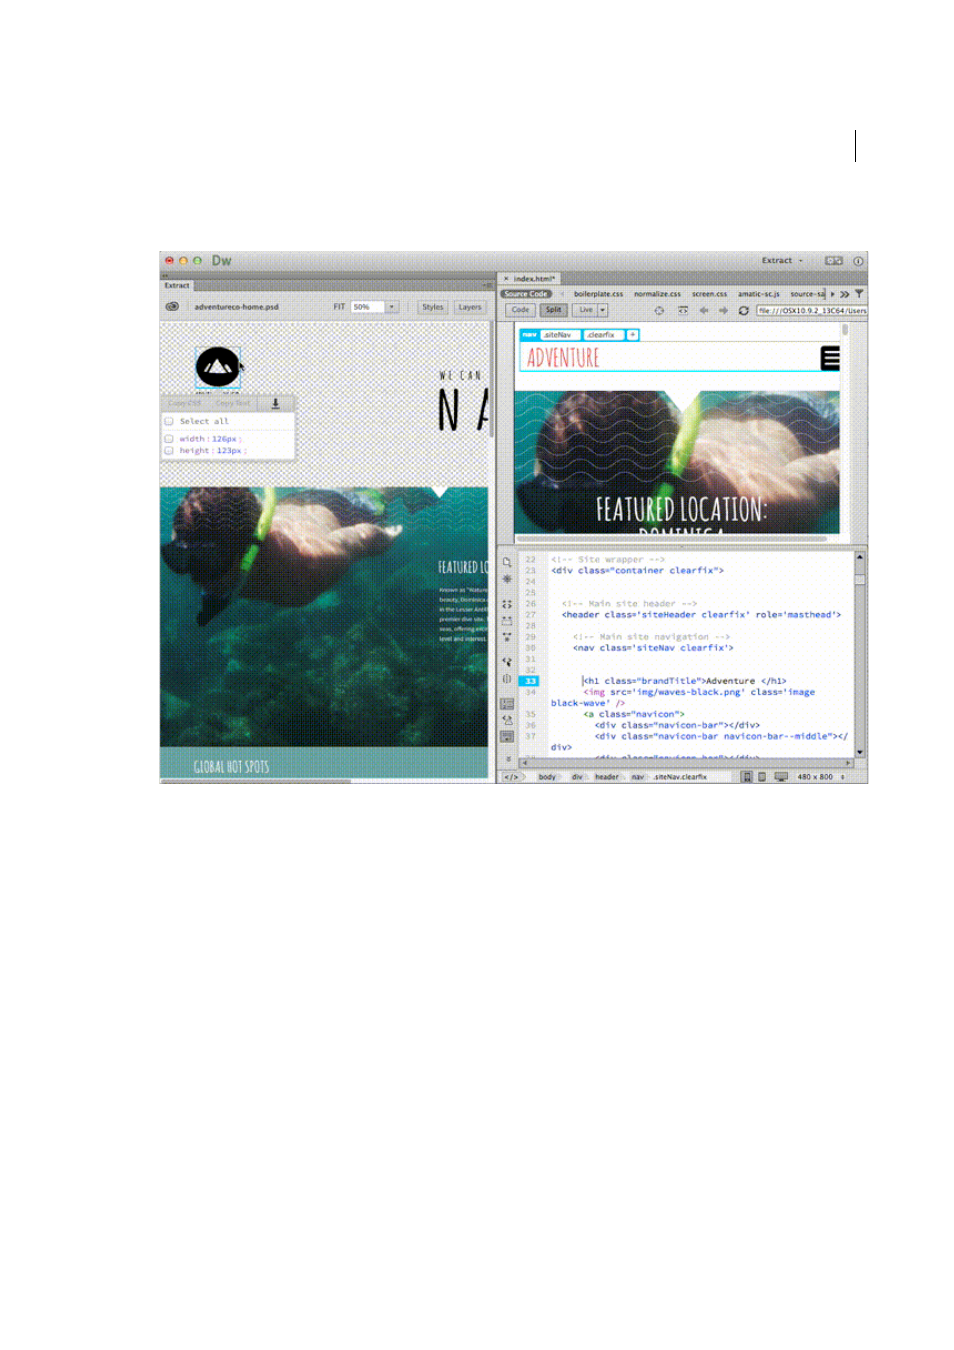
You can also drag and drop any layer in the Extract panel to any place in Dreamweaver Live View using Live Guides
and Element Quick View. The Extract Panel allows you to upload PSD files in to it and then drag and drop any layer in
the PSD file directly to your Dreamweaver document.
After you insert an image, you can set image tag accessibility attributes that can be read by screen readers for visually
impaired users. These attributes can be edited in HTML code.
For a tutorial on inserting imag
.
For information on extracting images from your PSD compositions, see
.
1
Place the insertion point where you want the image to appear in the Document window and do one of the following:
• In the Common category of the Insert panel, click the Images icon
.
• In the Common category of the Insert panel, click the Images button and select the Image icon. With the Image
icon displayed in the Insert panel, you can drag the icon to the Document window (or to the Code view window
if you are working in the code).
• Select Insert > Image.
• Drag an image from the Assets panel (Window > Assets) to the desired location in the Document window; then
skip to step 3.
• Drag an image from the Files panel to the desired location in the Document window; then skip to step 3.
• Drag an image from the desktop to the desired location in the Document window; then skip to step 3.
• In Live View, drag an image from the Extract panel or the Layers tab and drop the element at the top, bottom,
right or left of an element based on Live Guides (as explained in the following image), or drop the element at a
precise place in the document structure by clicking and using Element Quick View.
2
In the dialog box that appears, do one of the following:
• Select File System to choose an image file.
• Select Data Source to choose a dynamic image source.
• Click the Sites And Servers button to choose an image file in a remote folder of one of your Dreamweaver sites.
3
Browse to select the image or content source you want to insert.
If you are working in an unsaved document, Dreamweaver generates a file:// reference to the image file. When you
save the document anywhere in the site, Dreamweaver converts the reference to a document-relative path.
Note: When inserting images it’s also possible to use an absolute path to an image that resides on a remote server (i.e.,
an image that is not available on the local hard drive). If you experience performance problems while working, however,
you might want to disable viewing the image in Design view by deselecting Commands > Display External Files.
4
Click OK.
Set image properties
The Images Property inspector allows you to set properties for an image. If you do not see all of the image properties,
click the expander arrow in the lower-right corner.