Element display, Associate html elements with classes and ids, Quick property inspector – Adobe Dreamweaver CC 2015 User Manual
Page 264
257
Page content and assets
Last updated 6/3/2015
Note: In Live View, only those options that are applicable for the selected element are made available in the main menu.
Options that are not applicable are greyed out when the element is selected.
Element Display
Using Element Display, you can associate HTML elements with classes and IDs directly in Live View. The Element
Display hints you with the available classes and IDs to help you quickly view and choose the required option.
You can also format tables using Element Display. For more information, see link.
Associate HTML elements with classes and IDs
Click the required element in Live View. The Element Display appears and displays the currently associated class and
ID.
While in Live View, you can also click the HTML element in the DOM panel to see the Element Display for the element.
• To dissociate the HTML element from a class or ID, click ‘x’ adjacent to the class or ID.
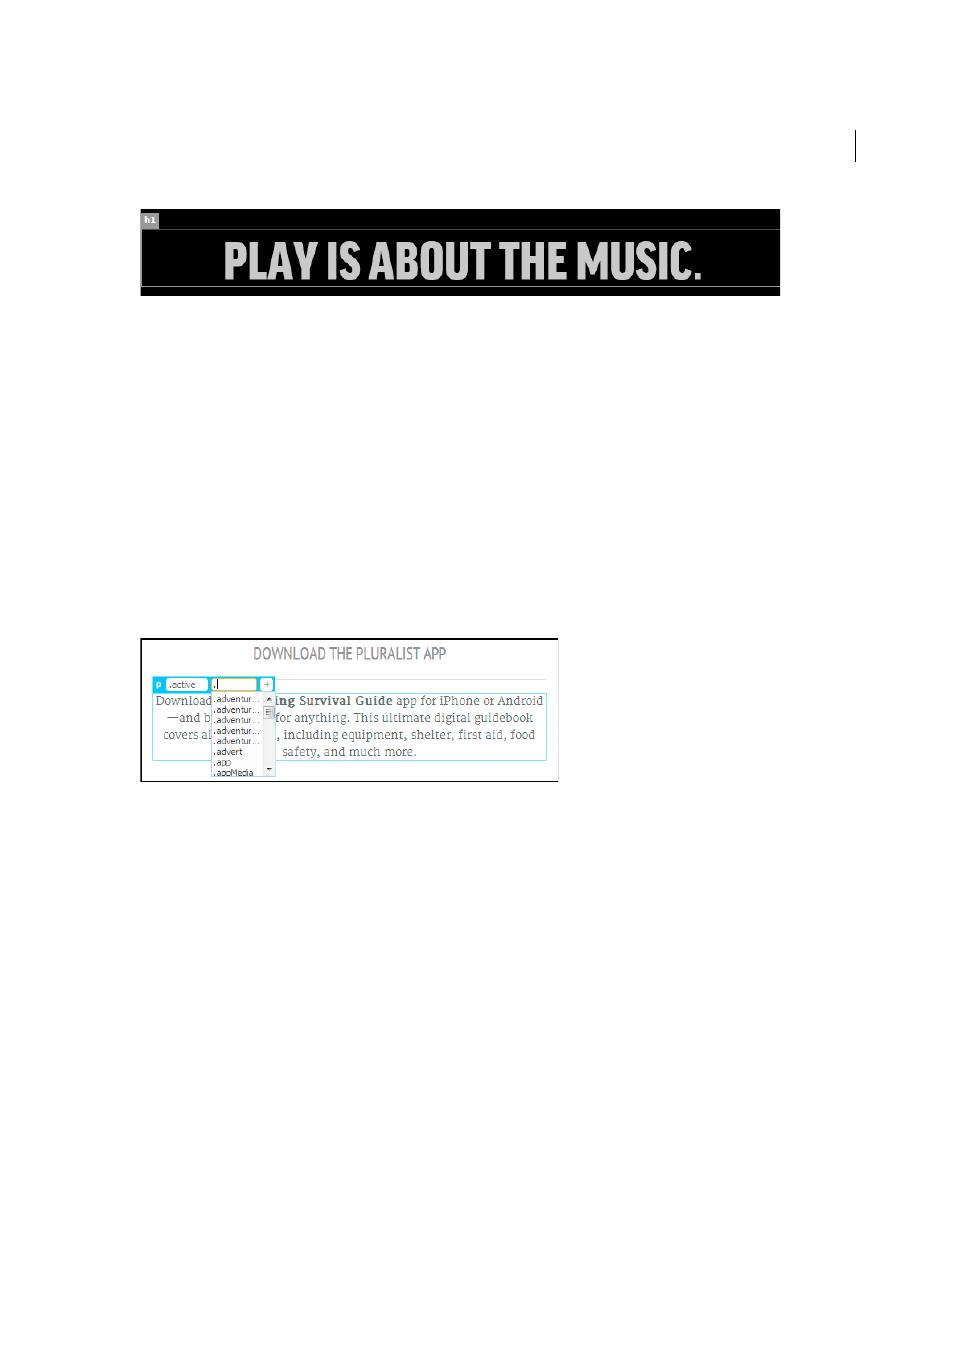
• To change the class or ID associated with the HTML element, click in the box. A list of available classes and IDs
appears. Click the required option.
• To add a class or an ID and apply it to the element, click ‘+’, and type in the name. To save the changes, click '+' or
press Enter.
You can then use the CSS Designer to define a selector that includes this class or ID.
Note: Element Display of transitional elements does not move along with the elements when the transition is triggered.
However, the changes that you make using the Element Display take effect even though it is not at the same location as the
transitional element.
Quick Property Inspector
Quick Property Inspector appears right above the selected elements in Live View. Using this Property Inspector, you
can edit attributes, or format text in Live View.