Preview transparency flattening, Create flattener presets, Tools for high-end output – Adobe Acrobat 8 3D User Manual
Page 467: Print production tools overview
460
ADOBE ACROBAT 3D VERSION 8
User Guide
You can also add marks temporarily to a document using the Advanced Print Setup dialog box.
See also
“Embed printer marks in a PDF” on page 478
Preview transparency flattening
Use the transparency preview options to view objects in a PDF that are transparent, as well as those that will be
affected by transparency flattening.
1
Choose Advanced > Print Production > Flattener Preview.
2
Select a preview setting from the Highlight menu and a resolution level from the Preset menu.
3
Set desired options, such as the raster-to-vector balance and the line art, text, gradient, and mesh resolutions.
4
Specify where you want to apply the changes.
See also
“Transparency flattening” on page 480
Create flattener presets
You can automate the flattening process by saving flattening settings in a transparency flattener preset.
1
Choose Advanced > Print Production > Flattener Preview.
2
Choose the preset you want to base your new preset on, and then change the settings as desired.
3
Click Save and name the new preset.
If you need to start over, press the Reset button. Custom presets are immediately available from the Preset menu.
See also
“Create a flattener preset” on page 485
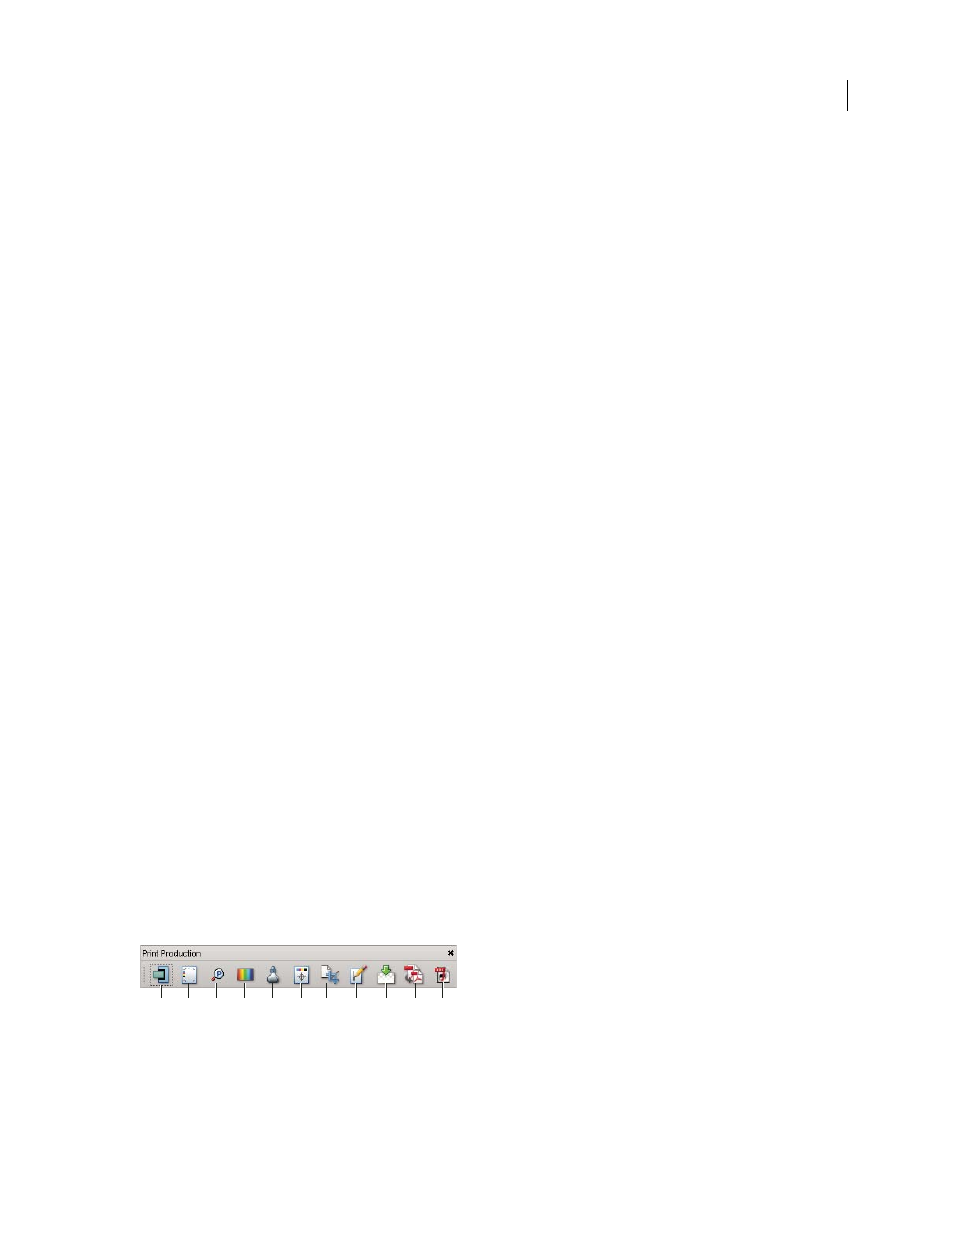
Tools for high-end output
Print production tools overview
Adobe Acrobat adds sophisticated print production tools that enable a complete PDF workflow for high-end color
output. The print production tools are in the Advanced menu and on the Print Production toolbar.
A
B
C
D
E
F
G
H
I
J
K
Print Production toolbar
A. Trap Presets B. Output Preview C. Preflight D. Convert Colors E. Ink Manager F. Add Printer Marks G. Crop Pages H. Fix Hairlines
I. Flattener Preview J. PDF Optimizer K. JDF Job Definitions