Specify halftone screen frequency, About emulsion and image exposure, Specify the emulsion and image exposure – Adobe Acrobat 8 3D User Manual
Page 459
452
ADOBE ACROBAT 3D VERSION 8
User Guide
The PPD files for high-resolution imagesetters offer a wide range of possible screen frequencies, paired with various
imagesetter resolutions. The PPD files for low-resolution printers typically have only a few choices for line screens,
usually coarser screens of between 53 lpi and 85 lpi. The coarser screens, however, give optimum results on
low-resolution printers. Using a finer screen of 100 lpi, for example, actually decreases the quality of your image
when you use a low-resolution printer for final output.
Specify halftone screen frequency
❖
In the Output panel of the Advanced Print Setup dialog box, do one of the following:
•
To select one of the preset screen frequencies and printer resolution combinations, choose an option from the
Screening menu.
•
To specify a custom halftone screen frequency, in the ink list, select the plate to be customized, and then enter the
lpi value in the Frequency box and a screen angle value in the Angle box.
Note: Before creating your own halftone screens, check with your print service provider for the preferred frequencies and
angles. Also, be aware that some output devices override the default frequencies and angles.
About emulsion and image exposure
Depending on the type of printing press used and how information is transferred from the film to the printing plates,
you may need to give your service provider film negatives or positives, with emulsion side up or down. Emulsion
refers to the photosensitive layer on a piece of film or paper. Typically, print service providers require negative film
in the United States and positive film in Europe and Japan. Check with your service provider to determine which
emulsion direction they prefer.
To tell whether you are looking at the emulsion side or the nonemulsion side (also referred to as the base), examine
the final film under a good light. One side appears shinier than the other. The dull side is the emulsion side; the shiny
side is the base.
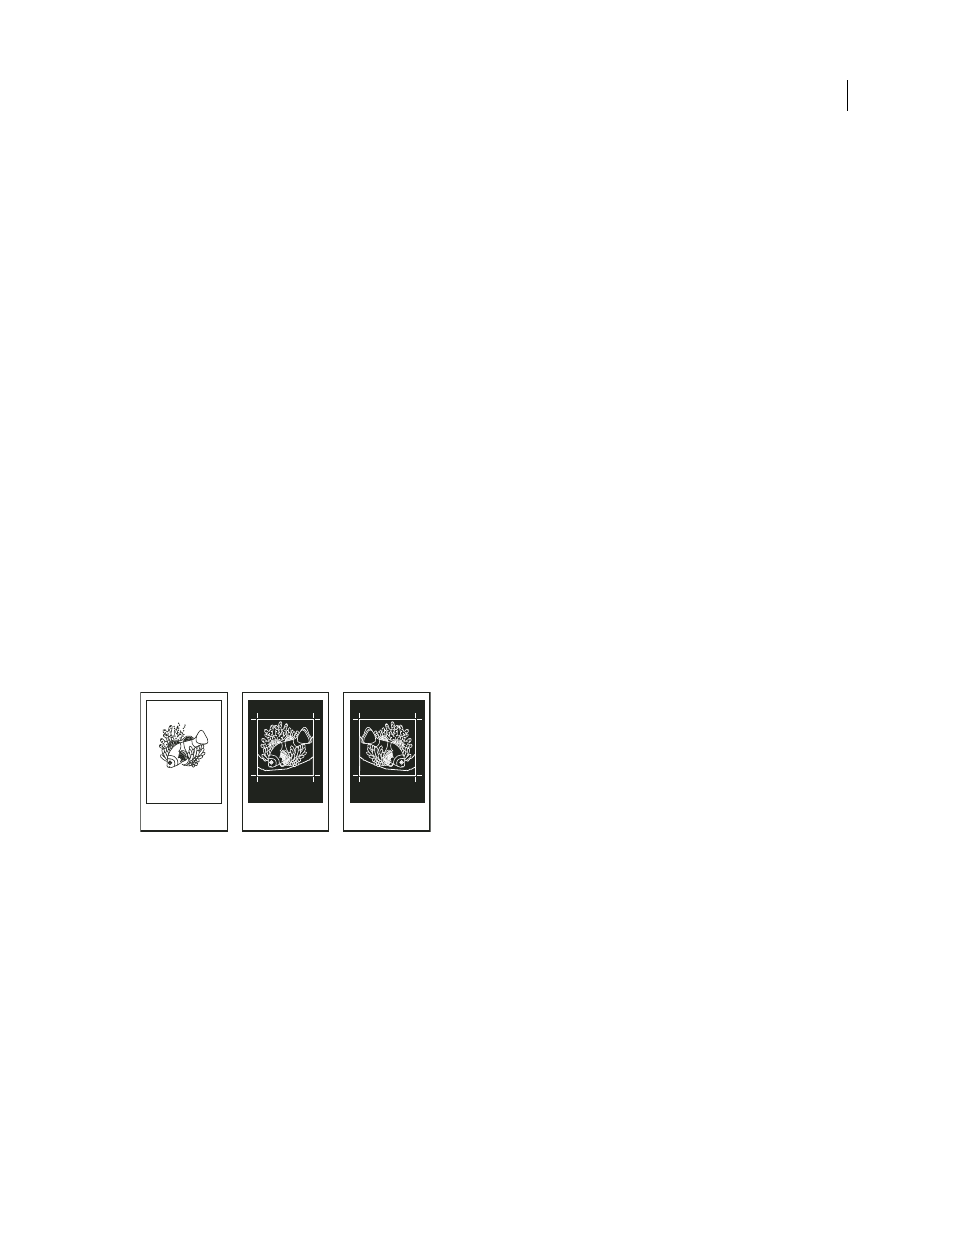
A
B
C
Emulsion options
A. Positive image B. Negative C. Negative with emulsion side down
Important: The emulsion and image exposure settings in the Print dialog box override any conflicting settings in the
printer driver. Always specify print settings using the Print dialog box.
Specify the emulsion and image exposure
1
Select Output on the left side of the Advanced Print Setup dialog box.
2
For Color, choose Separations.
3
For Flip, select one of the following options:
None
Makes no changes to the orientation of the imageable area. Type that is in the image is readable (that is, “right
reading”) when the photosensitive layer is facing you. This is the default.