Add watermarks to webpage photos – Apple Aperture 3.5 User Manual
Page 473
Chapter 12
Share photos online
473
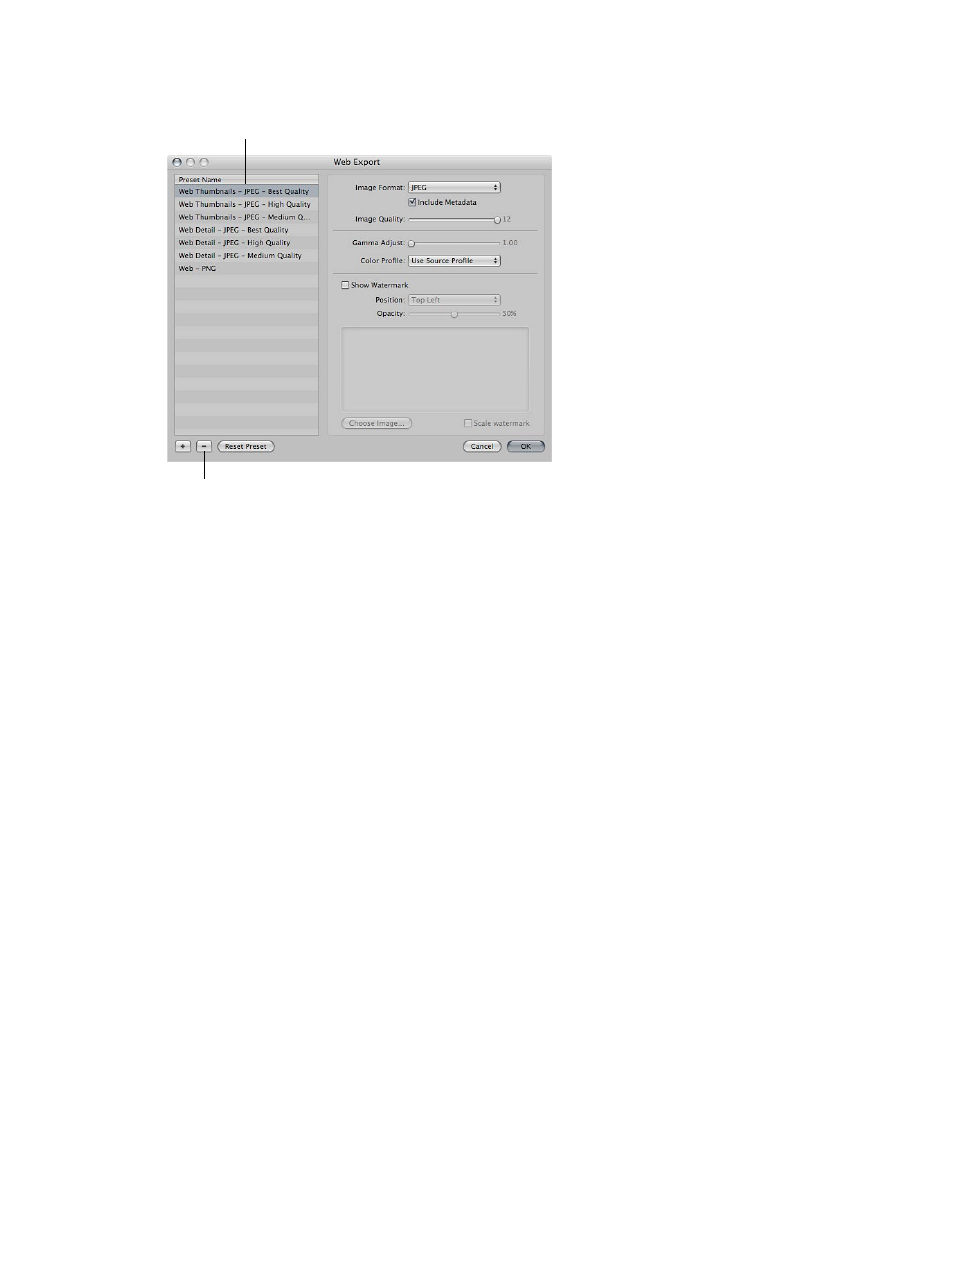
Delete a web export preset
m
In the Web Export dialog, select the preset and click the Remove button (–).
Select a preset.
Then click the Remove button.
Add watermarks to webpage photos
You can add a graphics file to your photos as a watermark to discourage others from using
your photos without your permission. Watermarks are especially useful when applied to photos
posted on the web.
Use the following guidelines to create high-quality watermarks for your photos:
•
Save your watermark as a Photoshop (.psd) file with a transparent background.
•
Create multiple sizes of your watermark so that you can select the one that best matches the
output size of the exported photo.
Note: If a watermark file is larger than the photo you want to export, Aperture automatically
scales the watermark down to fit the photo. (Aperture doesn’t scale watermarks up.)
•
After you create a watermark, save it as part of a web export preset so that you can reuse it.
Note: Export presets and web export presets are independent of one another. Make sure to
save your watermark as part of the appropriate preset.
Create a preset that adds a watermark to your exported web photos
1
Choose Aperture > Presets > Web Export.
2
In the Web Export dialog, select the web export preset you want to modify, or click the Add
button (+) to create a new preset.
3
Select the Show Watermark checkbox.
4
Click the Choose Image button.
5
Select the image you want as a watermark, and click Choose.
6
Choose where you want the watermark to appear on the photo from the Position pop-up menu.
7
To adjust the opacity of the watermark, drag the Opacity slider.
8
When you’re satisfied with how your watermark appears in the watermark preview area, click OK.
67% resize factor