Use the brush controls – Apple Aperture 3.5 User Manual
Page 224
Chapter 7
Make image adjustments
224
Use the brush controls
Whenever a photo is selected and displayed in the Viewer or in full-screen view, you can retouch
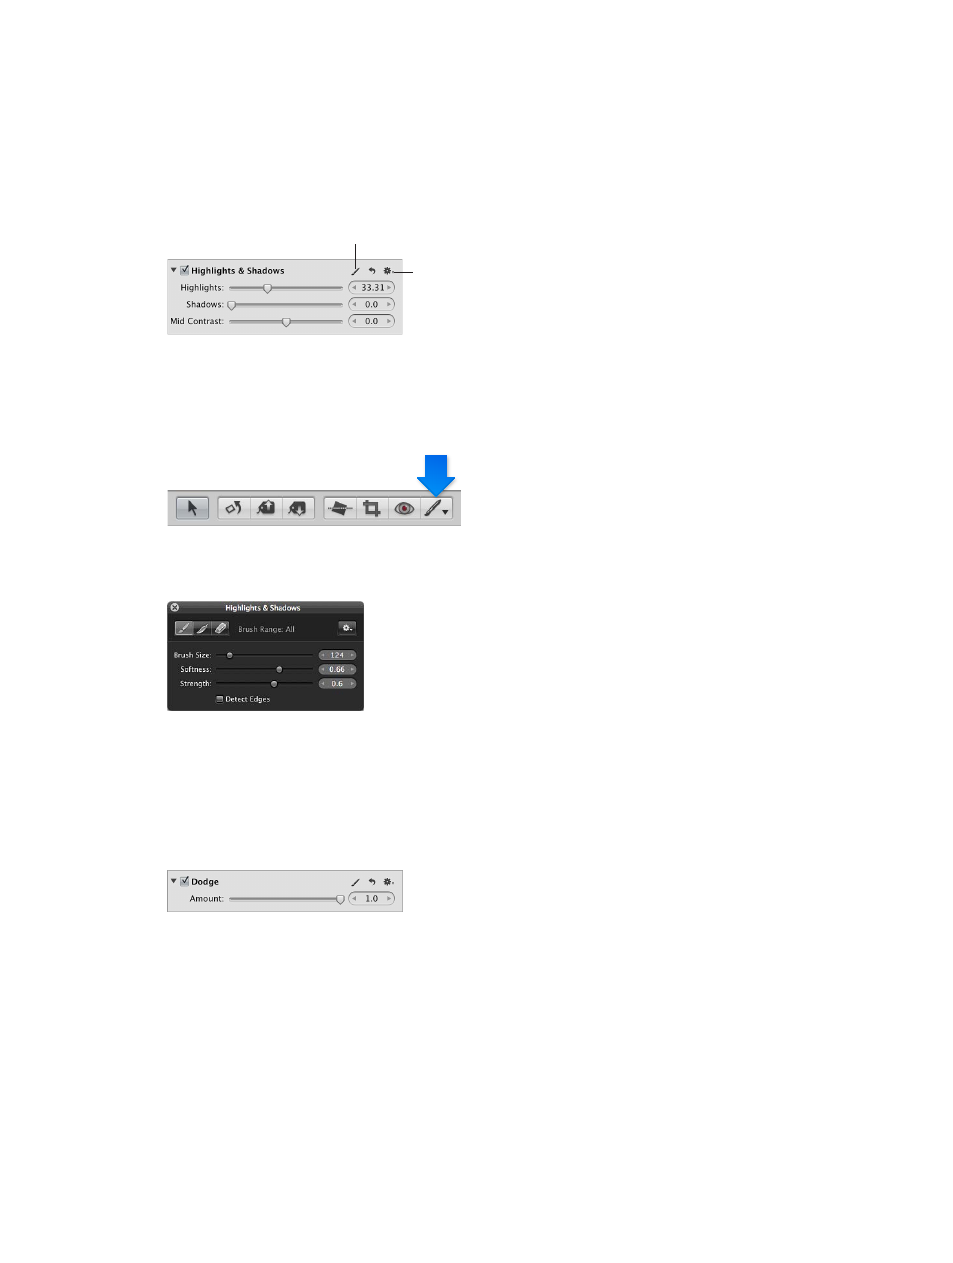
it using a brushed adjustment, which allows you to manually target a specific part of the image
using brush controls. Most adjustments can be brushed on images. You choose a brush for an
adjustment from the adjustment’s Action pop-up menu.
Choose to brush an
adjustment “in” or “away”
from the adjustment’s
Action pop-up menu.
A Brush button appears when
the adjustment is brushed on the
photo. Click the button to open
the Brush HUD for the adjustment.
In addition to brushing standard adjustments, you can also use Quick Brush adjustments that are
specifically designed for brushing on images. Quick Brush adjustments are accessible from the
Add Adjustment pop-up menu in the Adjustments inspector and the Adjustments pane of the
Inspector HUD, as well as from the Quick Brush pop-up menu in the tool strip.
When you choose to brush an adjustment, its Brush HUD appears. You specify settings using the
controls in the HUD and then brush the adjustment on the image.
When you choose a Quick Brush adjustment, its adjustment controls appear highlighted in the
Adjustments inspector and the Adjustments pane of the Inspector HUD, if both are shown. As
with the standard adjustment controls, you use the checkbox for the adjustment to turn Quick
Brush adjustments on and off. For more information, see
on page 238.
Some Quick Brush adjustments also have sliders for changing parameter values after the Quick
Brush adjustment has been applied. For more information, see
on page 223.
For more information, see
on page 228 or the topic for a particular
Quick Brush adjustment.
67% resize factor