Add map boxes to a book page – Apple Aperture 3.5 User Manual
Page 421
Chapter 11
Create books
421
Add map boxes to a book page
If you’ve added location information to your photos using Places, you can add a map to a book
page showing the locations where the surrounding photos were shot. In addition, you can define
a route between locations to illustrate the journey between destinations.
Note: The Map box feature is available only in certain book themes. For more information about
book themes, see
on page 406.
Add a map box to a page
1
In the Book Layout Editor, click the Edit Layout button, if it’s not already selected.
2
Select a page in the Pages pane.
3
Choose Add Map Box from the Add Box pop-up menu.
When the map box appears on the selected page in the Book Layout Editor, you can drag it to
a new position and resize it. Locations assigned to photos in photo boxes surrounding the map
box are automatically plotted on the map.
Give the map a title
You can give the map a title that appears over the bottom-left portion of the map.
1
In the Book Layout Editor, double-click the map.
The Map Options HUD appears.
2
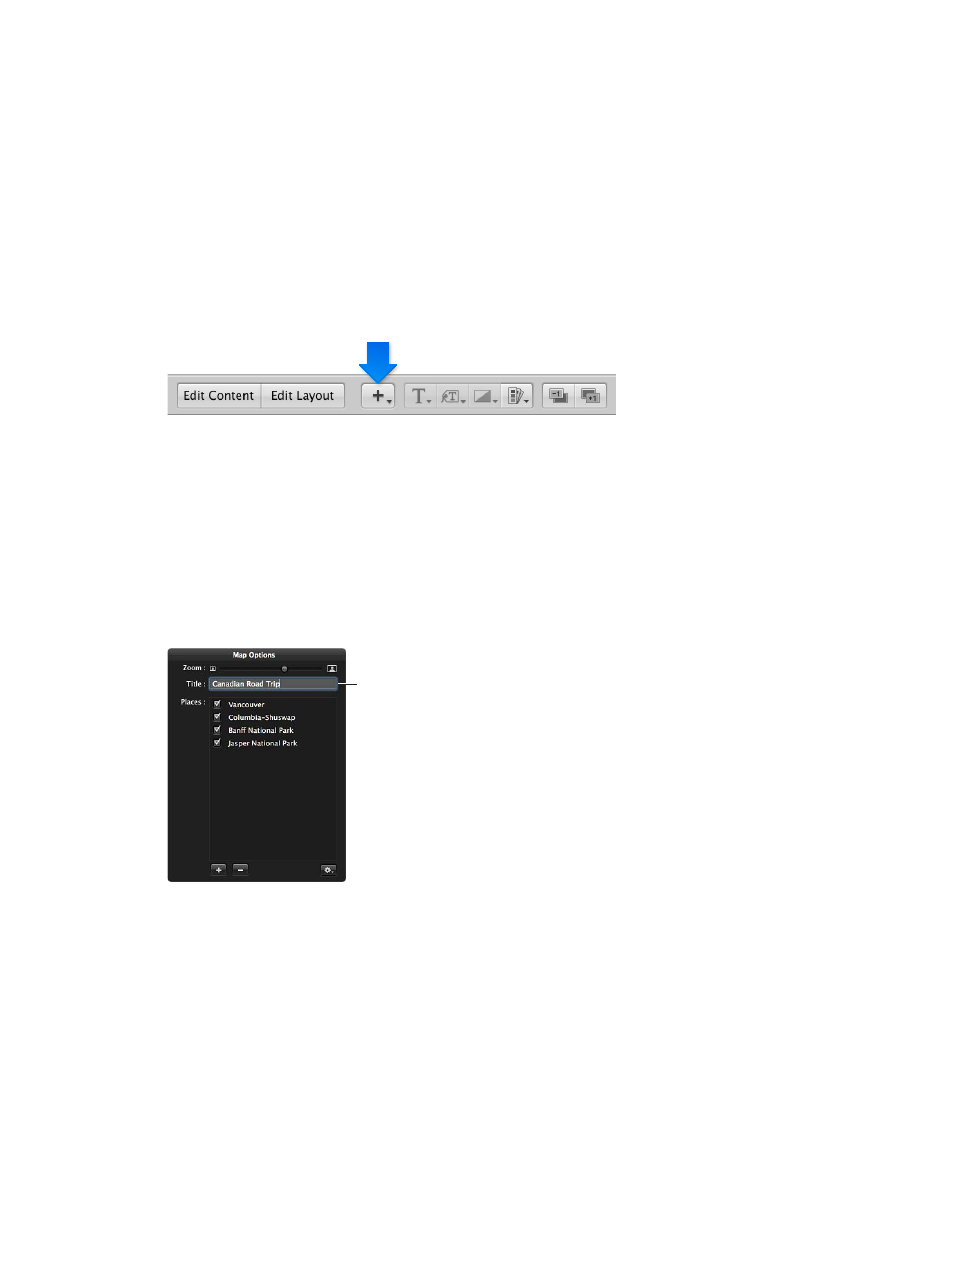
In the Map Options HUD, enter a title for the map in the Title field at the top of the HUD.
Enter a title for
the map here.
A title appears over the bottom-left portion of the map in the Book Layout Editor.
67% resize factor