Apple Aperture 3.5 User Manual
Page 230
Chapter 7
Make image adjustments
230
Brush an adjustment away
1
Select a photo.
2
If the adjustment you want to apply to the image isn’t shown in the Adjustments inspector or
the Adjustments pane of the Inspector HUD, choose the adjustment from the Add Adjustment
pop-up menu.
Note: The Red Eye Correction, Spot & Patch, Straighten, Crop, Flip, White Balance, and Exposure
adjustments cannot be brushed on images.
3
Specify parameter settings for the adjustment while viewing the effect on the image.
4
When the area of the image you want to adjust has the correct appearance, choose “Brush
[adjustment] away” from the adjustment’s Action pop-up menu.
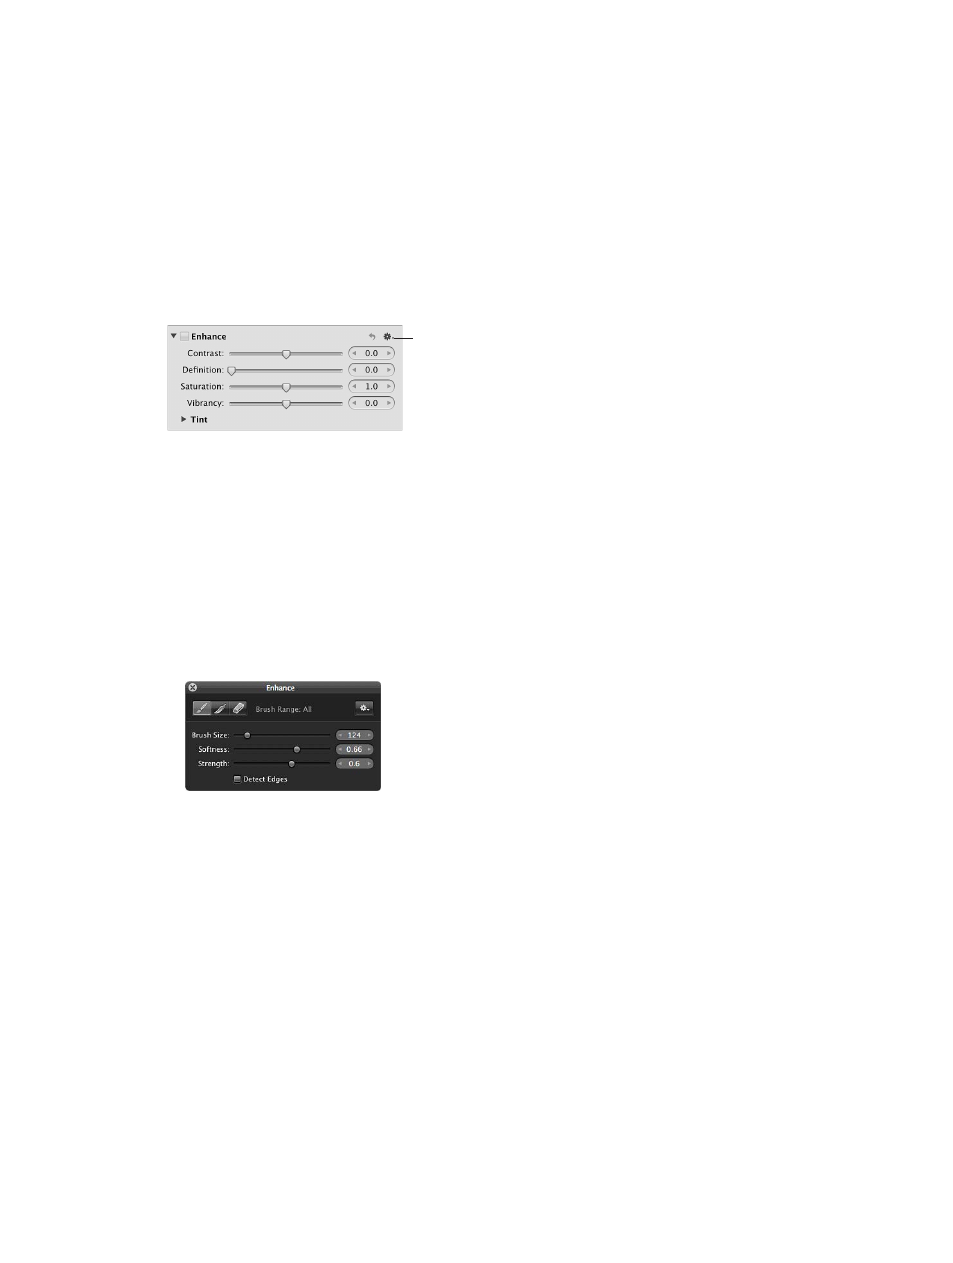
Action pop-up menu for
the Enhance adjustment
The pointer turns into a brush, and the Brush HUD for the adjustment appears. The adjustment
remains applied to the entire image.
5
In the Brush HUD, specify the following settings:
•
To adjust the size of the brush: Use the Brush Size parameter controls.
Tip: Use the scroll gesture to quickly resize the brush as you work.
•
To adjust the softness of the brush: Use the Softness parameter controls.
•
To adjust the intensity of the brush: Use the Strength parameter controls.
•
To specify that the adjustment detect edges in order to preserve detail: Select the Detect
Edges checkbox.
6
Brush over the areas of the image you don’t want adjusted.
Tip: It’s a good idea to regularly zoom in to the image to ensure that the brush strokes cover
the areas of the image you don’t want adjusted.
The adjustment is removed from the brushed areas of the image.
For information about modifying the effect of the adjustment after it has been brushed on the
image, see
on page 232.
67% resize factor