Apply specific standard adjustments, Enhance an image automatically, 241 apply specific standard adjustments 241 – Apple Aperture 3.5 User Manual
Page 241
Chapter 7
Make image adjustments
241
3
Do either or both of the following:
•
To apply the Black & White, Sepia, or Antique effect to the image: Choose an option from the
Effect pop-up menu.
The Amount slider and value slider appear when you choose Antique from the Effect pop-up
menu. Use the Amount controls to adjust the intensity of the Antique effect.
Note: The None option removes the Black & White, Sepia, or Antique effect.
•
To apply the Matte, Vignette, Edge Blur, Fade, or Boost effect: Drag the slider or use the value slider
for the effect.
Apply specific standard adjustments
Enhance an image automatically
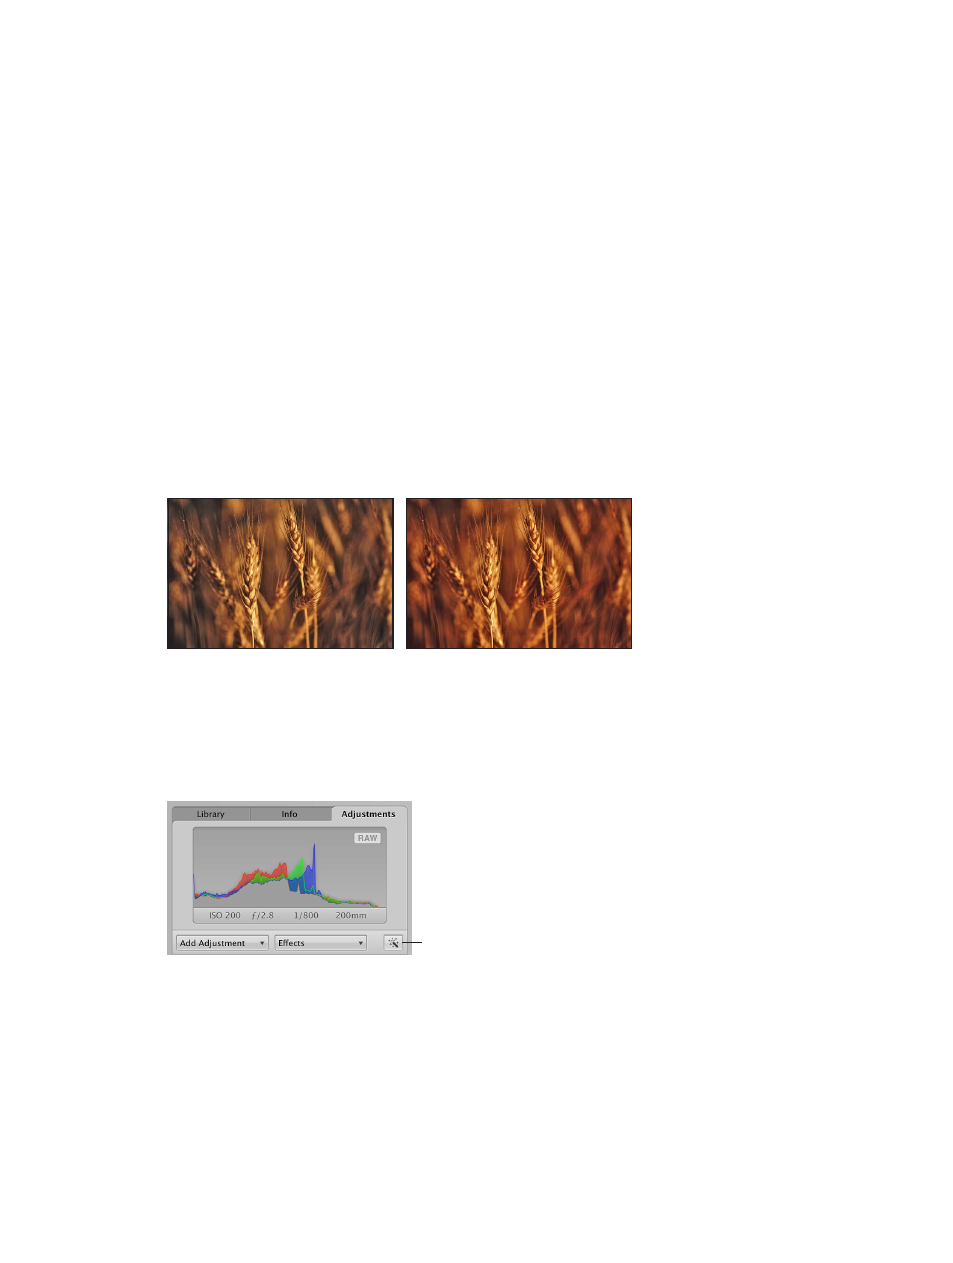
You use the Auto Enhance button when you want to quickly improve your image or preview
what the image will look like when adjusted. When you click the Auto Enhance button, Aperture
evaluates the image and then applies the White Balance, Enhance, Curves, and Highlights &
Shadows adjustment settings in a manner that suits the selected photo. Using Auto Enhance is a
good starting point when adjusting an image because you can always fine-tune the parameter
settings for each adjustment.
Before Auto Enhance adjustment
After Auto Enhance adjustment
Enhance an image automatically
1
Select a photo.
2
At the top of the Adjustments inspector or the Adjustments pane of the Inspector HUD, click the
Auto Enhance button.
Auto Enhance button
To fine-tune the White Balance, Enhance, Curves, and Highlights & Shadows parameter settings
applied by the Auto Enhance adjustment, see the following topics:
•
on page 266
•
Adjust contrast, clarity, and saturation
on page 273
•
Adjust the tonal curve of an image
on page 282
•
Preserve highlight and shadow details in an image
on page 292
67% resize factor