Apple Aperture 3.5 User Manual
Page 299
Chapter 7
Make image adjustments
299
You can also use the Gray Levels slider if you need to adjust the brightness values of the
midtones while limiting the brightening effect in the black and white points. The brighter areas
of shadows and the darker areas of highlights are affected, but the effect tapers off as it nears
dark blacks and bright whites.
Before Gray Levels adjustment
After Gray Levels adjustment
1
Select a photo.
2
In the Adjustments inspector or the Adjustments pane of the Inspector HUD, choose Levels from
the Add Adjustment pop-up menu.
3
To display the Levels histogram, select the Levels checkbox in the Levels area of the Adjustments
inspector or the Adjustments pane of the Inspector HUD.
White Levels slider
Black Levels slider
4
Choose Luminance from the Channel pop-up menu.
5
Do either or both of the following:
•
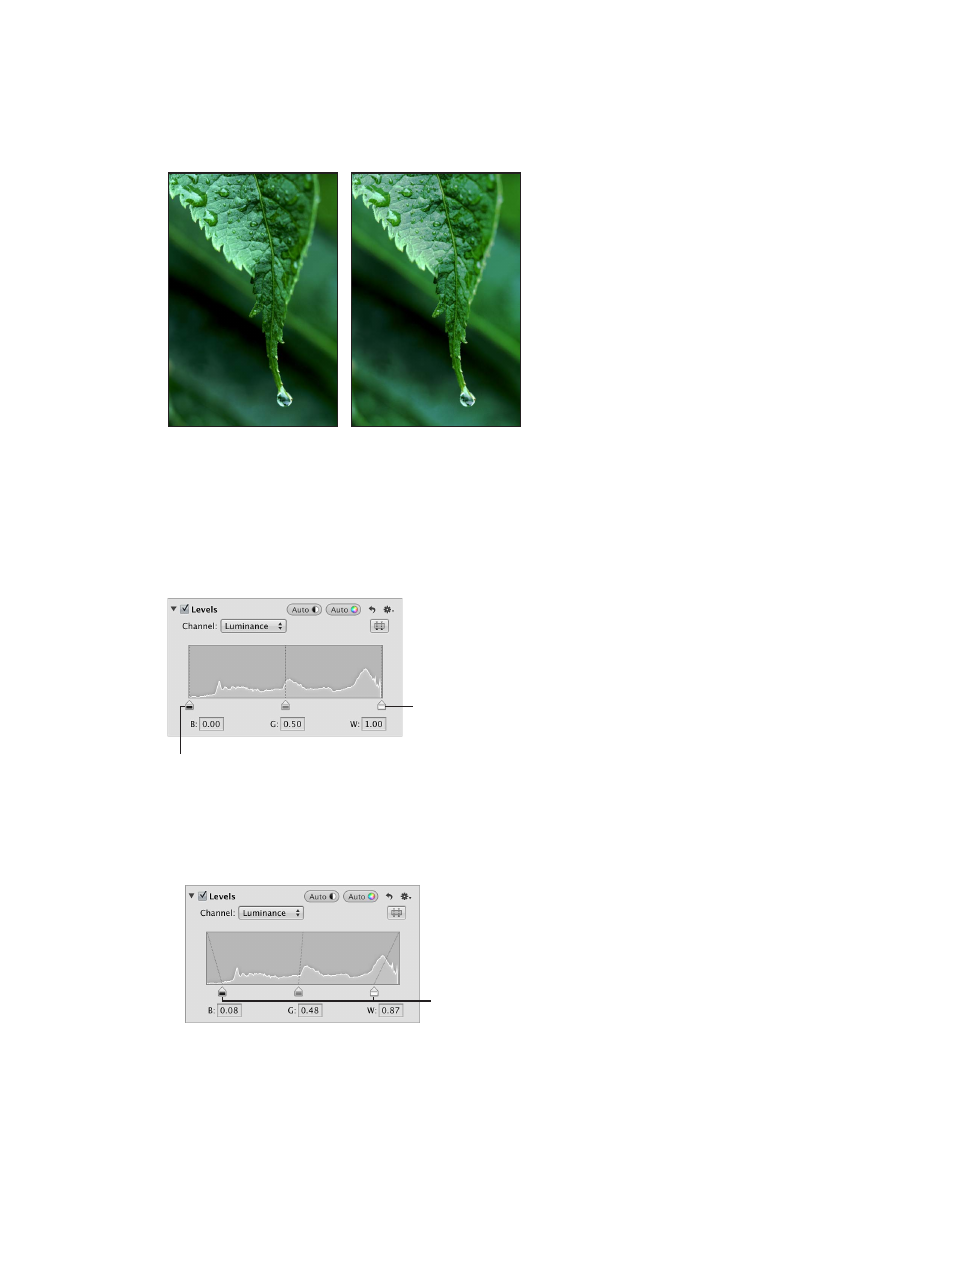
To constrain the image to its new black and white points: Drag the Black Levels and White Levels
sliders to where they touch the outside of the histogram graph.
Drag the Black Levels and
White Levels sliders to
where they touch the outside
of the histogram graph.
You can also select the numbers in the Black (B) and White (W) fields, and enter a value from
0.00 to 1.00. By default, the black point is set to 0.00, and the white point is set to 1.00.
67% resize factor