Apple Aperture 3.5 User Manual
Page 424
Chapter 11
Create books
424
Set the path of the direction lines in the map
When you show direction lines on the map, they may not initially connect locations in a way that
matches the route you intended. You set the path of the direction lines by rearranging the order
of the locations in the Map Options HUD.
1
If necessary, double-click the map in the Book Layout Editor.
2
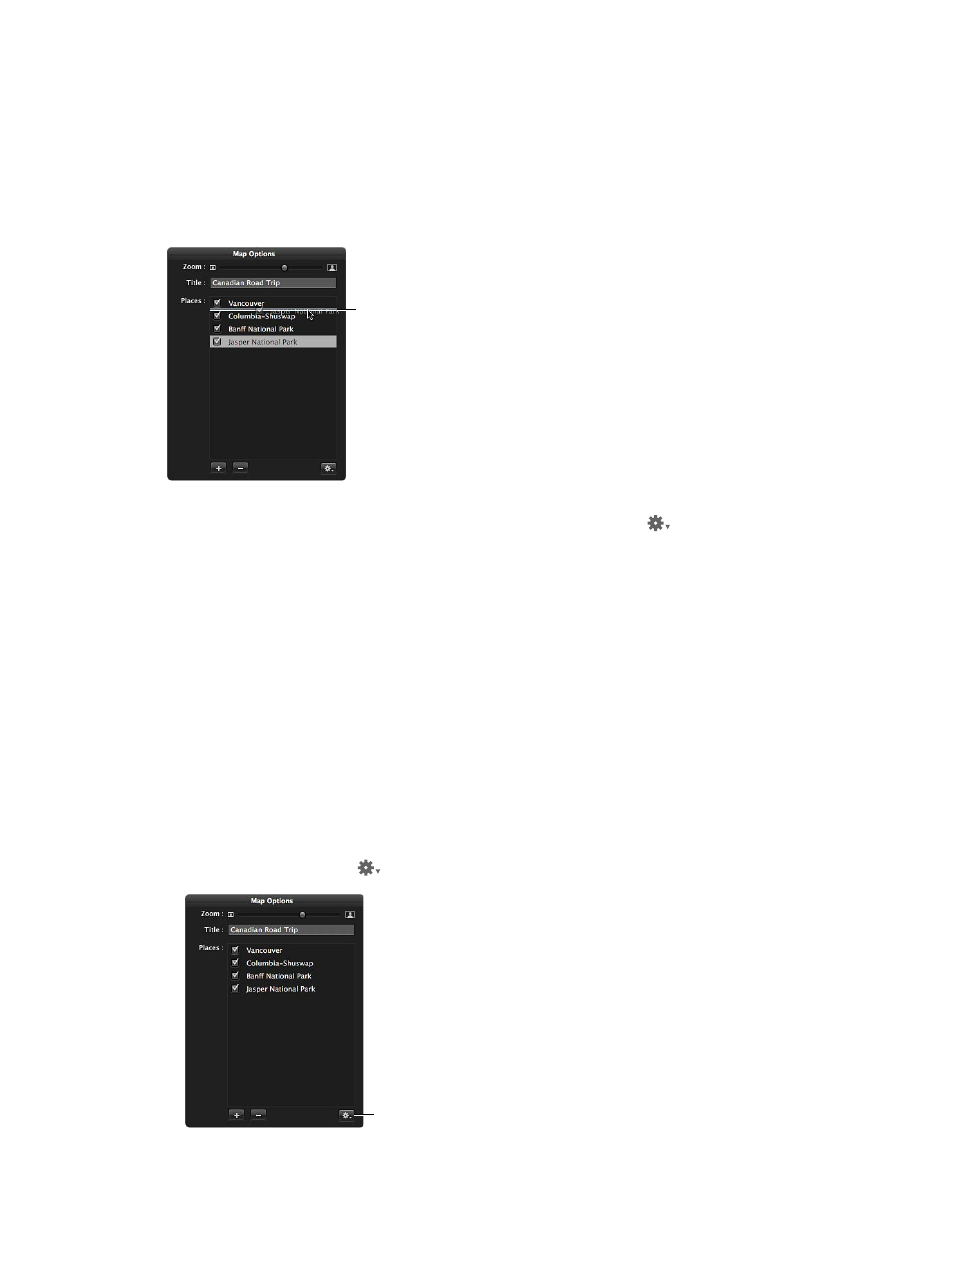
In the Map Options HUD, drag the locations into the order in which you want the direction lines
to appear on the map, from top to bottom.
Drag the locations into
the order in which you
want the direction lines
to appear on the map.
3
If you want the last location on the map connected to the first location on the map, choose
Return to Starting Place from the Map Options HUD Action pop-up menu
.
The direction lines on the map are updated to match the order of locations in the Map
Options HUD.
Choose the area shown in the map
You can specify which part of the map is visible on the page by zooming in to and out of
the map and repositioning the map. If you’ve repositioned the map and the photo locations
are off-center or no longer appear, you can return the map to a position centered on the
photo locations.
1
If necessary, double-click the map in the Book Layout Editor.
2
In the Map Options HUD, do any of the following:
•
To zoom in to and out of the map: Drag the Zoom slider (at the top of the HUD) to the right to
zoom in and to the left to zoom out.
•
To reposition the map to show other locations: Drag the map to reposition it.
•
To center the map on the photo locations: Choose Center Map on Places from the Map Options
HUD Action pop-up menu
.
Choose to center the map
on places using the Action
pop-up menu.
67% resize factor