Manually convert an image to black and white – Apple Aperture 3.5 User Manual
Page 308
Chapter 7
Make image adjustments
308
Manually convert an image to black and white
You use the Black & White adjustment controls when you want more control over converting
a color image to black and white than simply desaturating it gives you. The Black & White
adjustment controls allow you to adjust tonal relationships and contrast by adjusting the red,
green, and blue channels independently. The effects of a Black & White adjustment are similar
to the effects of attaching a color filter to a camera lens and shooting black-and-white film.
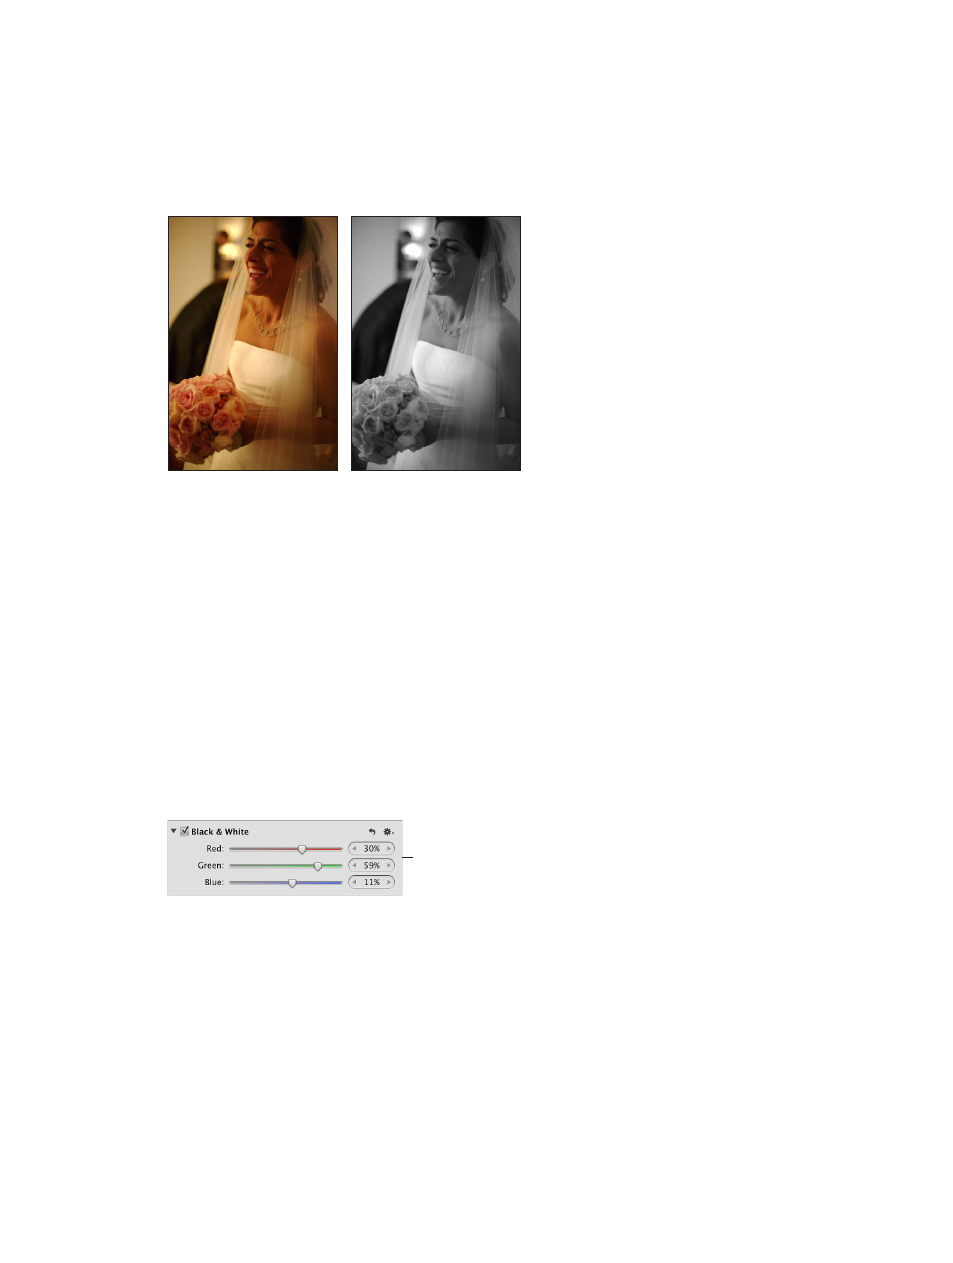
Before Black & White adjustment
After Black & White adjustment
The key to the successful use of the Black & White adjustment controls is to experiment with
changing values for the Red, Green, and Blue parameters until you’re satisfied with the effect
on the image.
Note: A good rule of thumb is to keep the total percentage of the red, green, and blue channels
at or below 100 percent to prevent blowing out the highlights in your image.
Convert a color image to black and white using the Black & White controls
1
Select a photo.
2
If the Black & White controls aren’t shown in the Adjustments inspector or the Adjustments pane
of the Inspector HUD, choose Black & White from the Add Adjustment pop-up menu (or press
Control-M).
3
Use the Red, Green, and Blue parameter controls to adjust the mix of color channels and the
tonal relationships and contrast in the image.
Use the Red, Green,
and Blue sliders and value
sliders to manually adjust
the mix of color channels.
You can also brush the Black & White adjustment on specific areas of an image. For more
information, see
on page 228.
67% resize factor