Apple Aperture 3.5 User Manual
Page 243
Chapter 7
Make image adjustments
243
Note: Aperture provides two sets of retouching controls: Retouch and Spot & Patch. In the vast
majority of cases, the Retouch controls will best serve your image-repair needs. The Spot & Patch
controls are included in Aperture 3 to retain the integrity of images adjusted with earlier versions
of Aperture. You can often improve image repairs by removing an existing Spot & Patch repair
and replacing it with a Repair or Clone adjustment performed with the Retouch tool. In a few
situations, Spot & Patch is the adjustment of choice. For example, an artifact on or very near a
curved edge may be more effectively removed using the Angle parameter. For more information,
see
on page 250.
Retouch an image using the Repair brush
1
Select a photo.
2
To display the photo at full size, click the Zoom Viewer button in the tool strip or the full-screen
view toolbar (or press Z).
Setting the photo to appear at full size (100 percent) prevents image scaling from
obscuring details.
3
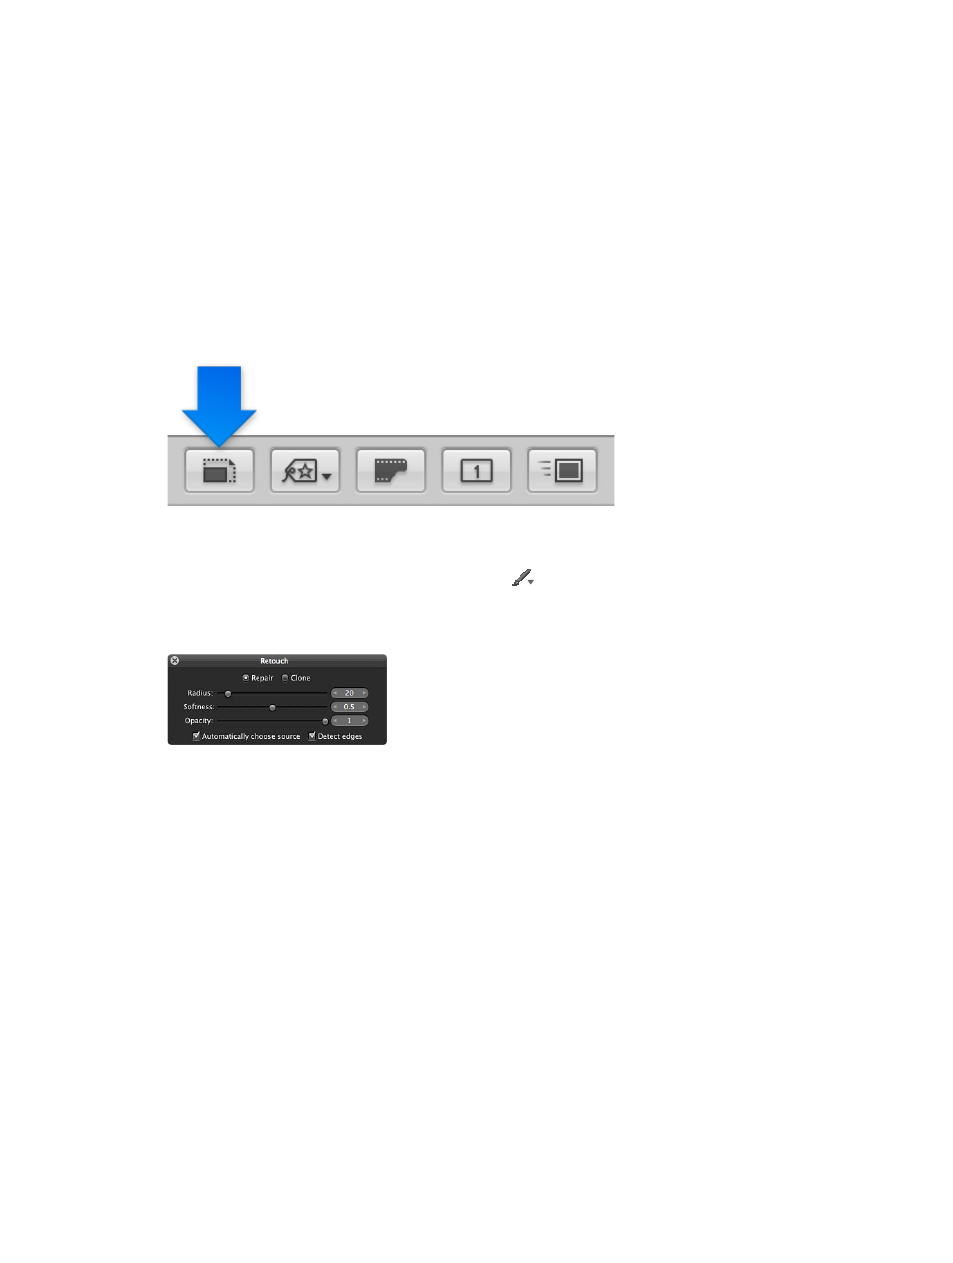
Choose Retouch from the Quick Brush pop-up menu
in the tool strip or the full-screen
view toolbar.
The pointer changes to a brush, and the Retouch HUD appears.
4
In the Retouch HUD, specify the following settings:
•
To select the Repair brush: Click the Repair button.
•
To set the radius of the brush: Drag the Radius slider, enter a value in the Radius value slider, or
use the scroll gesture.
Note: You can’t use the scroll gesture when the pointer is placed over the Retouch HUD.
•
To set the softness of the brush: Drag the Softness slider or enter a value in the Softness
value slider.
•
To set the opacity of the brush: Drag the Opacity slider or enter a value in the Opacity
value slider.
5
If you want the Retouch adjustment to preserve edge details in the image, select the “Detect
edges” checkbox.
6
If you need to copy pixels from another area of the image, deselect the “Automatically choose
source” checkbox, and Option-click the source area.
67% resize factor