Sharpen an image – Apple Aperture 3.5 User Manual
Page 311
Chapter 7
Make image adjustments
311
Sharpen an image
You use the Edge Sharpen controls to sharpen the detail in your image. Images shot with
digital image sensors are often a bit soft in focus because of the demosaic filter applied by
the camera’s processor. The Edge Sharpen controls adjust the luminance values in the image,
increasing the contrast between light and dark pixels that touch, creating an “edge.” Increasing
the contrast between these neighboring light and dark pixels gives the image a crisper, or
sharper, appearance. You also use the Edge Sharpen controls when you make noise-reduction
adjustments, so that the image retains detail and crisp edges that might otherwise be obscured
by the effect of the noise-reduction adjustment. Edge Sharpen adjustments can also compensate
for the softening that occurs with some printing processes.
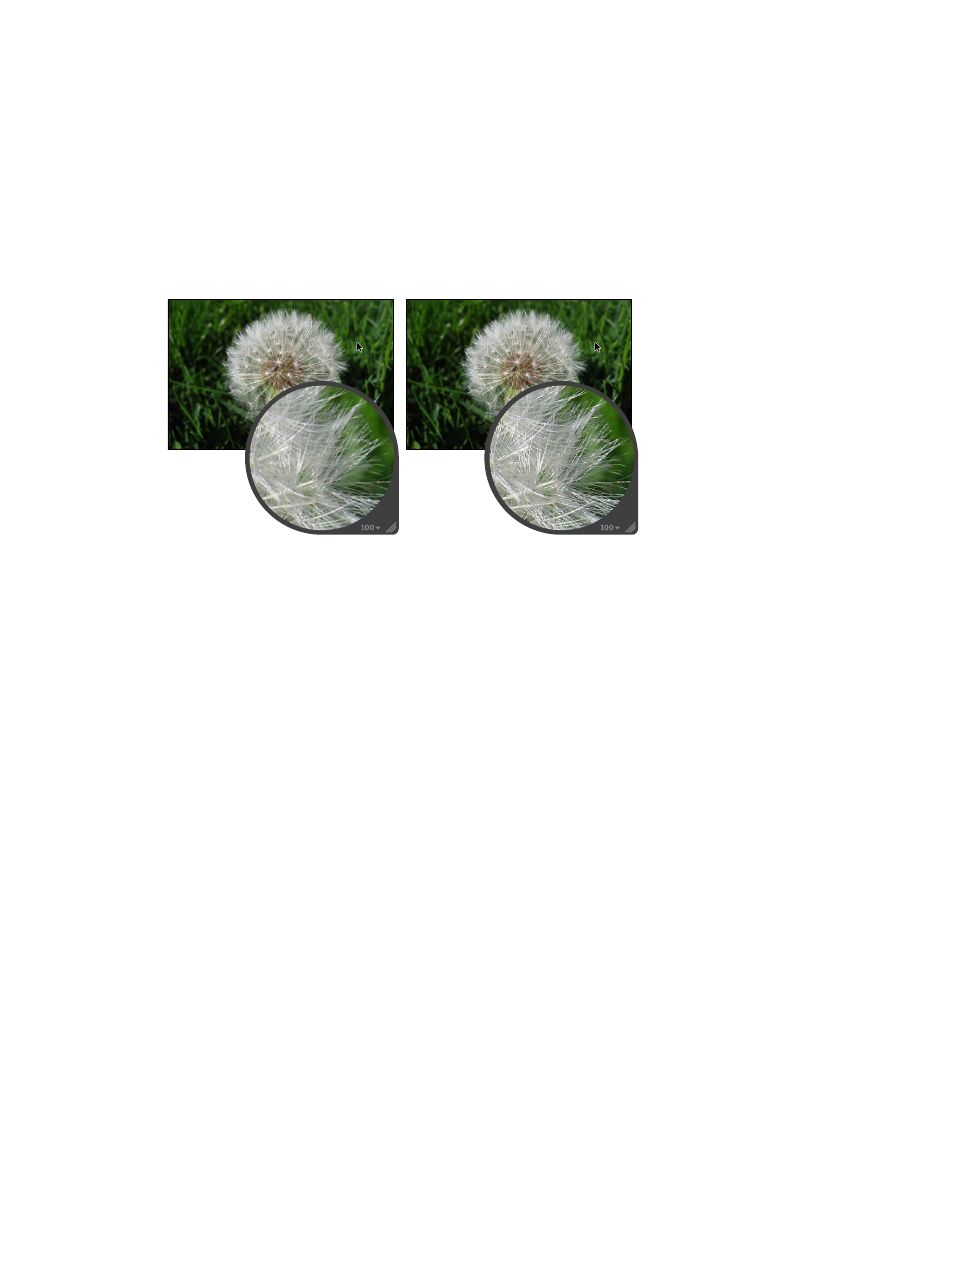
Before Edge Sharpen adjustment
After Edge Sharpen adjustment
For maximum accuracy, the Edge Sharpen adjustment sharpens the image in three passes
that appear to occur simultaneously—an initial sharpening pass, where a majority of the
sharpening occurs, followed by two subsequent sharpening passes. These subsequent passes
are called falloff.
Important:
The Edge Sharpen controls are not designed to correct images that were shot out
of focus.
Aperture also includes a sharpening adjustment from previous versions of Aperture. If you
applied sharpening in a previous version of Aperture using the Sharpen adjustment, the Sharpen
adjustment controls are still there so that your adjustments remain intact and unchanged.
However, to do further sharpening on other images, it’s recommended that you use the Edge
Sharpen adjustment controls, which generally offer more precise control over how sharpening
is applied.
67% resize factor