Apple Aperture 3.5 User Manual
Page 233
Chapter 7
Make image adjustments
233
3
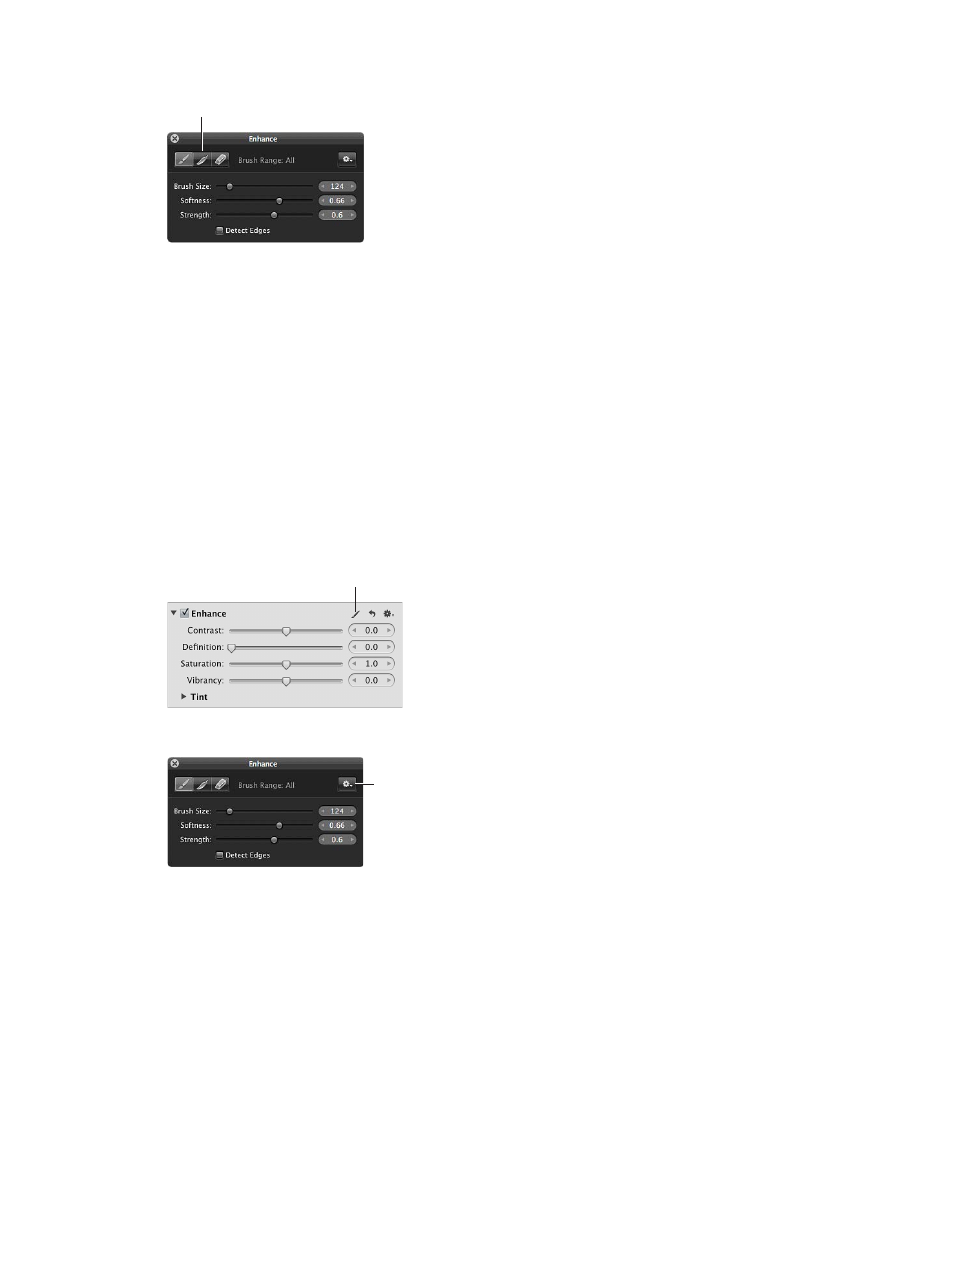
In the Brush HUD, click the Feather button.
Click the Feather button.
4
Specify the diameter of the brush and its intensity using the Brush Size and Strength sliders and
value sliders.
5
Drag the brush over the edges of the previously applied brush strokes.
Tip: When feathering brush stokes, it’s a good idea to display the brush strokes as color overlays
to help identify the boundaries of each brush stroke. You can turn the color overlays off at
regular intervals and visually inspect the image to ensure that the brush strokes are feathered
appropriately. For more information, see
Work with brushed adjustment overlays
on page 235.
Invert an adjustment’s brush strokes
You can remove an adjustment from the area you brushed it on and apply it to the rest of the
image instead.
1
Select the photo with the brushed adjustment whose brush strokes you want to invert.
2
Select the brushed adjustment in the Adjustments inspector or the Adjustments pane of the
Inspector HUD, and click the Brush button in the adjustment controls.
Click the Brush button.
3
In the Brush HUD, choose Invert from the Brush Action pop-up menu.
Choose Invert from
the Brush Action
pop-up menu.
Erase brush strokes
You can erase the brush strokes for a previously applied brushed adjustment using the eraser
brush in the Brush HUD. The eraser brush erases the brush strokes of the selected brushed
adjustment only. The eraser brush uses the same parameters as the standard brush (Brush Size,
Softness, and Strength).
Tip: You can quickly switch from the brush to the eraser by holding down the Option key. To
switch back to the brush, release the Option key.
67% resize factor